Disclosure: This page contains affiliate links. As an Amazon Associate, Yard Foundry earns from qualifying purchases.
Shed ventilation works best as part of a moisture-control plan, not as a substitute for a sound roof, dry foundation, and weather-tight door. Start with passive openings low on one side and high on the opposite side so outside air has a path through the building. Add a fan only when passive airflow cannot handle the actual heat or humidity problem. In hot, humid weather, bringing in more outdoor air can make a cool shed wetter rather than drier.
This is a research-based installation guide, not a report of work performed by Yard Foundry. Vent locations, electrical work, weather resistance, and code requirements must be checked for the exact shed and site.
Fix water entry before planning shed ventilation
Ventilation can remove some water vapor. It cannot keep out rain flowing under a wall, groundwater wicking through an unprotected floor, or runoff aimed at the foundation. The EPA’s moisture-control guidance treats rain, groundwater, condensation, plumbing, and indoor moisture as separate pathways. That order matters in a small outbuilding too.
Inspect the shed during and after rain. Look for dark floor edges, damp fasteners, wet door thresholds, roof drips, and soil piled against the wall. Check that the base is level and that water drains away rather than collecting underneath. If the floor stays damp, solve that first with the appropriate site work. The resin shed foundation guide explains how a stable, drained base protects the shell and door alignment.
Also check what enters on wheels. A mower deck packed with wet grass can release a surprising amount of moisture overnight. So can damp soil in wheelbarrows, wet tarps, green firewood, and open bags of fertilizer. Let wet equipment dry outside when practical, shake off clippings, and avoid storing materials that the shed manufacturer prohibits. A current Suncast shed manual, for example, says the building is not intended for flammable or caustic chemical storage and calls for a level, sturdy foundation.
How condensation forms inside a shed
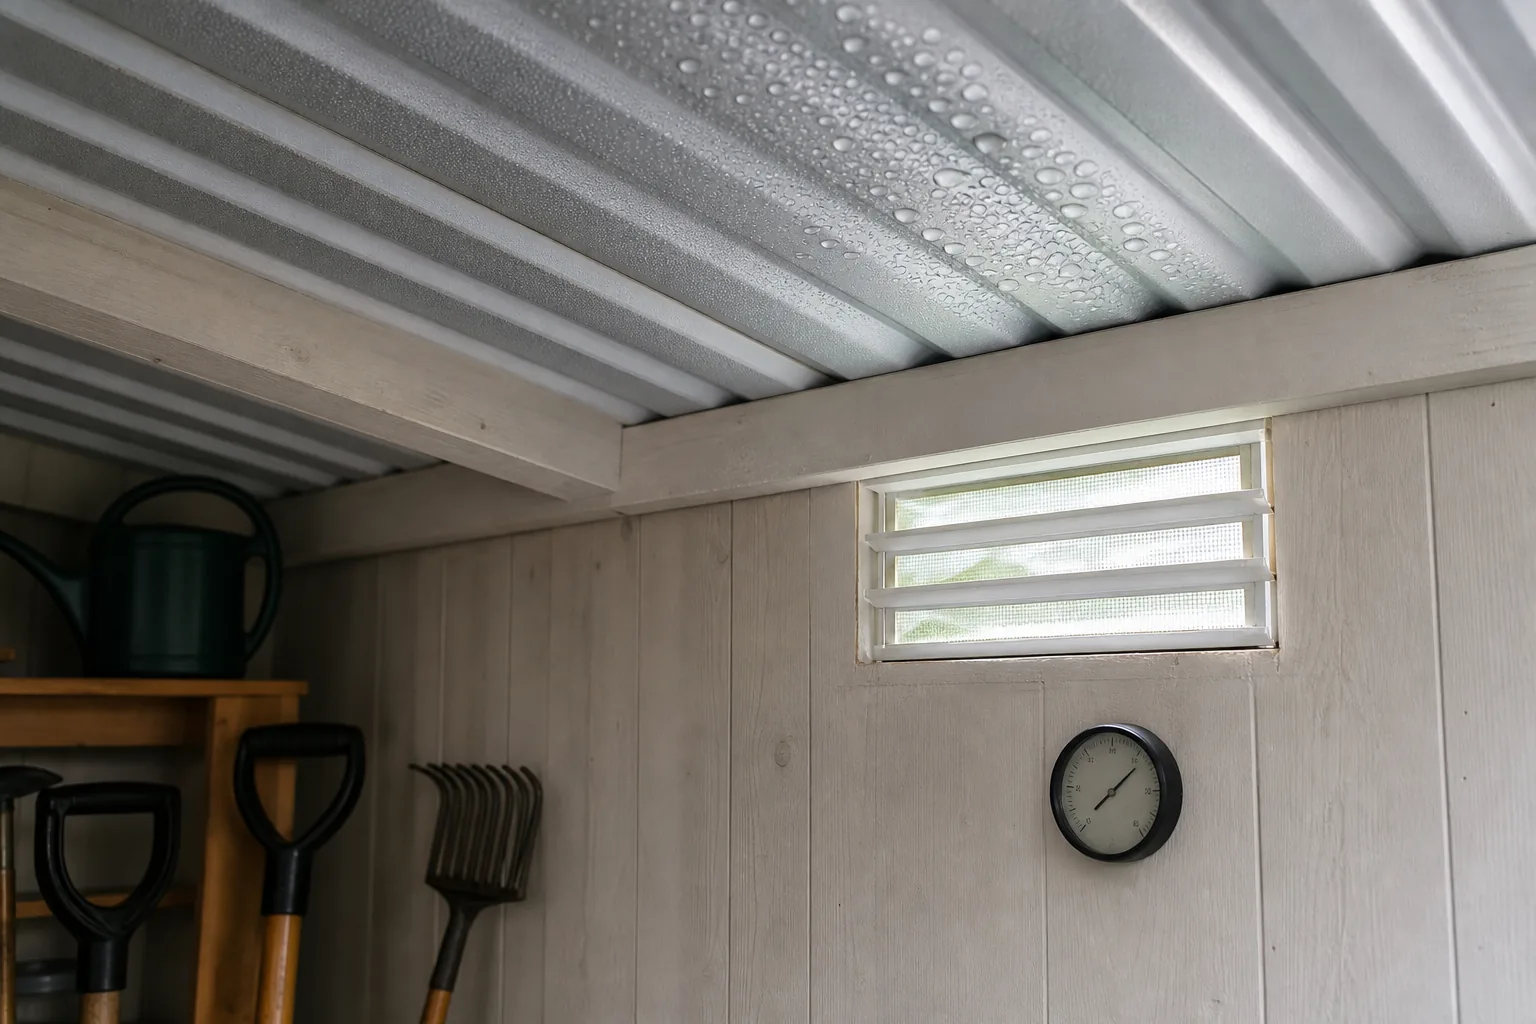
Condensation appears when a surface is colder than the dew point of the surrounding air. A metal roof can cool quickly on a clear night. Moist air inside the shed touches that cold surface, and water forms even though the roof does not leak. The same process can affect steel walls, tool surfaces, and the underside of plastic roof panels.
The EPA’s detailed moisture-control guide frames the solution plainly: keep vulnerable surfaces warmer than the dew point, lower the moisture content of the air, or combine both approaches. For a simple shed, that can mean stopping wet storage, improving passive airflow, separating stored items from cold walls, and insulating a metal roof only with an assembly suited to the building and climate.
Material changes the symptoms, not the physics. Metal readily shows droplets. Resin panels may hide some surface moisture but can still trap humid air around tools. Wood can absorb and release moisture, yet repeated wetting still encourages decay. The resin versus metal shed comparison covers those broader ownership differences.
Use a low intake and high exhaust
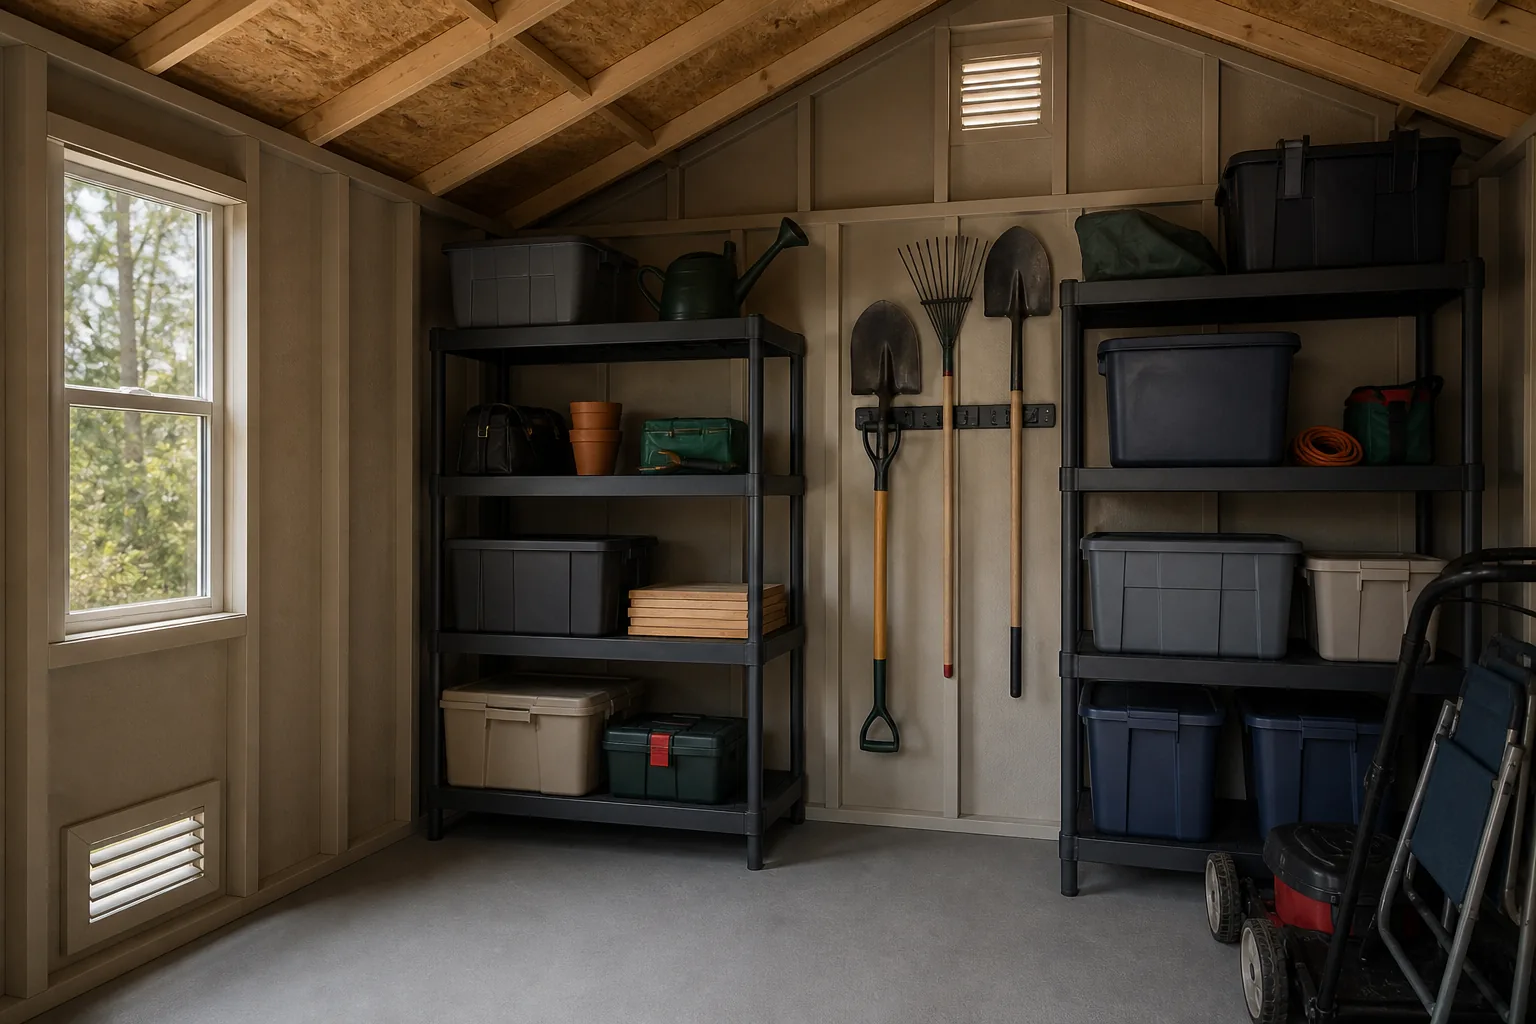
Passive ventilation needs both an entry and an exit. A high vent by itself may move little air if the shed is tightly closed. Two vents placed at the same height can help when wind crosses the building, but they provide less buoyancy-driven airflow on still days.
A practical layout has screened intake openings low on a shaded wall and screened exhaust openings near the roof or in the opposite gable. Warmer air rises toward the high opening while cooler outside air enters below. Separating the openings across the shed helps wash more of the interior instead of short-circuiting between two neighboring vents.
| Opening | Useful position | Detail to verify |
|---|---|---|
| Low intake | Low on a wall, above splash and drifting snow | Insect screen, rain-resistant louvers, clearance from stored bins |
| High exhaust | Opposite gable or high wall below the roof edge | Weather hood, screen, structural clearance |
| Ridge or continuous vent | Near the roof peak on compatible construction | Manufacturer-approved roof detail and rain protection |
| Powered exhaust | High wall or gable with a planned intake path | Listed equipment, safe wiring, controls, service access |
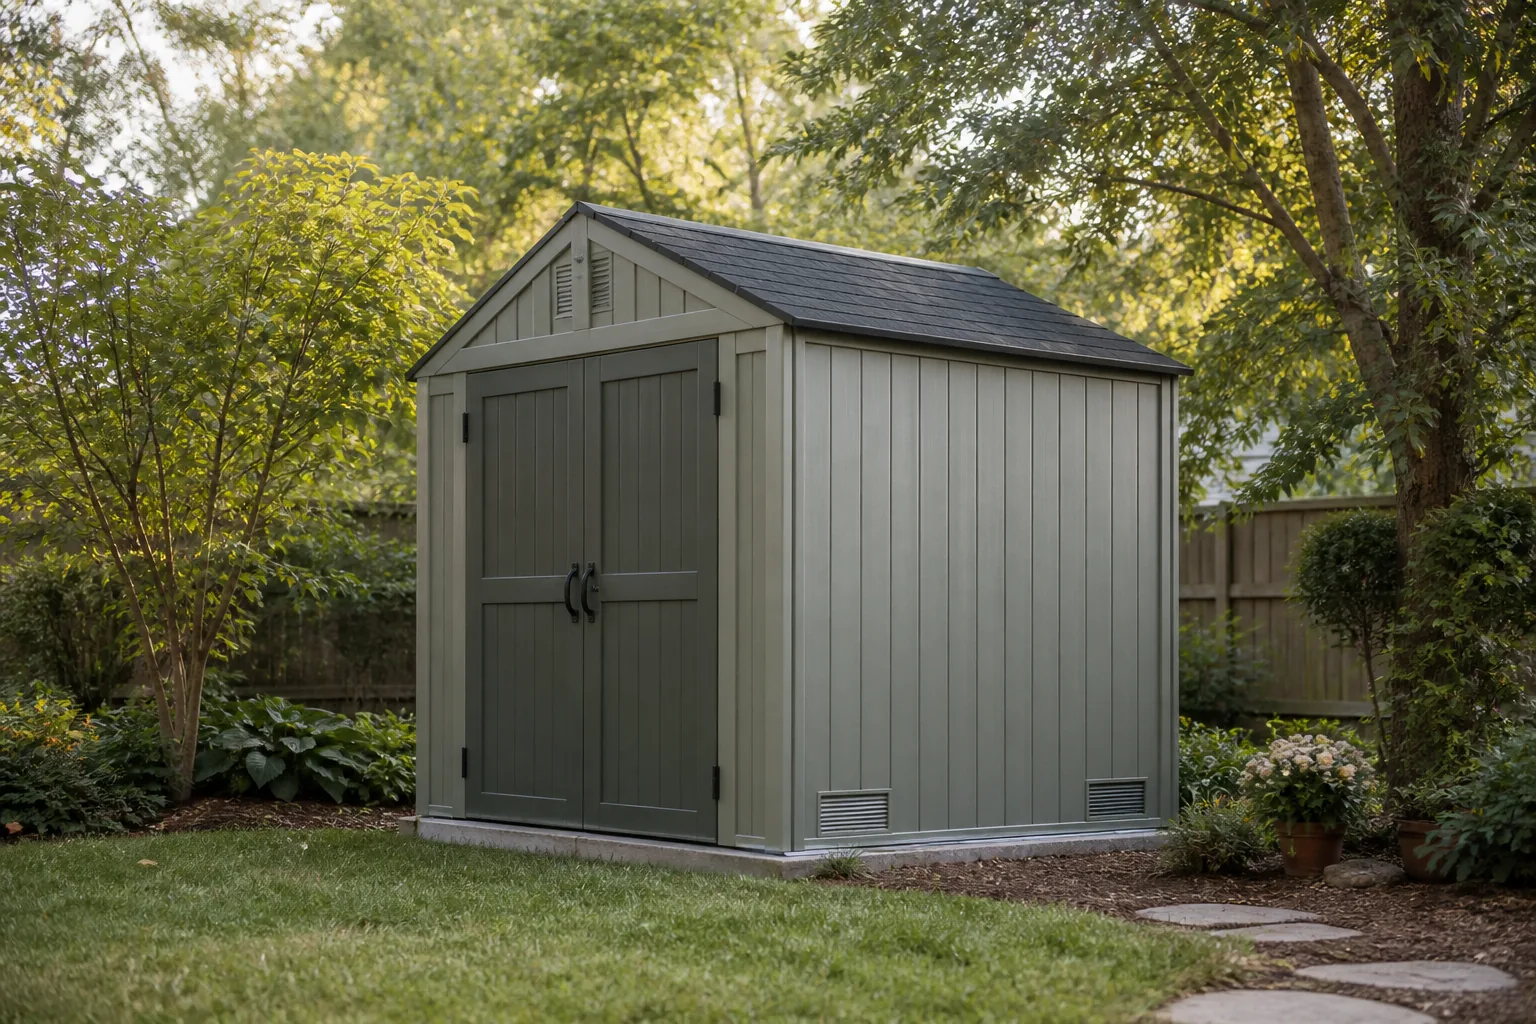
Some sheds include molded or functional vents from the factory. Suncast currently describes several models, including its Vistar storage shed, as having functional vents for air circulation. Do not cover those openings with a tall cabinet or a stack of boxes. Factory vents are also a clue to where the shell is designed to move air without cutting a new hole.
Do not copy attic vent ratios blindly
Online advice often borrows net-free-area ratios from residential attic rules and applies them to every shed. That shortcut ignores shed construction, climate, air leakage, solar exposure, stored moisture, and whether the building is insulated. A vent’s outside dimensions are not its net free area either. Screens and louvers reduce the usable opening.
Begin with the manufacturer’s provisions and instructions. If the shed remains hot or damp, add balanced openings in small, reversible steps. Record indoor and outdoor temperature and relative humidity at the same time for several days. A cheap meter can reveal whether the shed stays wetter than the outdoor air or merely follows a humid weather pattern.
Climate changes the answer. The Department of Energy’s Building America climate guidance emphasizes that condensation control depends on local conditions and assembly design. A strategy that dries a shed in an arid inland climate may admit moisture along a humid coast.
When passive ventilation is enough
Passive vents are the sensible first choice for most unconditioned storage sheds. They have no motor, wiring, thermostat, battery, or solar panel to maintain. They can reduce trapped heat and help the interior follow outdoor conditions more closely. They are especially reasonable when the problem is stale hot air in a sunny shed that otherwise stays dry.
Passive ventilation is not dehumidification. If outdoor air is at 85 percent relative humidity, a wide-open vent does not supply dry air. The indoor relative humidity may fall temporarily as the shed heats during the day, then rise again as surfaces cool at night. That daily swing is normal, although long periods of high humidity still justify changes to storage and airflow.
Keep a few inches of space between large bins and exterior walls. Store cardboard off the floor. Hang long-handled tools so air reaches both sides. Heavy items belong low for stability, but they should not block the intake path. A better layout often costs less and works more reliably than another gadget.
When a fan earns its place
Consider a powered exhaust fan when the shed has a persistent temperature problem, passive openings are already clear, and there is a safe route for replacement air. A fan installed high should pull air across the room from a deliberate low intake. Without enough intake area, airflow drops and the motor may simply depressurize a leaky shell.
Choose equipment intended for the location. A shed can be dusty, hot, damp, and occasionally exposed to wind-driven rain. Electrical work needs suitable wiring methods, protection, and permits where required. A small solar fan avoids a mains connection, but it usually runs hardest in sun rather than in the cool hours when condensation forms. Battery backup and humidistat claims need verification in the exact manual.
Do not choose by an unsupported universal air-changes-per-hour number. Compare the fan’s rated airflow at a realistic restriction, the vent’s net free area, noise, controls, weather rating, replacement parts, and how the opening will be flashed. A thermostat helps with heat. A humidistat may help with moisture only when outdoor air is actually drier.
Cut the shell only after checking the manual
A new opening can weaken a panel, invite rain, void a warranty, or interfere with a door track, roof joint, or structural rib. Locate studs and molded supports before drilling. Keep low vents above splashback, mulch, and expected snow. High vents need enough clearance below the roof edge for flashing and fasteners.
Use an exterior-rated vent with insect screening and a hood or louvers shaped to shed water. Seal the cut edge in the manner appropriate for wood, steel, or resin. On resin sheds, a backing plate may be needed so screws do not crush or tear the panel. On metal, protect bare cut edges from corrosion. On wood, prime and seal exposed end grain.
Any modification should preserve the structure’s anchoring and wind resistance. If the shed still needs a secure tie-down plan, start with how to anchor a shed. If storage density is blocking every wall and vent, the more honest fix may be a larger building; the shed sizing guide helps estimate usable space.
A simple diagnostic sequence
- Inspect during rain. Repair roof, door, wall, and foundation water entry.
- Remove wet sources. Dry equipment, tarps, and clippings before storage.
- Clear factory vents. Move bins and shelving away from openings.
- Measure a weather cycle. Compare indoor and outdoor temperature and humidity morning and afternoon.
- Add balanced passive openings. Favor a low intake and high exhaust across the space.
- Recheck after rain and cool nights. Look for surface droplets and damp floor edges.
- Add mechanical exhaust only if needed. Give the fan a safe intake path and suitable controls.
This sequence separates a leak from condensation and a ventilation problem from a storage problem. It also avoids cutting several large holes before learning whether outdoor air can dry the shed.
Buying checklist
- Confirm the shed maker permits the proposed opening and location.
- Compare net free area, not only the face dimensions.
- Use corrosion-resistant screen small enough for local insects.
- Choose louvers or hoods that resist the prevailing rain direction.
- Plan both intake and exhaust instead of buying one isolated vent.
- Keep vents serviceable so screens can be cleaned.
- For fans, verify weather rating, control method, noise, power source, and replacement parts.
Compare shed ventilation kits on Amazon (paid link). Treat each listing as a starting point. The exact vent still has to fit the wall construction, climate, and water-shedding detail.
The best shed ventilation plan is usually modest: keep liquid water out, stop bringing moisture in, preserve a clear low-to-high air path, and monitor the result before adding powered equipment. If the underlying shed is still being chosen, the resin garden shed buying guide covers foundation, panel, door, and ownership details that matter before ventilation becomes a retrofit.