Disclosure: This page contains affiliate links. As an Amazon Associate, Yard Foundry earns from qualifying purchases.
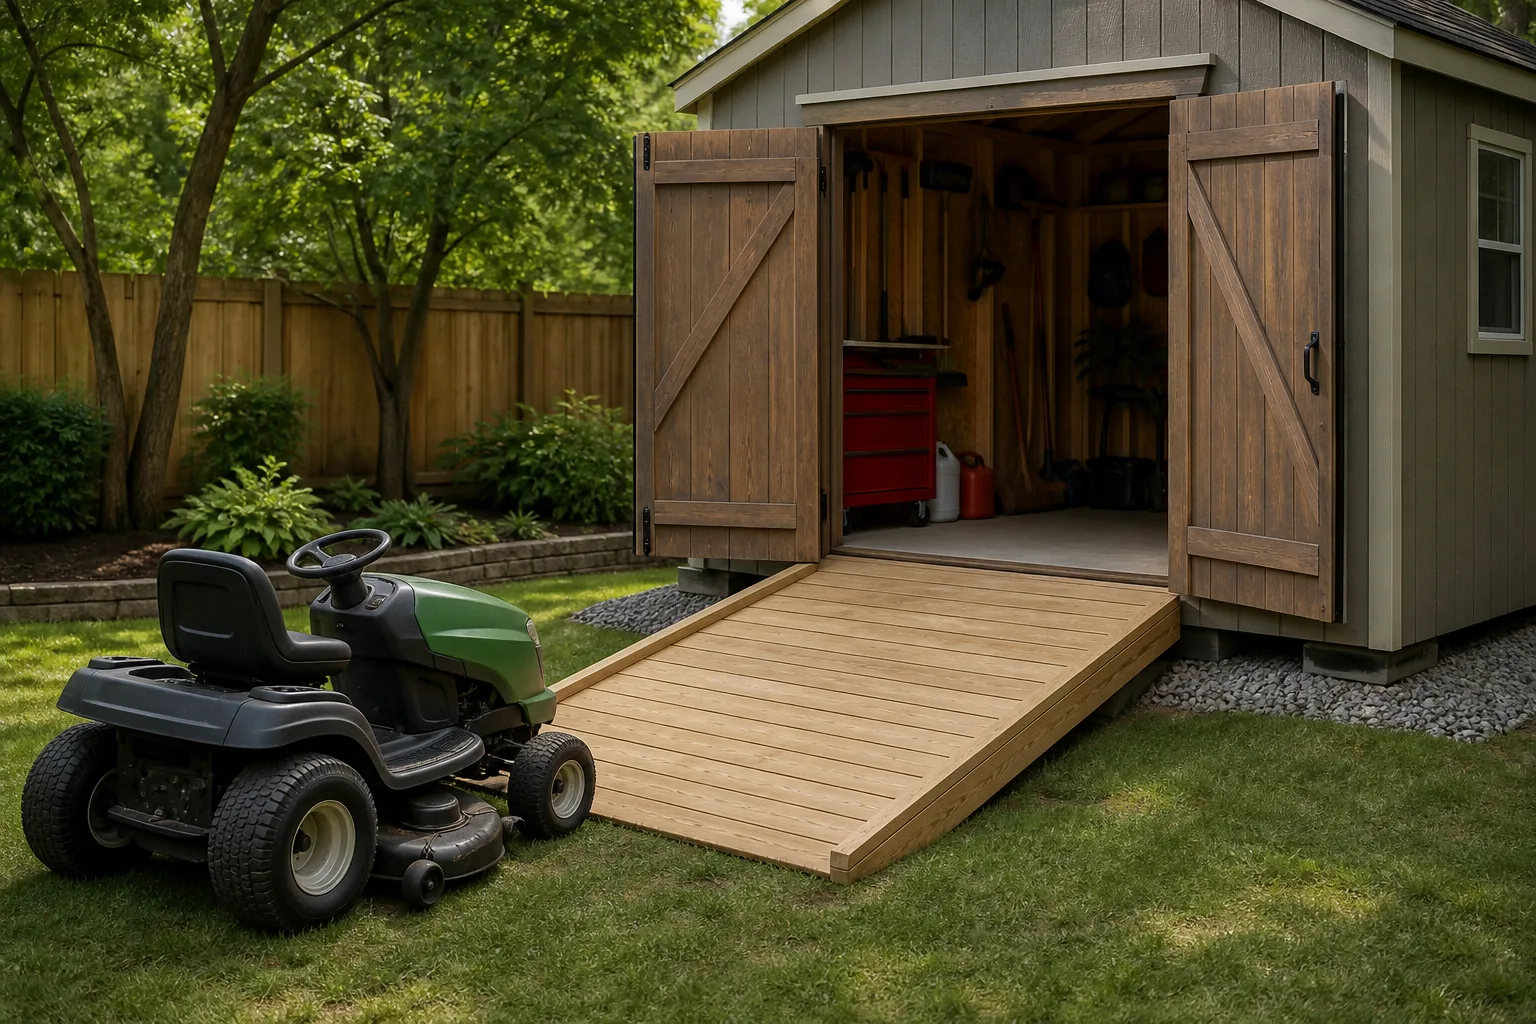
A shed ramp slope should be chosen from the exact rise, available run, equipment wheelbase, ground clearance, weight, and manufacturer instructions. Measure from the finished approach to the shed floor, then make the ramp long enough that the mower deck or cart does not bottom out at either transition. The ramp also needs full tire support, rated framing, a secure threshold connection, traction, and drainage. There is no single safe slope for every shed and machine.
This is a research based planning guide, not structural engineering or an accessibility specification. Yard Foundry has not load tested these ramps. Follow the shed and equipment manuals, local rules, and qualified design guidance for your site.
Measure rise before choosing shed ramp slope
Rise is the vertical distance from the finished approach surface to the shed floor at the threshold. Measure after the shed foundation and approach have settled, not from an early excavation mark. A gravel pad may put the shed higher than expected, while a future paved apron can reduce the rise.
Run is the horizontal distance from the threshold to the lower end of the ramp. Slope can be expressed as rise divided by run or as a ratio. A ramp that rises 12 inches over 96 inches has a 1:8 ratio. A 12-inch rise over 144 inches has a 1:12 ratio and is gentler.
These examples explain the math; they do not declare a universal requirement. The acceptable ramp depends on the machine, surface, weather, user, building rules, and whether the route must meet an accessibility standard. Check each applicable authority.
If the shed itself is still being selected, our resin garden shed guide helps compare door width, threshold height, floor capacity, and foundation requirements before the ramp becomes a retrofit.
Machine geometry can reject a ramp that looks gentle
A mower can scrape at the bottom transition where the wheels begin climbing while the deck remains low. It can also hang at the top transition as front wheels enter the shed and the rear wheels remain on the slope. Long wheelbase, low deck, anti-scalp wheels, attachments, and a projecting hitch all affect clearance.
Read the equipment manual for loading and slope instructions. Toro’s ramp loading guidance, for example, warns about transition geometry, adequate width, secure ramps, and the risk of tip-over when loading riding equipment. It concerns loading to a trailer or truck, not a permanent shed ramp, but the machine-clearance and stability questions are directly relevant.
Make a full-size side profile with a straight board or a temporary low platform before building. Move the equipment only according to its manual, on dry stable ground, with people clear. If the mower deck, frame, caster, or attachment approaches the mock transition, lengthen or reshape the ramp rather than assuming momentum will carry it through.
A short flat landing at the top can soften the transition, but it also changes framing and takes space inside or outside the doorway. A curved transition can be difficult to frame and may not suit a prefabricated kit. Keep the final solution simple enough to inspect.
Choose width from tires, deck, doors, and steering
The ramp must support the complete tire path with margin for normal steering error. Measure the outside tire width, then check the mower deck, wheelbarrow handles, cart axle, snowblower skids, and any attachment that may be wider. The open door width may be smaller than the nominal shed opening because hinges, handles, and door stops project into it.
A full-width ramp across the doorway is easier to approach than two narrow runner ramps. Runners demand precise wheel alignment, can let small casters fall between them, and may be unsuitable for different equipment later. If runners are used, the equipment manufacturer must allow them and they need a system that prevents shifting or spreading.
Check the approach too. A wide ramp does not help if a fence, tree, bed edge, or steep side slope forces a sharp turn at its foot. Leave enough level area to straighten the mower before climbing. Do not turn across the ramp face.
Design for the full moving load
The design load is not just the mower’s published dry weight. Include operator if the manual permits riding on the route, fuel, battery, grass catcher, weights, attachments, tools, and any future machine. Moving wheels create concentrated loads on a few deck boards and joists rather than spreading weight evenly across the ramp.
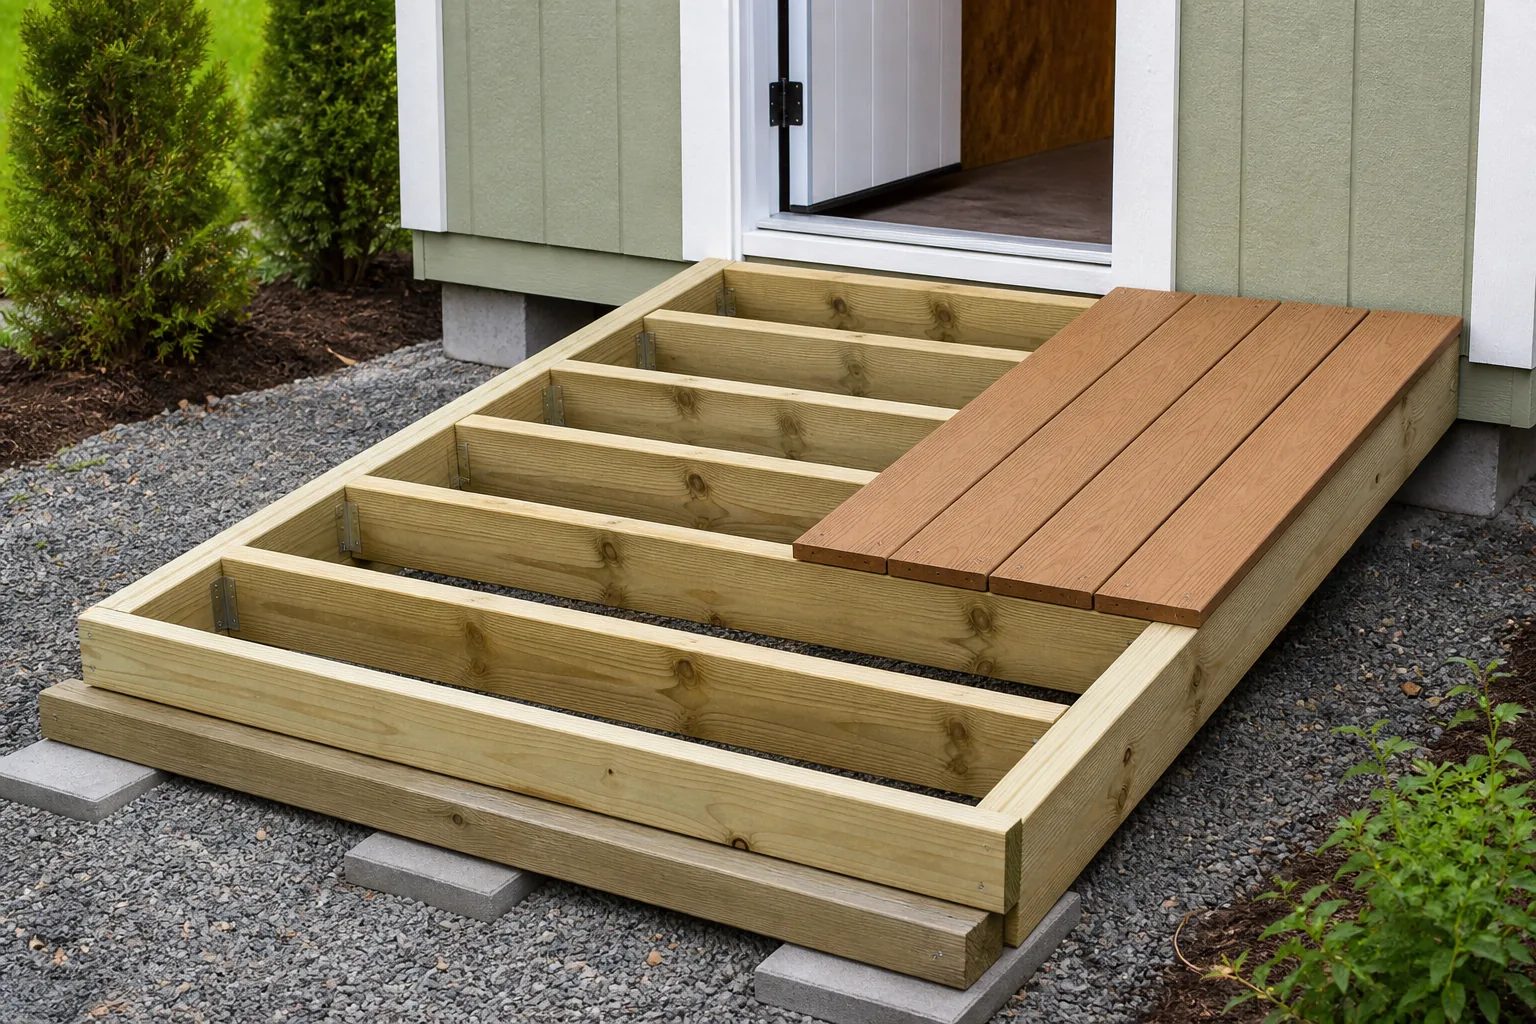
Ask a qualified designer or use an engineered kit with a clear rated capacity and installation conditions. Lumber species, grade, size, span, moisture, treatment, fastener schedule, connectors, blocking, and bearing all affect capacity. A thick deck on widely spaced unsupported framing is not automatically strong.
| Part | What it must do | Common planning miss |
|---|---|---|
| Threshold connection | Hold the upper end in place and transfer load without damaging the shed | Screwing into a thin floor edge with no approved support |
| Joists or stringers | Carry concentrated wheel loads over the run | Choosing spacing from deck appearance rather than design |
| Blocking and edge members | Control twist and support deck edges | Leaving long members free to roll under load |
| Lower bearing | Spread load onto stable ground | Resting the ramp on loose soil or mulch |
| Deck surface | Carry tires and provide wet traction | Using a smooth coating that becomes slick |
| Side transition | Reduce trip and wheel-drop hazards | Leaving a tall exposed edge beside a busy path |
Do not attach a ramp to a resin or light-metal shed wherever it seems convenient. The floor and wall may not be designed for that load. The ramp may need independent support beside the threshold. Our resin versus metal shed comparison explains how materials and floor systems change installation decisions.
Build on stable bearing and keep water moving
The lower end needs firm, drained bearing that will not sink or frost-heave independently. Compacted aggregate, suitable pavers, or a designed concrete support may be appropriate depending on soil, climate, and local practice. The ramp should not dam roof runoff against the shed.
University of Georgia Extension’s garden shed guidance places foundation, drainage, and site preparation early in the shed process. That sequence matters. A ramp framed perfectly on soft, wet ground will still move.
Coordinate the ramp with the shed base using our resin shed foundation guide and Shed Foundation Material Calculator. Keep in mind that calculator quantities are planning estimates, not bearing or structural approval.
Leave a drainage route along both sides. Keep deck boards or manufactured surfaces spaced and detailed according to their instructions. Protect cut ends and use compatible corrosion-resistant fasteners for treated lumber. Avoid trapping leaves against the threshold, where they hold moisture and conceal movement.
Make the threshold transition deliberate
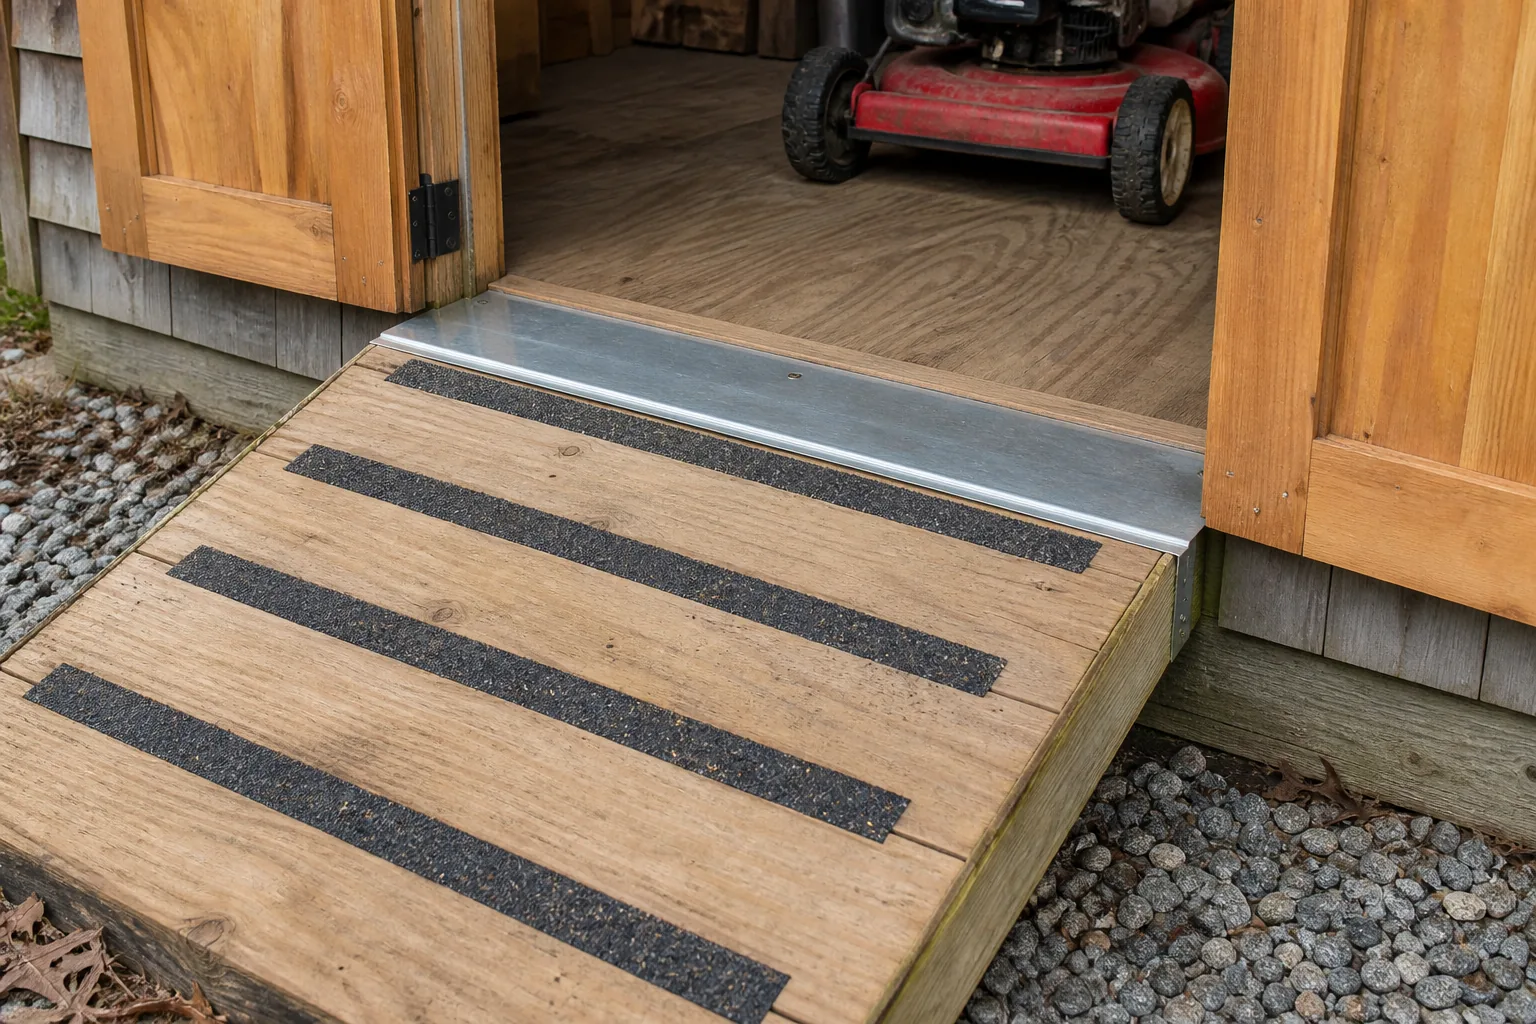
The upper transition often causes more trouble than the middle of the ramp. A metal lip, raised door track, or exposed floor edge can stop a small caster even when mower tires cross it. Measure the lip and every wheel that must pass.
A compatible transition plate can bridge a small gap and protect the floor edge. It must be supported, secured, and shaped so it cannot become a sharp edge or snag point. Confirm that doors still close and that the plate does not block drainage or violate the shed warranty.
At the bottom, avoid an abrupt board edge standing above the approach. A settled gravel apron may expose that edge later. Plan a stable taper or landing that can be maintained without burying untreated material or blocking water.
Traction is a surface and maintenance problem
Grooved boards, textured composite, mineral-coated strips, or an approved coating can improve grip. Compatibility, drainage, ultraviolet exposure, fasteners, and replacement matter. A strip that peels at the edge can become its own hazard.
No surface stays grippy under algae, frost, wet leaves, spilled fuel, or packed mud. Sweep the ramp, manage shade and drainage, and keep deicing products compatible with the deck, fasteners, nearby plants, and equipment. Do not use a ramp when conditions fall outside the machine manual.
Side edges deserve attention where the ramp borders a walking route or drop. A wheel stop or curb may help some layouts, while other equipment needs the full width clear. Rails and guards can create snag points or reduce door clearance if added without a complete plan. This is another site-specific decision.
Wood ramp, metal ramp, or prefabricated kit?
A site-built wood ramp can fit an unusual rise and width, and individual deck boards are replaceable. It also needs verified structural design, durable detailing, and periodic inspection. A prefabricated metal ramp may have a stated capacity and textured surface, but it must fit the exact threshold and be anchored as instructed.
Portable ramps are tempting when a permanent ramp seems too large. They introduce setup, alignment, storage, and securement tasks each time. Never assume a pair of loading ramps is suitable for a shed simply because it carries the equipment’s weight. The geometry, end attachment, surface, width, and manufacturer-approved use all count.
The North Dakota State University shed plan resource shows how access belongs within a complete building plan. Use published plans only within their stated scope and local requirements; do not pull one ramp detail out of a different structure and treat it as engineered for yours.
A practical planning sequence
- Measure finished rise, doorway, threshold lip, approach, and available run.
- List every mower, cart, caster, attachment, and likely future machine.
- Check each equipment manual for slope, loading, operating, and clearance limits.
- Make a full-size side profile and examine both transitions.
- Choose width from the complete tire path and straight approach.
- Calculate the full moving load and obtain a suitable structural design or rated kit.
- Plan threshold support, lower bearing, drainage, traction, and edge treatment.
- Confirm permits, accessibility rules, warranties, and local construction requirements.
Compare shed ramp kit listings on Amazon (paid link). Use the listings to identify possible systems, then verify current load rating, usable width, supported rise, end connections, surface, and approved applications with the manufacturer.
Inspect before every season
Before moving equipment, check that the ramp cannot shift at either end. Look for loose connectors, split lumber, corrosion, soft spots, uplifted strips, settled bearing, algae, ice, and a changed threshold gap. Verify that doors stay secured open and that the approach is clear.
Make the first movement slowly under the machine manufacturer’s instructions, with bystanders away from the route. Stop if the deck or frame approaches either transition, a tire nears an edge, the ramp deflects unexpectedly, or traction feels uncertain. Do not use speed to overcome a clearance problem.
A useful shed ramp makes an ordinary trip feel ordinary. That comes from measured geometry and a documented load path, not from picking a convenient length and hoping the mower clears it.