Disclosure: This page contains affiliate links. As an Amazon Associate, Yard Foundry earns from qualifying purchases.
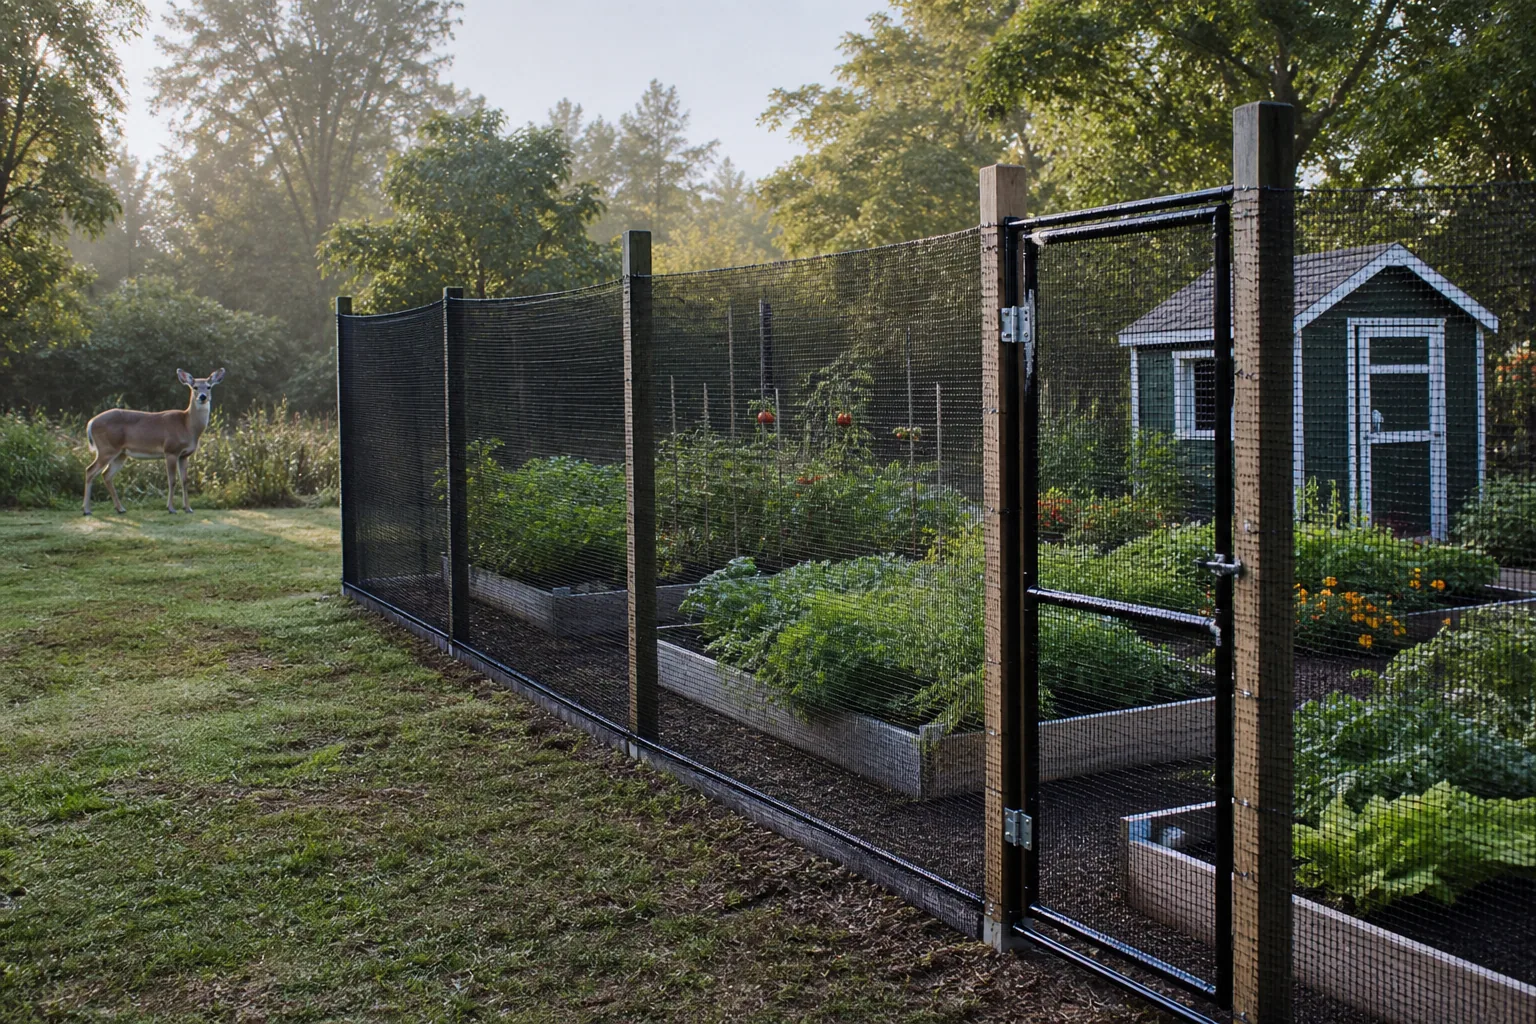
A deer fence kit for garden protection is only useful when its height, mesh, posts, gate, and bottom edge work as one barrier. Start by identifying the deer species and pressure around the property, then measure the perimeter and terrain. For many non-electric garden barriers, eight feet is a common starting point, but local guidance can call for more. A tall roll of mesh with weak corners or an open gate will not solve the problem.
This is a research based selection guide, not a field test. Yard Foundry has not installed or monitored the kits discussed here. Deer behavior, local rules, soil, snow, wind, and plant value vary, so confirm the design with local Extension or wildlife guidance before buying.
Deer fence kit for garden planning starts with pressure and height
Height advice looks inconsistent until the setting and deer species are included. USDA APHIS says non-electric deer fencing should be at least eight feet high. University of Minnesota Extension also recommends a well-built eight-foot fence, while noting that a motivated deer with a running start can clear a much taller barrier. Utah State University Extension recommends ten-foot fencing around sensitive areas in its mule deer guidance.
Those recommendations should not be flattened into one national number. White-tailed deer and mule deer do not present exactly the same problem, and a small urban bed with occasional browsing is different from an orchard beside a winter travel corridor. Ask the local Extension office or wildlife agency which species is present and what barrier has worked nearby.
Also inspect the outside approach. Open space gives deer room to assess and attempt a jump. A slope that rises outside the fence can reduce the effective height. Snow can do the same thing in winter. Trees, retaining walls, stacked materials, and sheds may create a launch point or let an animal lean across the mesh.
Choose mesh for the pressure and service life
| Fence material | Where it tends to fit | What to inspect |
|---|---|---|
| Polypropylene deer mesh | Seasonal or lower-pressure garden enclosure where low visual impact and easy handling matter | UV rating, mesh size, breaking strength, edge reinforcement, tie spacing, repair method |
| Woven or fixed-knot wire | Longer-term barrier and moderate or high pressure | Wire coating, knot type, roll weight, tension method, corner bracing, compatible posts |
| Welded wire panels or rolls | Small rigid enclosures and lower sections where shape matters | Gauge, opening size, corrosion protection, panel joints, sharp cut ends |
| Electric layouts | Specialized behavioral deterrence where lawful and properly designed | Local rules, energizer, grounding, visibility, vegetation control, signs, maintenance |
The USDA APHIS guide to wildlife exclusion distinguishes flexible polypropylene from wire. It describes plastic deer fencing as a lower-cost option for light to moderate pressure and says the flexible mesh can sag, with support posts commonly spaced 10 to 15 feet apart using ties. The same guide points to wire fencing for moderate to high mammal damage. Treat those post distances as source context, not an automatic layout for every kit. Wind, corners, terrain, snow, mesh strength, and the maker’s instructions can require closer or stronger support.
Fine black mesh can disappear visually at a distance, which is useful for a garden view and less useful near a walkway. Add a visible top line, gate frame, or markers where people may cross the fence line. Never leave loose netting on the ground where wildlife can become entangled.
Mesh opening matters near the bottom. A deer barrier may still admit rabbits, woodchucks, or small pets. If those animals are part of the problem, plan a separate lower layer that suits the target species instead of expecting tall deer mesh to do every job. Our raised bed cover guide explains how insect mesh and fabric solve different, smaller-scale problems. A low hoop cover is not a substitute for a deer perimeter.
Posts, corners, and tension carry the fence
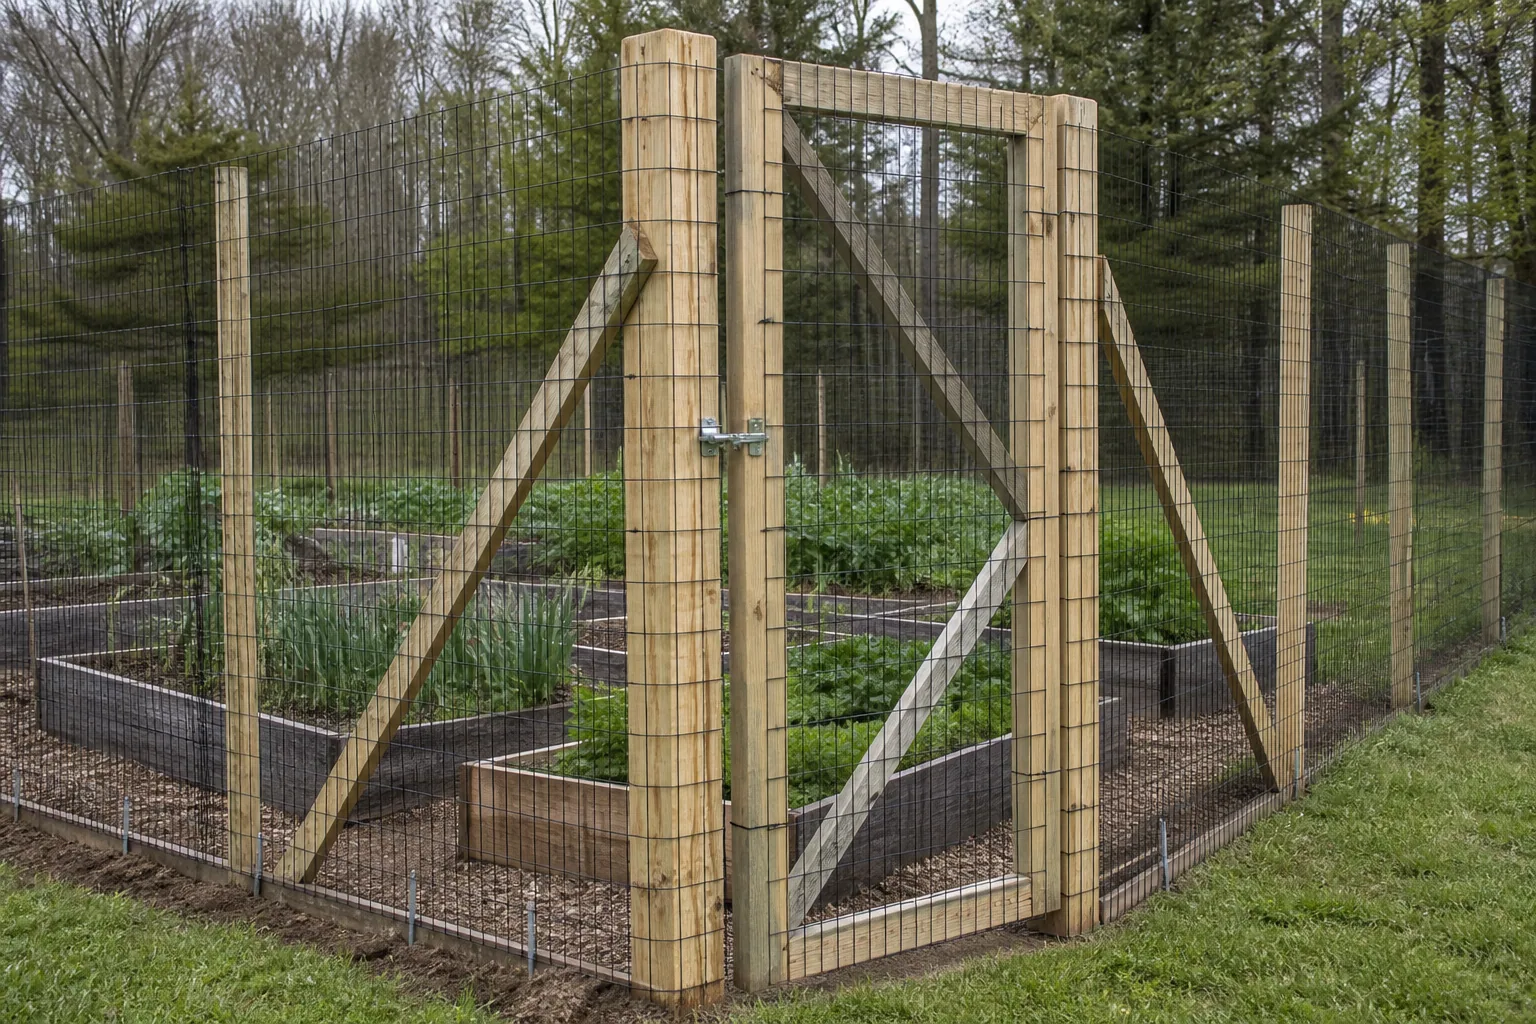
Line posts hold the mesh in position. End posts, corners, direction changes, and gates carry concentrated tension and movement. A kit with many light line posts but no serious corner solution is incomplete for a taut permanent barrier.
Count every structural point on a sketch:
- Two ends if the fence ties into an existing wall or structure
- Every outside and inside corner
- Both sides of each gate
- Changes in slope or direction
- Long straight runs that need intermediate support
Post type should fit soil and expected service life. Driven metal posts make a seasonal mesh fence easier to move. Wood posts allow substantial corner braces and gate hardware but require deeper ground work and a plan for decay. Rigid metal systems can be strong and neat, though they need compatible clips, caps, and braces rather than improvised ties.
Before digging or driving posts in the United States, use the 811 service for underground utility marking and follow the waiting period and instructions for the state. Private lines such as irrigation, lighting, or power beyond the utility’s responsibility may need separate locating. Check local fence height, setback, sight-line, HOA, and permit rules too.
The bottom edge closes the quietest entry point
A fence can be tall and still fail at ground level. Depressions, washouts, creek edges, roots, and soft soil leave openings. Deer may push beneath a loose edge, and smaller animals will use gaps that are easy to miss from standing height.
Walk the line with the mesh held at its intended height. Decide whether the bottom will be pinned, clipped to a tension cable, attached to a rigid lower fence, or buried where the material and local practice allow. Do not stretch mesh across a hollow and assume ground staples at each end will hold it down.
Keep the bottom visible enough to inspect. Mulch, vines, grass, and leaf litter can hide holes or pull flexible mesh out of shape. If irrigation tubing crosses the line, protect it from posts, staples, string trimmers, and the gate path. The raised bed drip irrigation layout guide can help place headers and bed lines inside the enclosure instead of weaving them through the access route.
Build the gate as part of the barrier
The gate is the fence section used most often, so it deserves its own posts, bracing, latch, and ground plan. A loose curtain of mesh can work for occasional access, but it is easy to leave partly open and awkward to use with a cart. A framed gate makes closure obvious and supports a repeatable latch.
Choose width from the largest normal load, not from shoulder width. Measure the mower, garden cart, wheelbarrow, compost bags, and future bed materials. Leave room for hands and wheel hubs. The clear opening is smaller than the distance between outside post faces once hinges, stops, and latches are installed.
Check the full sweep on uneven ground. An outward-swinging gate may hit a rising lawn, while an inward gate can collide with the nearest bed. A threshold that blocks deer may also catch wheels. If a vehicle gate is needed, its posts and bracing should be designed for the wider moving panel rather than copied from a pedestrian opening.
The latch should be operable with one hand, visible in low light, and resistant to wind. Add a positive second closure if a pet, child, or busy harvesting routine makes accidental opening likely. Closing the gate every time matters more than buying elaborate mesh.
Measure the perimeter before comparing kits
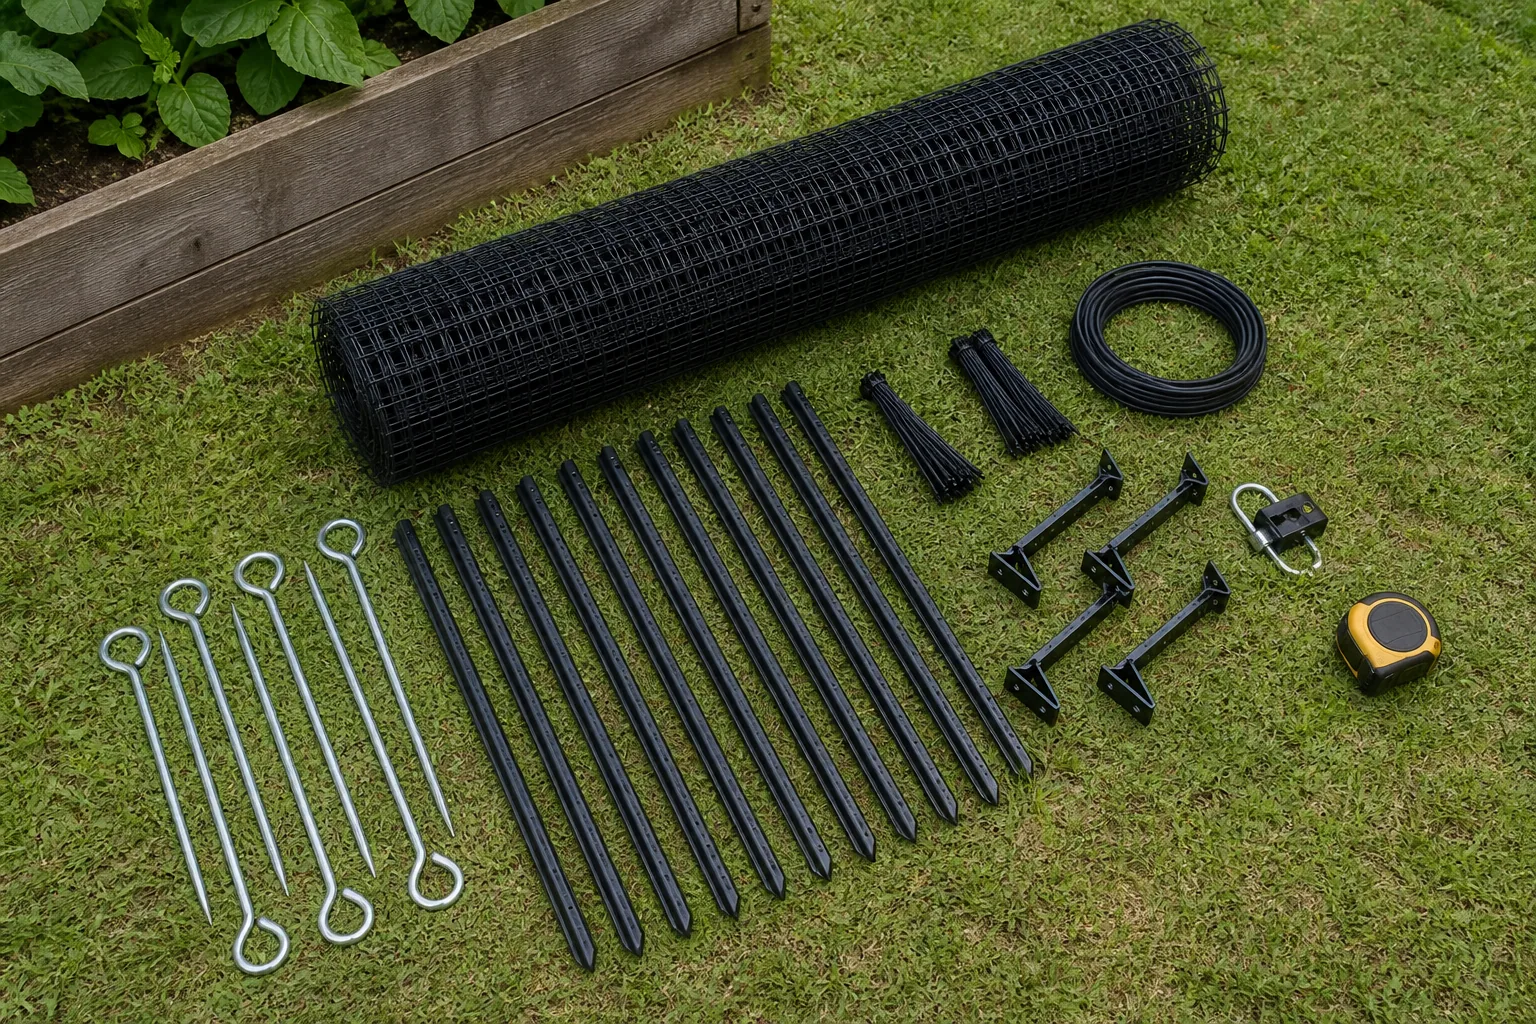
Sketch the fence line to scale. Record each straight run, corner angle, gate, structure tie-in, slope break, and obstacle. Add the specified overlap or joining method from the mesh manufacturer. Do not buy a roll whose stated length exactly equals the tape-measure perimeter unless the design requires no overlaps, repairs, or terrain allowance.
A complete bill of materials may include:
- Mesh of the chosen height, material, opening, and strength
- Line posts plus stronger end, corner, and gate posts
- Braces, anchors, sleeves, caps, and ground hardware
- UV-resistant ties, clips, or tension wire approved for the mesh
- A framed gate, hinges, latch, and any bottom stop
- Repair mesh and compatible joining pieces
Kit photos often show a clean rectangle on level grass. The real perimeter may need an extra corner, a protected tree, or a gate on a slope. Price the missing structural parts before comparing two packages. A cheap roll plus improvised corners can cost more time than a smaller complete system.
Protect beds without trapping the gardener
Fence placement affects daily care. Leave enough internal aisle space to kneel, turn a cart, prune, and repair the mesh. Avoid pinning the fence directly against the outer wall of a raised bed. That narrow strip becomes difficult to weed and impossible to inspect.
If the beds are still being selected, compare their footprint and access needs in our raised garden bed kit guide. The wood versus metal raised bed comparison also covers edge and maintenance differences that affect clearance near a fence.
For a very small collection of high-value plants, individual cages or a compact rigid enclosure may be more practical than a full perimeter. A closed greenhouse can provide another layer of physical separation where the growing conditions and budget make sense. Our polycarbonate greenhouse kit guide covers the structure itself, but doors, vents, and ground gaps still need their own wildlife plan.
Wind, snow, vegetation, and repairs
Flexible mesh catches less wind than a solid fence, but leaves, vines, frost, and wet snow can turn it into a much heavier surface. Keep aggressive vines off the fence unless the system was designed for that load. Cut branches that can fall across the top, and inspect the line after storms.
Set a simple maintenance route. Walk the perimeter from both sides. Look for loose ties, sagging bays, lifted ground edges, washouts, holes, leaning posts, gate drag, and a latch that no longer aligns. USDA APHIS notes that fallen branches and debris can breach exclusion fences and that holes in polypropylene mesh need monitoring.
Keep repair material that matches the original mesh. Random wire, string, and cable ties can create sharp ends, weak seams, or a patch that catches wildlife. For a seasonal system, clean and dry the mesh before rolling it so the next installation does not begin with hidden tears.
Electric fencing is a separate design decision
Some deer barriers use electricity as a behavioral deterrent rather than a tall physical wall. That is not a simple add-on to a plastic mesh kit. Energizer selection, grounding, wire layout, vegetation control, visibility, warnings, and local restrictions all matter. USDA APHIS advises against electric fencing in residential areas in its exclusion guide, while some Extension sources discuss properly designed electric options in other settings.
This guide does not provide an electric-fence build. If that route is being considered, use a design approved for the property type and target deer, follow local law, and get advice from the local Extension office or a qualified fence installer. Never electrify ordinary mesh or barbed wire.
Compare deer fence kit listings on Amazon (paid link). Use listings to identify mesh height, roll length, post count, gate options, and included hardware, then check the design against local deer guidance and the complete installation instructions.
A shortlist that includes the missing parts
- Identify the local deer species, seasonal pressure, and protected area.
- Choose a height from local guidance, terrain, snow, and outside approach.
- Select polypropylene, woven wire, or another system for the expected pressure and service life.
- Draw every run, corner, grade change, structure tie-in, and gate.
- Count line posts separately from end, corner, and gate posts.
- Plan the bottom edge, visibility, irrigation crossings, and repair access.
- Verify digging, fence-height, setback, HOA, and wildlife rules before installation.
Frequently asked questions
Is an eight-foot deer fence always high enough?
No single height fits every site. Eight feet is common guidance for non-electric barriers in white-tailed deer settings, while some mule deer guidance recommends ten feet. Snow, slopes, outside run-up, deer motivation, and fence condition change performance. Follow local Extension advice.
Is plastic deer mesh better than wire?
Plastic mesh is lighter, less visually prominent, and easier to roll for seasonal use. It can sag, tear, and need frequent inspection. Woven wire costs more and demands stronger posts and corners, but it tends to suit longer service and higher pressure. The better material depends on the site and maintenance plan.
Does a deer fence need to touch the ground?
The lower edge should close the gaps allowed by the design and local target animals. Flexible mesh usually needs deliberate pins, ties, cable, or another approved attachment. Inspect low spots and washouts rather than assuming a tall fence prevents entry underneath.
Choose the fence from the local deer and the complete perimeter, not from roll length alone. Height earns attention first, but the barrier lasts only when corners stay firm, the ground edge stays closed, and the gate is easy enough to latch every time.