Disclosure: This page contains affiliate links. As an Amazon Associate, Yard Foundry earns from qualifying purchases.
This is an editorial buying guide based on published specifications and installation guidance. Yard Foundry did not perform a hands-on durability test of every kit discussed.
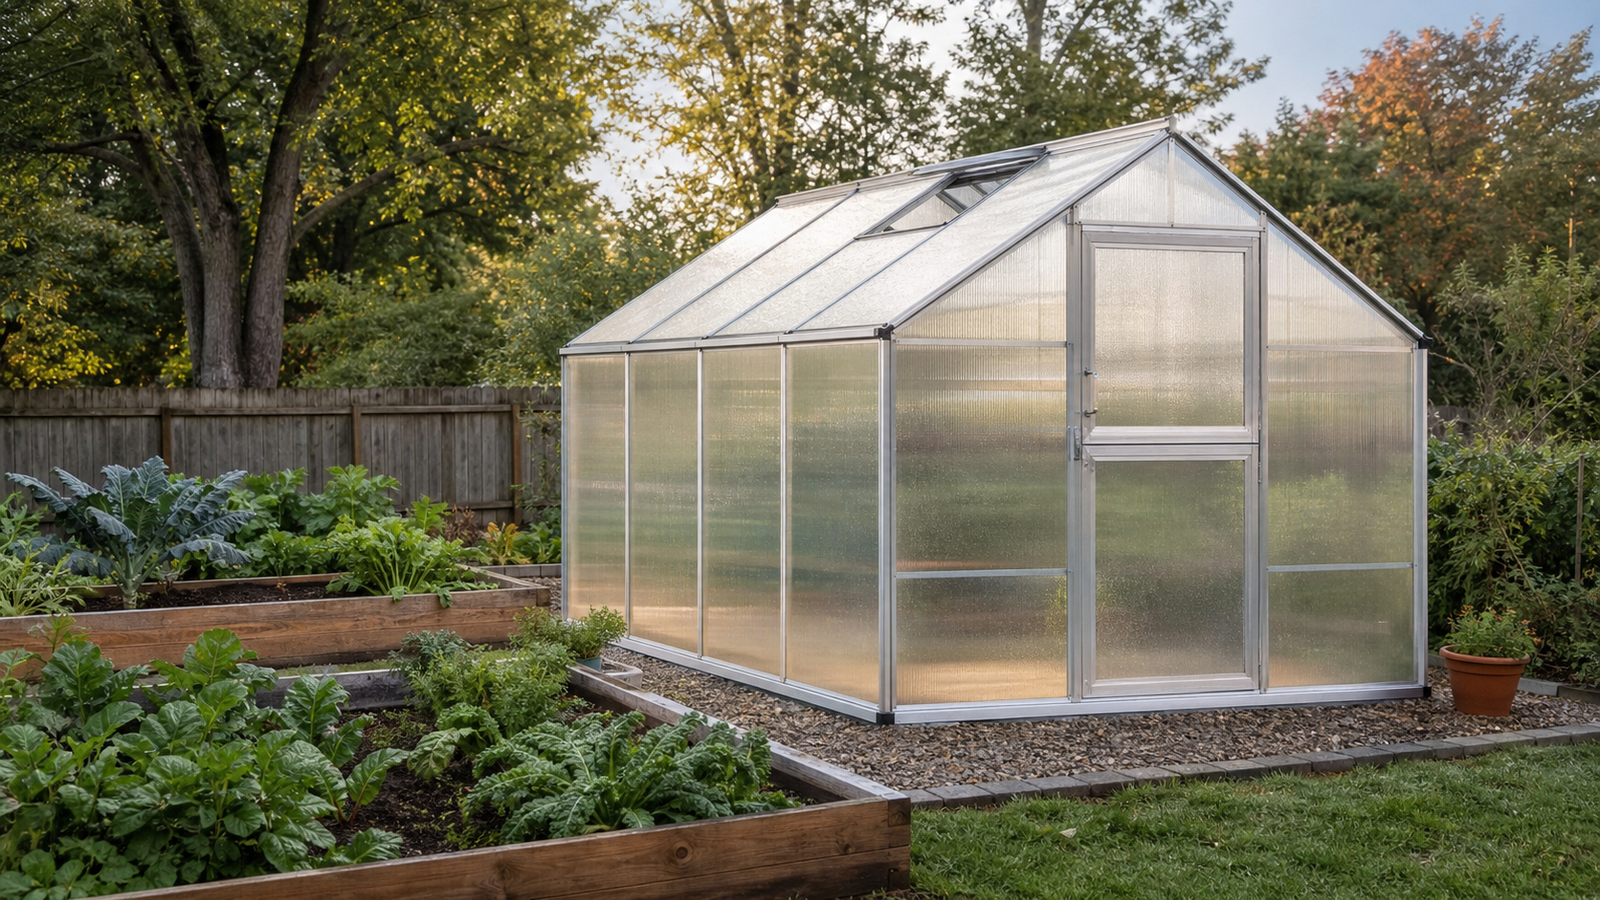
A polycarbonate greenhouse can be a sound backyard investment, but the panels alone don’t make a good greenhouse. The frame, anchoring system, roof shape, door hardware, and replacement parts matter just as much. Two kits that look nearly identical in a listing may behave very differently after a windy night or a heavy, wet snowfall.
This guide is for gardeners comparing full-size kits rather than temporary plastic tents. It explains where the money goes, which specifications deserve attention, and what to check before a truck leaves a large box at the end of your driveway.
See current polycarbonate greenhouse kits on Amazon
Start with the frame, not the panel color
Most backyard polycarbonate kits use aluminum or galvanized steel. Aluminum doesn’t rust and is easy to assemble, which makes it common on smaller hobby greenhouses. Thin aluminum can flex, though. A wide structure in an exposed yard needs more bracing than a compact greenhouse beside a fence.
Steel is heavier and usually feels more planted. Galvanized steel resists corrosion, but cut edges and scratched coatings still deserve a look during annual maintenance. Whichever material you choose, study the spacing of the roof members and side supports. A stout-looking corner post can’t compensate for a roof with long unsupported spans.
Twin-wall versus thicker multiwall panels
Twin-wall polycarbonate traps air between two sheets. It diffuses direct sun and insulates better than a single clear panel. Thicker multiwall panels add more air spaces and tend to feel less flimsy, but thickness alone isn’t a complete quality test. UV protection, panel weight, edge sealing, and the way the panels lock into the frame all affect service life.
Look for a clearly marked UV-protected side. Installing that face inward can shorten panel life. Also check whether the kit uses clips, full-length channels, or narrow tabs to retain each panel. Loose panels are one of the first things owners notice in gusty weather.
Match the roof to your weather
A peaked roof sheds rain and snow more readily than a shallow curved roof. That doesn’t mean every peaked greenhouse is snow ready. Manufacturers publish load ratings for some kits, and those figures are more useful than photographs of snow on a product page.
If your area gets heavy snow, choose a kit with a stated snow load and keep a soft roof rake available. In windy areas, pay attention to the wind rating, door latches, roof vent locks, and anchoring instructions. A greenhouse is a large sail. Ground anchors or a bolted foundation aren’t optional in an exposed site.
Choose a foundation before choosing the size
A level base saves hours of trouble. Doors stay square, panels seat properly, and the frame carries loads as intended. Common bases include a pressure-treated timber perimeter, concrete slab, masonry curb, or compacted gravel pad with an anchored frame.
Check the kit’s exact outside dimensions before building. Nominal sizes can be misleading. An “8 by 10” greenhouse may need a base that differs by several inches, and the door swing may require extra room.
How much space is enough?
Gardeners often regret going too small. Benches reduce usable floor area quickly, and a center aisle that looked generous on paper can feel cramped when tomato foliage spills over it. An 8-foot width usually allows benches on both sides with a workable aisle. Narrower models suit seed starting or a small collection of pots.
Length is easier to extend on certain modular kits, but don’t assume expansion sections will remain available forever. If you expect to add a heater, water barrel, potting bench, or shelving, draw those objects inside the floor plan first.
Greenhouse temperatures can rise quickly under translucent glazing, so ventilation and shade belong in the initial budget rather than a later upgrade. Penn State Extension discusses the same heat-buildup problem in its greenhouse ventilation guidance.
Ventilation is part of the purchase
A sunny greenhouse can overheat on a cool day. At minimum, it needs roof vents and a door that can stay securely open. Larger houses benefit from intake vents and an exhaust fan controlled by a thermostat. Automatic wax-cylinder vent openers are handy because they work without electricity, though they don’t replace powered ventilation in a large structure.
Count the included vents and price any extras before comparing kits. A cheaper shell can stop being cheap once you add vents, shade cloth, shelves, anchors, and a fan.
Delivery and assembly details people miss
- Confirm whether the boxes arrive by parcel carrier or freight truck.
- Inspect long frame pieces for bends before the delivery driver leaves when possible.
- Sort fasteners and label frame members before assembly.
- Plan for two people. Large panels are awkward even when they aren’t heavy.
- Keep the protective film on until each panel is ready to install.
How to compare polycarbonate greenhouse kits
For a permanent backyard greenhouse, we would favor a well-braced frame, panels with clear UV specifications, a published weather rating, and replacement parts from an established manufacturer. Decorative trim comes later. Good instructions and correctly labeled parts also have real value when a kit contains several hundred pieces.
Buy for your site, not for the prettiest product photo. A sheltered urban yard, a snowy inland property, and a windy coastal lot ask very different things of the same structure.
Questions to answer before ordering
- Can the frame be anchored to the foundation you plan to build?
- Are wind and snow ratings published?
- Can you buy replacement panels, clips, vents, and door parts?
- Is the doorway wide enough for a wheelbarrow?
- Does the price include vents, anchors, gutters, and shelves?
- Can freight delivery reach your driveway?
Where this fits in a garden plan
A greenhouse works best as part of a system. Place it near water, leave room for maintenance around the walls, and think about where runoff will go. If you plan to automate watering, compare solar irrigation pump kits before setting the final location. Gardeners deciding between several greenhouse styles should also read our guide to lean-to greenhouse kits.