Disclosure: This page contains affiliate links. As an Amazon Associate, Yard Foundry earns from qualifying purchases.
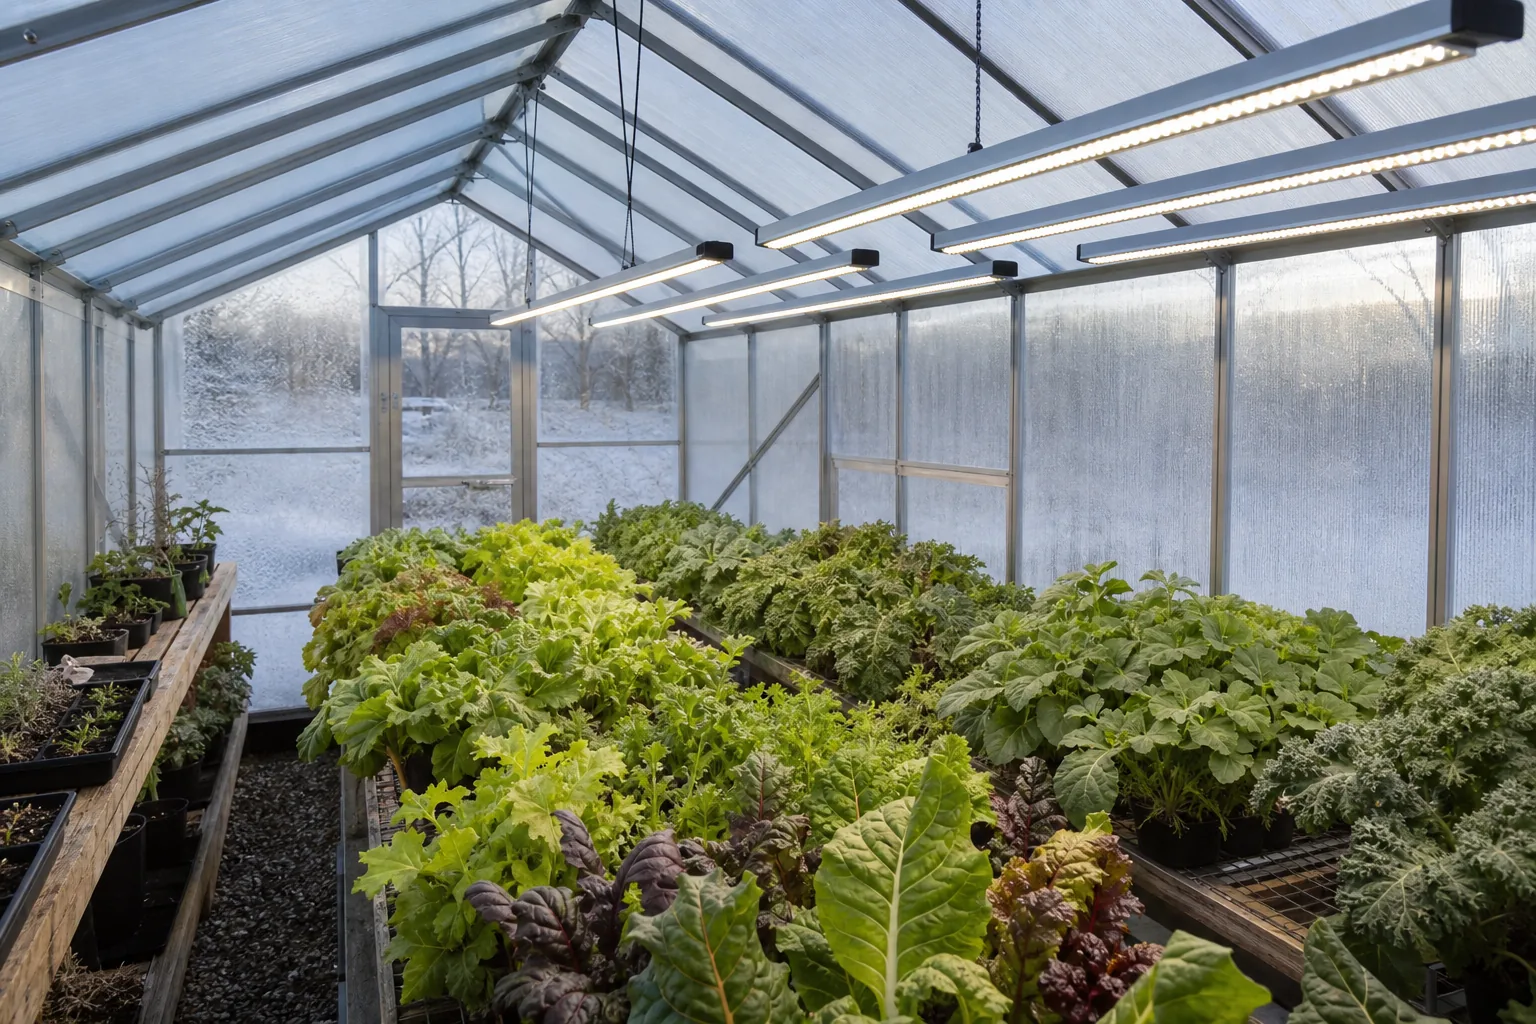
Greenhouse grow lights should fill a measured seasonal light deficit, not replace sunlight that the crop already receives. Define the crop area, estimate its daily light integral, choose a target with reliable horticultural guidance, and calculate the supplemental output and operating hours needed to close the gap. Then compare fixtures by canopy coverage, photon efficacy, dimming, moisture suitability, and total electrical load. Wattage alone cannot tell you whether a fixture fits the greenhouse.
This is a research based planning guide. Yard Foundry has not tested the fixtures discussed here or measured light in your greenhouse. Crop targets, wiring, and installation should be confirmed with qualified horticultural and electrical guidance.
Decide what greenhouse grow lights need to accomplish
Supplemental greenhouse lighting can serve several different jobs. It may keep seedlings compact on dark winter days, extend the production season for leafy greens, prevent stock plants from stalling, or maintain a long photoperiod for a crop whose development responds to day length. These are not interchangeable goals.
Write down the crop, growth stage, bench area, target season, and acceptable schedule before shopping. A fixture that works over one propagation bench may not cover a mature tomato canopy. A low-intensity photoperiod light may affect flowering without contributing much photosynthetic light. Product listings often blur those uses.
The greenhouse itself is part of the calculation. Frame members, condensation, glazing age, snow, dirt, shade cloth, and nearby trees reduce transmitted light. If the structure is still being selected, compare glazing and framing in our polycarbonate greenhouse kit guide. If summer shading remains in place during winter, revisit the percentage and timing with the greenhouse shade cloth guide.
Use DLI to describe the seasonal gap
Daily light integral, or DLI, describes the total photosynthetically active light delivered to a square meter during a day. It is expressed as moles per square meter per day. Photosynthetic photon flux density, or PPFD, describes the rate arriving at that surface at one moment. DLI combines intensity and time, which makes it more useful for a daily lighting plan.
Purdue Extension’s DLI guide for greenhouse production explains how crop quality and development respond to the light accumulated over a day. Its crop examples are useful planning references, but they are not universal prescriptions. Cultivar, temperature, carbon dioxide, nutrition, disease pressure, and the desired growth rate all matter.
The basic conversion is:
DLI = average PPFD x lighting seconds per day / 1,000,000
For example, 150 micromoles per square meter per second maintained for 12 hours contributes about 6.5 moles per square meter per day. That does not mean a 150 PPFD fixture adds 6.5 everywhere. Real canopies receive a distribution, with brighter centers, dimmer edges, shadows from leaves, and changing sunlight.
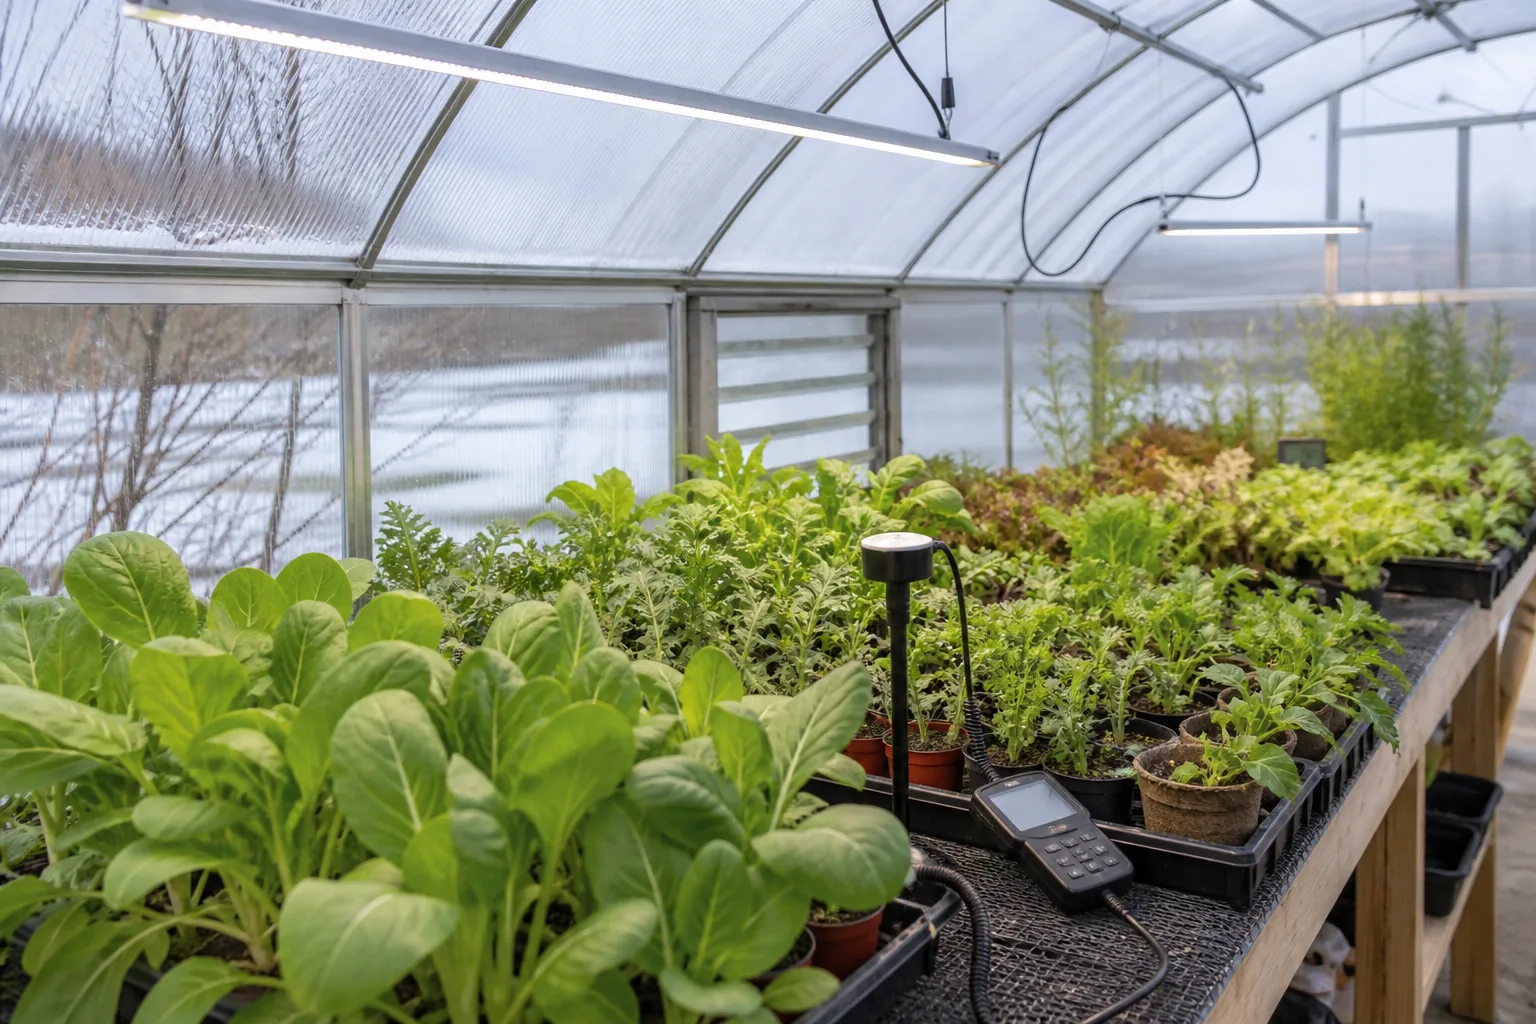
Measure natural DLI at crop height across several representative days if possible. A greenhouse sensor that logs through the day is more useful than a single noon reading. Winter planning should include dull days, not just the clearest day of the month. Cornell University’s controlled environment lighting resources provide a practical foundation for understanding plant lighting terms and applications.
Translate the target into fixture coverage
Once the crop target and natural contribution are known, the difference is the supplemental DLI to provide. The operating window then determines the average PPFD needed. A longer window can deliver the same daily total at lower intensity, provided the crop and schedule allow it.
Fixture coverage comes from a photon map measured at a stated hanging height. Look for a grid of PPFD values over a named area, not a bright marketing photograph. Confirm whether the map was measured in open air, inside a reflective room, or with several fixtures. Greenhouse glazing is not a reflective grow tent, so edge performance may be weaker than a map produced between white walls.
| Specification | Useful question | Weak substitute |
|---|---|---|
| PPF | How many photosynthetic photons leave the fixture each second? | Lumens alone |
| Photon efficacy | How much PPF is produced per watt? | “Energy saving” without data |
| PPFD map | How evenly does light reach the planned canopy at the stated height? | One center reading |
| Dimming range | Can output follow sun, crop stage, and season? | Simple on and off only |
| Environmental rating | Is the fixture and connection method approved for the damp location? | “Indoor use” with no detail |
| Warranty and service | Are drivers and mounting parts available? | Long warranty with no service route |
The DesignLights Consortium publishes technical requirements for horticultural lighting, including reporting around output and efficacy. Qualification is not a crop recommendation, but standardized data makes fixture comparisons less speculative.
Plan overlapping light rather than isolated rectangles
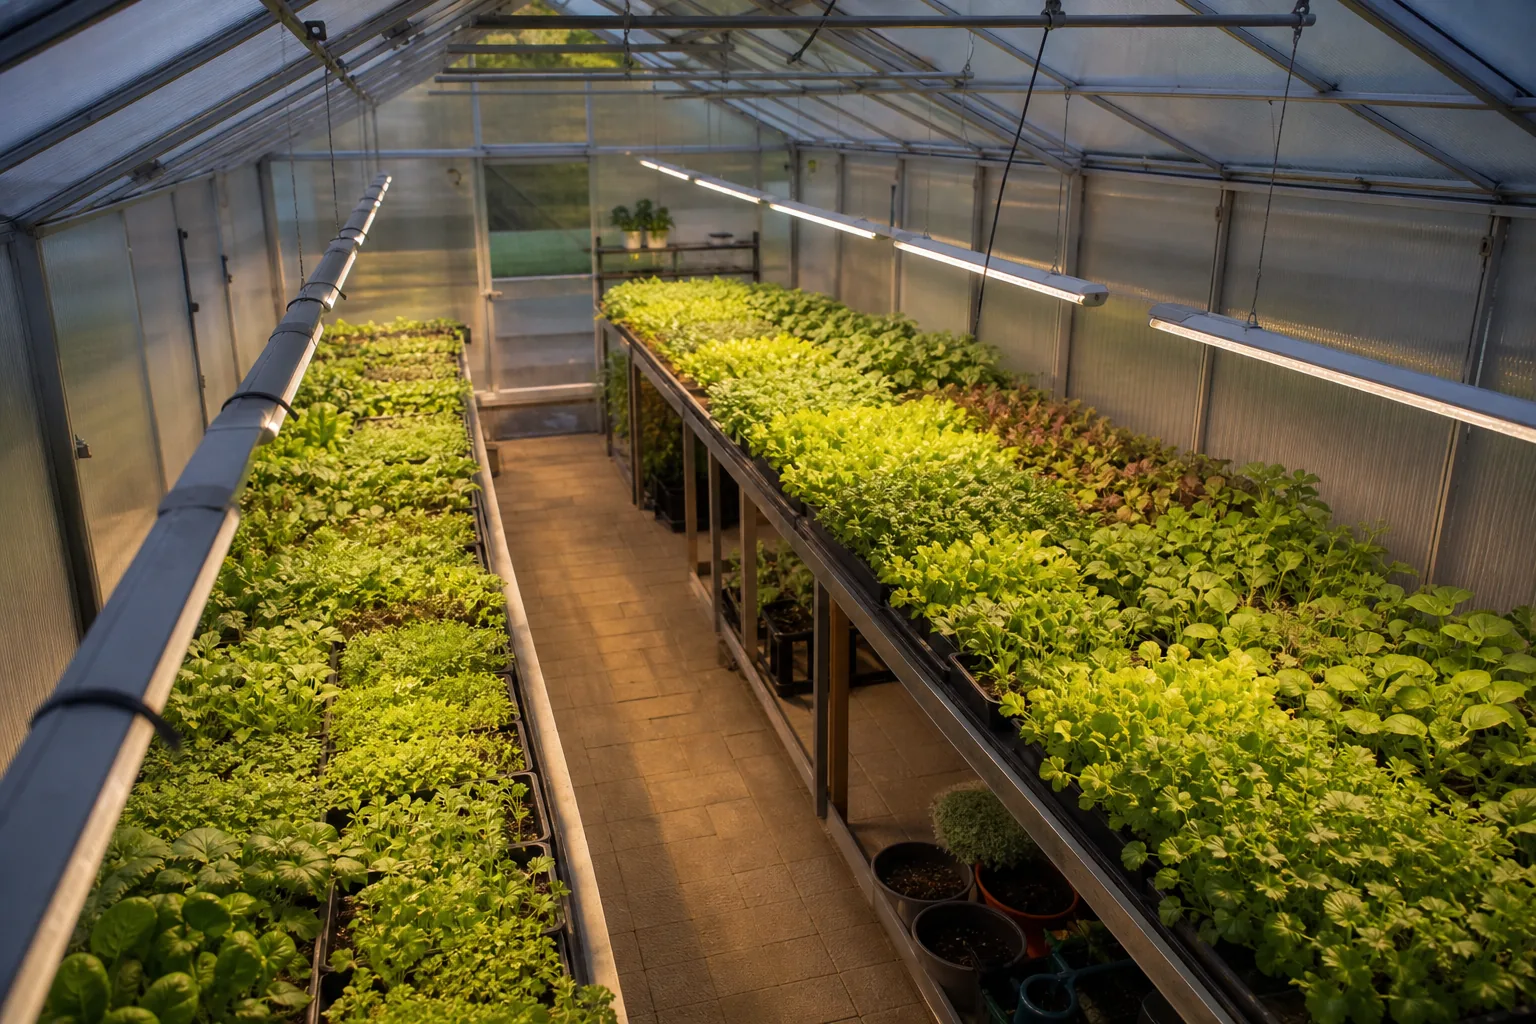
Fixtures rarely produce hard-edged coverage. Their light fades toward the edge, then overlaps with the next fixture. Plan the complete bench layout on graph paper, including posts, roof braces, hanging baskets, doors, and tall crops. A row of evenly spaced bars often creates smoother coverage than one intense point source over a long bench.
Mounting height changes both intensity and uniformity. Lowering a fixture raises intensity near its center but shrinks the footprint and can exaggerate bright and dim zones. Raising it broadens the footprint while reducing PPFD. The manufacturer’s map should state the exact height from fixture to sensor plane.
Leave room for the crop to grow. A safe distance over young lettuce may become too close over mature tomatoes. Hanging hardware also needs a reliable structure. Do not assume a light greenhouse frame has spare capacity for several fixtures, cables, and irrigation lines. The installation manual should identify suitable attachment points.
Calculate the whole electrical load
Add the actual input power of every fixture, driver, controller, fan, heater, pump, and receptacle expected to operate together. Greenhouse heating often dominates winter electrical demand. Use our greenhouse heater guide to keep the lighting decision tied to the building’s full energy plan.
Purdue’s supplemental greenhouse lighting guide discusses fixture performance, light delivery, and economic considerations. Electricity cost is not just watts multiplied by one winter schedule. Include seasonal run time, dimming strategy, driver losses represented in actual fixture input, and the effect on greenhouse cooling or heating.
Lighting adds heat. That can reduce some heating demand on a cold night, but it can also push a sunny greenhouse toward excessive temperature. Coordinate the schedule with the greenhouse ventilation plan. Do not treat lighting heat as a reliable substitute for a properly controlled heater.
Have a qualified electrician check circuit capacity, continuous-load requirements, grounding, disconnects, ground-fault protection, moisture exposure, cable support, and local code. Daisy chaining household power strips across a wet greenhouse is not a lighting system.
Controls can save light without starving the crop
A basic timer repeats the same schedule regardless of the sun. That is workable for simple photoperiod lighting, but less efficient for meaningful supplemental output. A light sensor and controller can reduce fixture power when sunlight is strong, then increase it as clouds pass. More advanced systems manage toward a daily target.
Dimming also helps during crop transitions. Newly transplanted seedlings may need a gentler start than established plants. Increase light alongside irrigation, nutrition, airflow, and temperature rather than changing one factor abruptly. More light increases the crop’s capacity for growth only when the rest of the environment supports it.
Place sensors at crop height in a representative location and keep them level and clean. One sensor beneath a roof beam will understate the average. One sensor in a bright edge patch will overstate it. Periodically compare several canopy positions with a suitable meter and inspect the crop for stretching, bleaching, uneven growth, or excess leaf temperature.
Color and spectrum need context
White LED fixtures can make crop inspection and greenhouse work more comfortable while still providing useful photosynthetic light. Red, blue, far-red, and ultraviolet output can influence crop form and development, but broad claims such as “full spectrum” do not define a horticultural result.
Ask for a spectral power distribution and evaluate it beside the crop objective. Spectrum cannot compensate for poor intensity, uneven coverage, or an unrealistic schedule. For a mixed hobby greenhouse, an efficient white horticultural fixture with clear performance data is often easier to manage than a highly specialized spectrum.
A buying workflow that avoids wattage guesswork
- Define crop, stage, canopy dimensions, season, and lighting objective.
- Estimate or measure natural DLI at the actual crop surface.
- Select a credible crop target and calculate the supplemental gap.
- Choose an operating window, then estimate average PPFD required.
- Lay fixture photon maps over the bench plan and check edge overlap.
- Compare PPF, photon efficacy, dimming, environmental suitability, and service support.
- Add every fixture and controller to the greenhouse electrical load schedule.
- Confirm mounting and electrical details before ordering.
Compare greenhouse LED grow light listings on Amazon (paid link). Use the results to identify possible fixture formats, then verify current PPF, efficacy, photon maps, environmental ratings, and manuals at the manufacturer’s site.
Check the result at canopy height
After installation, measure several points over each bench at the height of the crop, not on the floor. Record fixture height, dimming level, time, sky condition, and sensor location so later readings mean something. Move or dim fixtures to correct severe bright spots before adding more hardware.
Recheck as plants grow and seasons change. A winter arrangement may be unnecessary once spring DLI rises. Dense mature foliage changes the useful working plane and casts deeper shadows. Clean glazing and fixture lenses according to their manuals, because dust and condensation films quietly reduce delivered light.
Supplemental lighting is easiest to justify when the plan starts with a crop need and ends with measured canopy delivery. A clear DLI gap, a credible photon map, and a complete power budget tell you far more than the number of LEDs in a product photo.