Disclosure: This page contains affiliate links. As an Amazon Associate, Yard Foundry earns from qualifying purchases.
A greenhouse exhaust fan should replace the house’s warm air quickly enough for summer conditions, while pulling fresh air through a generous, unobstructed intake. Start with the greenhouse’s interior volume, choose a fan by its rated airflow at the resistance it will actually face, and pair it with shutters that open fully. Then use a thermostat or staged controller to keep the fan from cycling constantly. Fan diameter alone is not a useful sizing method.
This is a research based equipment guide. Yard Foundry has not bench tested the fans or controls discussed here. Confirm electrical work, mounting, and equipment suitability with the manufacturer and a qualified electrician.
Start with the ventilation job for a greenhouse exhaust fan
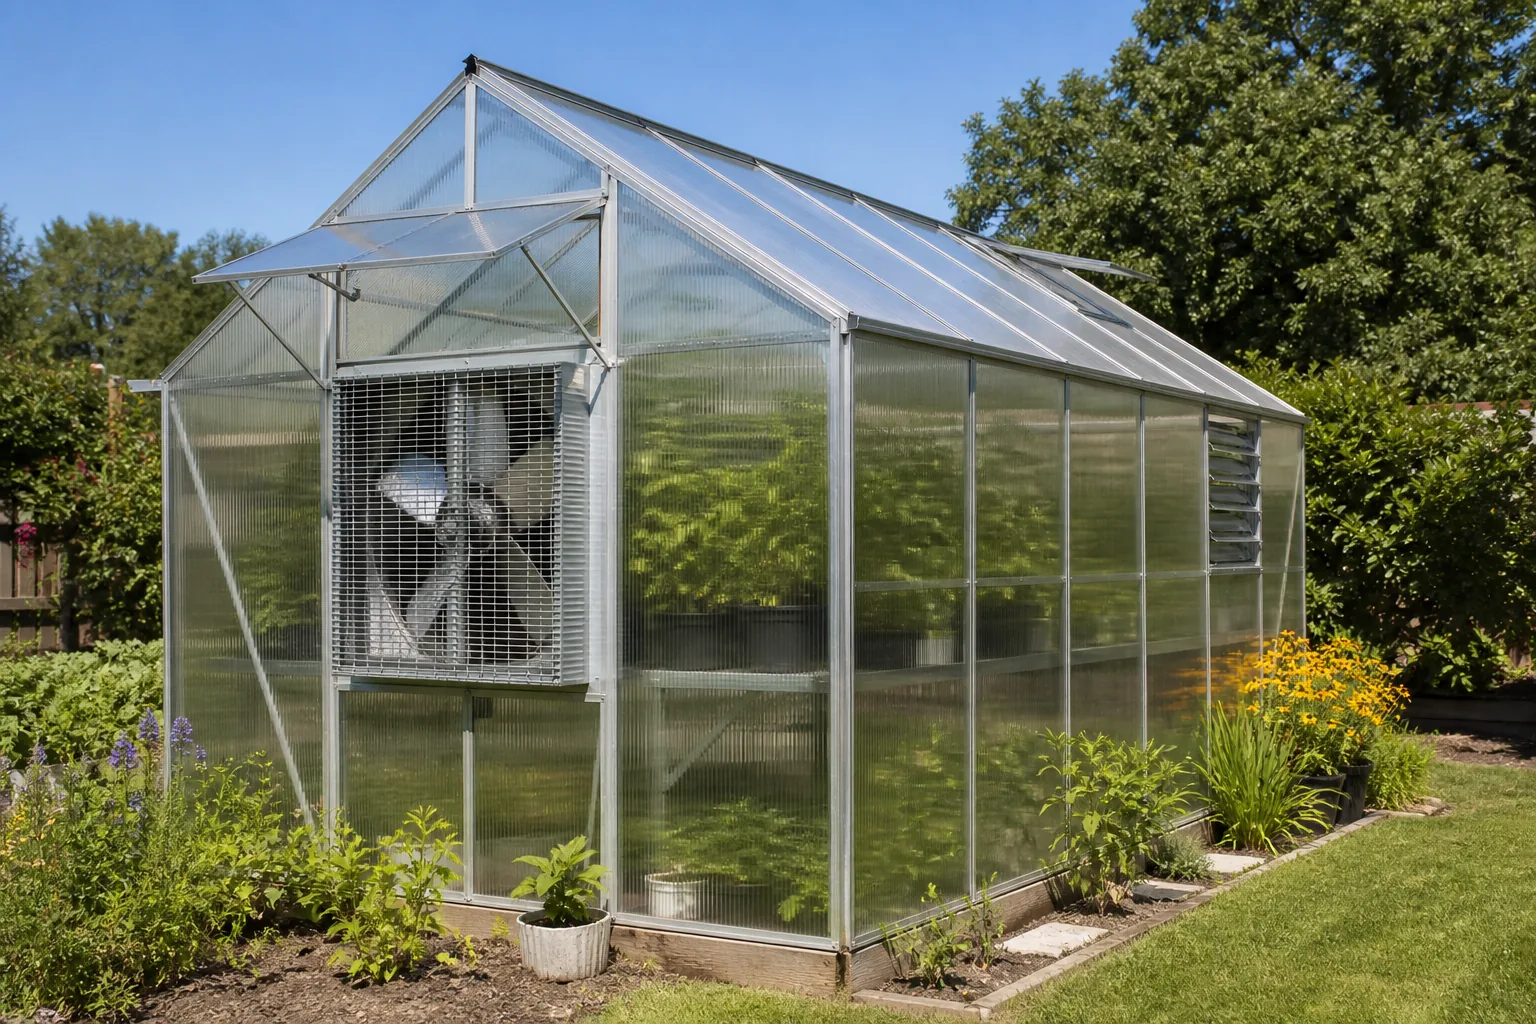
An exhaust fan is one part of the cooling path. It removes hot air from one end of the greenhouse, which creates a small pressure difference that draws outdoor air through shutters or other openings at the opposite end. If the intake is undersized, blocked by plants, or placed beside the exhaust, even a large fan can move less air than expected.
The University of Massachusetts greenhouse ventilation guide recommends sizing summer mechanical ventilation around frequent air replacement and providing a low inlet at the opposite end. That is a design starting point, not a guarantee for every climate. Solar gain, glazing, outdoor temperature, shade, crop density, and duct or shutter resistance all affect the result.
If you are still deciding between roof vents and powered ventilation, begin with our broader greenhouse ventilation guide. This page focuses on choosing the fan, inlet hardware, and controls after powered exhaust is the plan.
Calculate a useful CFM target
Measure interior length, width, and average height in feet. For a simple gable house, average height is roughly the eave height plus half the rise from eave to ridge. Multiply those three dimensions to estimate cubic feet.
Greenhouse volume = length x width x average height
Suppose a greenhouse is 12 feet long, 8 feet wide, and averages 8 feet high. Its approximate volume is 768 cubic feet. A target of one air change per minute would call for 768 cubic feet per minute before allowances for resistance and difficult site conditions.
Oklahoma State University’s hobby greenhouse guidance describes a warm-season design based on exchanging the greenhouse air about once per minute. Treat that as a planning baseline. A greenhouse in intense sun with little shade may need more cooling capacity, while a shaded house in a mild coastal climate may need less. Evaporative cooling also changes the system design.
Do not simply add a large percentage for luck. First identify the restrictions that reduce delivered airflow:
- Gravity shutters and insect screen in the exhaust opening
- Intake louvers that do not reach their full open area
- Long narrow air paths through dense foliage
- Nearby walls, fences, shrubs, or stored supplies at either opening
- Ducts, elbows, filters, or evaporative pads
- Dirty blades, guards, and shutters after a season of use
These restrictions create static pressure. A fan that advertises 1,200 CFM in free air may deliver less once it is mounted behind a guard and shutter. Ask for a fan curve or a certified performance table. The Air Movement and Control Association certified ratings program explains how independently certified performance data helps buyers compare airflow and power under stated conditions.
Choose fan hardware that survives greenhouse conditions
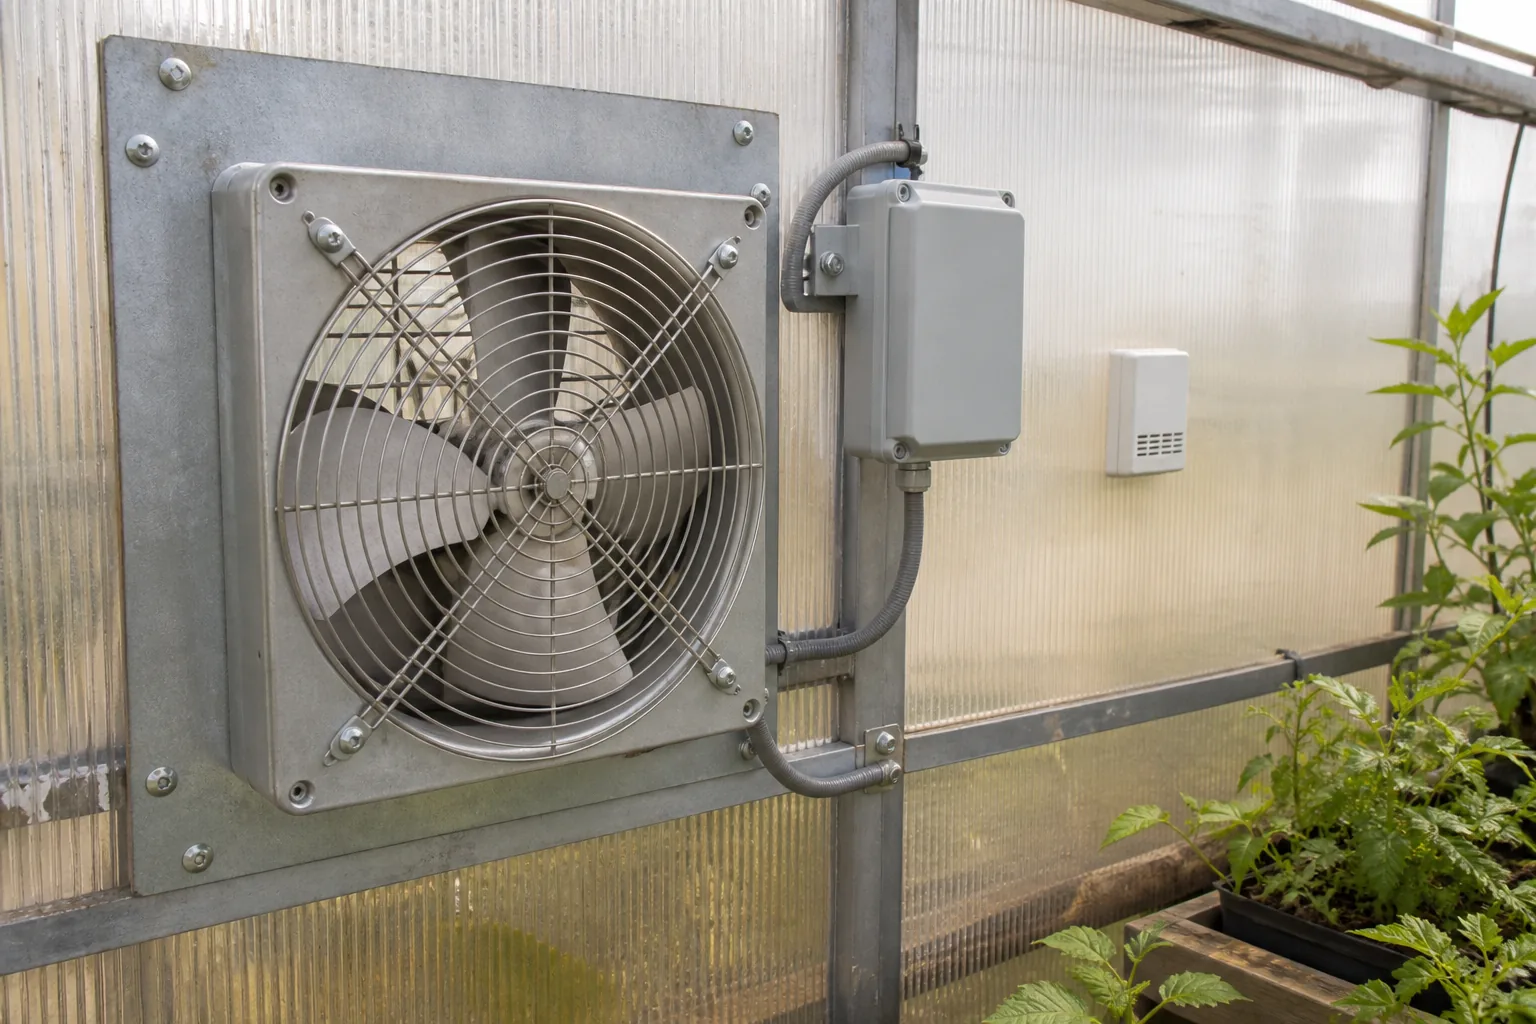
Airflow is the first filter, but it is not the last. Greenhouses are damp, dusty, and sometimes exposed to fertilizer residue. Look for a motor and enclosure that the manufacturer approves for the intended environment. The mounting panel must carry the fan without distorting the greenhouse end wall. Lightweight kit panels often need a framed opening tied into structural members.
| Specification | Why it matters | What to verify |
|---|---|---|
| Rated CFM | Shows nominal air delivery | Airflow at a stated static pressure, not diameter alone |
| Fan curve | Shows how airflow falls as resistance rises | Data covers the exact model and speed |
| Motor duty | Affects life in heat and humidity | Manufacturer approves the mounting and environment |
| Guard and shutter | Add resistance and protect the opening | They fit the fan and open without rubbing |
| Power and current | Determines circuit and controller needs | Startup and running load fit the rated circuit |
| Service access | Blades and louvers collect debris | The assembly can be isolated, opened, and cleaned safely |
For a new structure, coordinate the opening before the glazing is installed. Our polycarbonate greenhouse kit guide covers frame and panel questions that matter when equipment is added to a light kit. Never cut a structural member or panel without checking the greenhouse manual.
Give the fan enough intake area
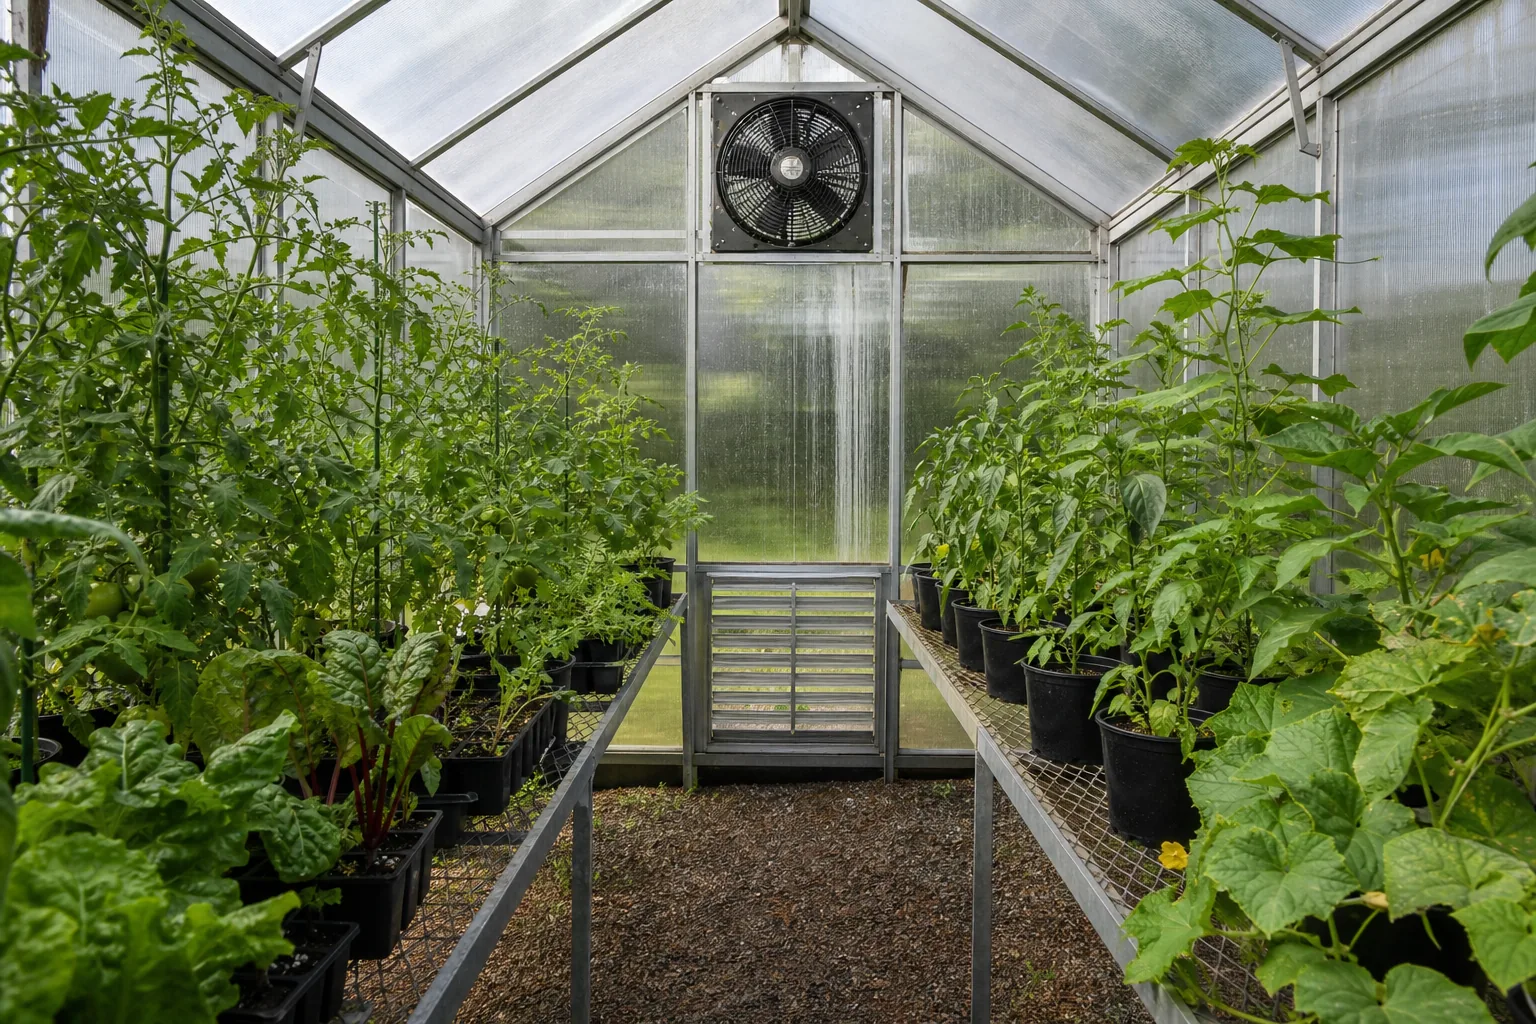
An exhaust fan cannot move its rated volume if the replacement air has to squeeze through a small louver. More open intake area usually means lower inlet velocity, less pressure loss, and a gentler stream across nearby plants. Manufacturer documentation should state the required free area, which is smaller than the louver’s outside dimensions because blades, frames, and screens occupy space.
Place the intake low on the wall opposite the fan when the greenhouse layout permits. Keep trays, tall crops, shelves, and stored soil clear of the opening. The exhaust is often mounted higher so it removes the warmest air, but the exact arrangement should follow the greenhouse and fan manuals.
A motorized intake shutter opens before or with the exhaust fan and closes when the system stops. A gravity shutter costs less and has fewer electrical parts, yet weak airflow, dirt, or warped blades can keep it partly closed. Whichever style you choose, inspect the hinge action and weather seal rather than assuming an outside dimension equals usable opening.
Use controls to prevent wild temperature swings
A simple thermostat can switch a single exhaust stage. Put its sensor near plant height, shaded from direct sun, and away from the fan stream, heater, door, and wet cooling pad. A sun-heated sensor can start the fan too early; a sensor in the incoming air can shut it down while the center of the greenhouse remains hot.
For a larger heat load, staged control is easier on equipment and plants. Stage one might open vents or run a smaller fan. Stage two starts the main exhaust. Another stage can operate evaporative cooling if the climate and system support it. Give each stage enough temperature separation to avoid rapid on and off cycling.
Powered exhaust must also coordinate with heat. A fan that runs against a winter heater wastes energy and can create cold pockets. Review the set points beside the assumptions in our greenhouse heater sizing and buying guide. If you use automatic roof vents, the automatic vent opener guide explains why passive devices and powered controls need a deliberate sequence.
Electrical controls deserve the same scrutiny as the fan. The controller’s motor rating must cover the fan’s load, including startup behavior. Outdoor-rated does not automatically mean suitable for every greenhouse location. Use proper disconnects, grounding, cable support, and ground-fault protection where required. This is a place for an electrician, not improvised extension cords.
Exhaust fans and circulation fans do different work
An exhaust fan exchanges indoor air with outdoor air. A horizontal airflow fan circulates air within the closed greenhouse. It reduces stagnant pockets and helps temperature and humidity stay more even, but it does not remove the day’s solar heat by itself.
UMass describes horizontal airflow circulation as a continuous pattern around the greenhouse, with fans arranged to keep air moving rather than blasting one bench. In a compact house, a small circulation fan may be enough. Long houses may need several. Keep the air stream from drying seedlings or whipping foliage.
Circulation also supports condensation management, especially overnight when the exhaust system may be off. Our guide to greenhouse condensation explains how temperature, moisture, ventilation, and air movement interact.
A practical buying sequence
- Measure greenhouse length, width, eave height, and ridge height.
- Estimate interior volume and set a climate-appropriate air-change target.
- List every restriction, including shutters, screens, pads, and nearby obstacles.
- Compare delivered airflow from fan curves at the expected static pressure.
- Size the intake by free area and confirm how it opens with the fan.
- Check motor duty, mounting requirements, noise, current, and service access.
- Plan thermostat location and staged control before wiring begins.
- Confirm the installation with the greenhouse maker, fan maker, and electrician.
Compare greenhouse exhaust fans with shutters on Amazon (paid link). Use the search results to build a shortlist, then obtain the current fan curve, electrical ratings, and installation manual from each manufacturer.
Commission the system after installation
Before plants fill the benches, confirm that the fan spins in the intended direction, the shutters open fully, and the intake does not chatter or bind. Watch for doors that become unusually hard to open while the fan runs, which can indicate excessive pressure from inadequate intake area. Listen for vibration at the end wall and tighten only to the manufacturer’s torque guidance.
Compare temperatures at several points near plant height on a sunny day. The goal is not an identical reading everywhere. You are looking for persistent hot pockets, a harsh cold stream at the inlet, or short cycling at the controller. Correct obstructions and control placement before assuming the fan is too small.
Finally, make cleaning easy enough that it will happen. Isolate power, remove dust from guards and blades, clear plant growth from louvers, and verify shutter travel through the season. A sensible fan selected from real performance data can still disappoint when its air path slowly closes.