Disclosure: This page contains affiliate links. As an Amazon Associate, Yard Foundry earns from qualifying purchases.
A greenhouse thermostat should match the heater’s voltage, current, control circuit, and switching method before you compare apps or display screens. For a plug-in electric heater, that may mean a weather-resistant line-voltage controller rated for the full load. A gas unit heater or hardwired system may need a low-voltage thermostat, relay, contactor, or manufacturer-approved control instead. Never assume a higher temperature range means a controller can safely carry a larger electrical load.
This is a research based buying guide. Yard Foundry has not bench tested the thermostats or heaters mentioned here. Have a qualified electrician or heating technician confirm wiring, enclosure, and equipment compatibility where the manufacturer calls for it.
Start with the heater, not the thermostat display
Write down the exact heater model and find its manual. You need the input voltage, rated current or wattage, plug type, thermostat connection, and any warning about external controls. A thermostat is only one switch in the system. It cannot fix an undersized circuit, an unapproved extension cord, poor combustion venting, or a heater that should not be used in a damp greenhouse.
| Heater setup | Control commonly required | Compatibility question |
|---|---|---|
| Portable plug-in electric heater | Plug-in line-voltage controller, only if both manuals permit it | Can the controller switch the heater’s full running load and plug type? |
| Hardwired electric unit heater | Line-voltage thermostat or low-voltage control through a contactor | Which control diagram does the heater manufacturer specify? |
| Gas or propane unit heater | Usually a low-voltage thermostat or approved environmental controller | Does the heater require a particular anticipator, common wire, or safety interlock? |
| Hot-water circulation pump or zone valve | Thermostat controlling a relay, pump, or valve circuit | Is the controller rated for the motor or valve load and the system voltage? |
| Multi-heater greenhouse | Staged controller with relays or contactors | Can each stage switch the connected equipment without overlapping cooling? |
If you have not selected the heat source, use the greenhouse heater sizing and buying guide first. Estimate the required output with the Greenhouse Heater Size Calculator. A precise thermostat paired with too little heater capacity will still lose the setpoint on a cold night.
How to size a greenhouse thermostat electrical rating
For a resistive electric heater, current is roughly watts divided by volts. A 1,500-watt heater on 120 volts draws about 12.5 amps in idealized arithmetic. That does not mean any controller marked 15 amps is automatically suitable. Motor loads, inrush current, heating-load ratings, plug configuration, continuous-operation rules, and manufacturer instructions can change the answer.
Read the controller label for the load category, not just the largest amp number on the package. A relay may carry one rating for a resistive heater and a lower rating for a fan motor. Some thermostat outlets control one receptacle while the second remains continuously powered. Others share one total rating between both outlets.
Hardwired heaters deserve a proper wiring diagram. A small thermostat switch often signals a contactor, and the contactor carries the heater current. Do not route a large unit heater through a control terminal that was designed for a low-voltage signal. If the manual does not show the proposed arrangement, ask the manufacturer or an electrician before buying the controller.
Portable heater safety still applies inside a greenhouse. The U.S. Consumer Product Safety Commission advises against powering a portable electric heater through an extension cord or power strip and warns against placing one near water. A greenhouse is wet by design. Use only equipment approved for the location and installation, keep combustible materials clear, and follow the heater manual rather than improvising a cord path.
Line voltage, low voltage, and staged controls
A line-voltage thermostat switches the supply voltage directly. Plug-in versions are simple when the heater and controller were designed for that arrangement. Hardwired versions need the correct circuit, enclosure, conductor size, strain relief, and overcurrent protection.
A low-voltage thermostat sends a control signal. The heater, furnace board, relay, or contactor does the heavy switching. This is common on gas heaters and larger equipment. Compatibility depends on the terminal layout and control requirements, not on the thermostat’s Wi-Fi support or household branding.
A staged controller brings equipment on in steps. One heater can handle a mild temperature drop, then a second stage can start when the first cannot hold the setpoint. Purdue University’s greenhouse controls overview describes staging as a way to apply only the amount of heating or cooling the greenhouse needs. For a small hobby house, two stages may be enough. A simple single-heater setup does not gain much from a complex controller.
Choose a differential you can understand
The differential, sometimes called hysteresis or deadband, is the temperature gap between switching on and switching off. Suppose heat starts at 50°F and stops at 53°F. The three-degree spread prevents the relay from clicking every time the sensor moves by a fraction of a degree.
A wide differential allows a bigger temperature swing. A very narrow one can cause frequent cycling, especially when the heater is oversized or the sensor sits in moving hot air. UMass Extension’s thermostat guidance explains that electronic controls usually maintain a tighter differential than old mechanical units. It also recommends checking calibration and choosing a controller suited to greenhouse dust and moisture.
Look for an adjustable differential when the heater manual allows it. The useful range depends on the equipment. Electric resistance heat can respond quickly, while a hydronic loop or large gas heater may continue releasing heat after the control opens. Start with the manufacturer’s recommendation, watch the minimum and maximum temperatures for several nights, and change one setting at a time.
Sensor placement can ruin a good controller
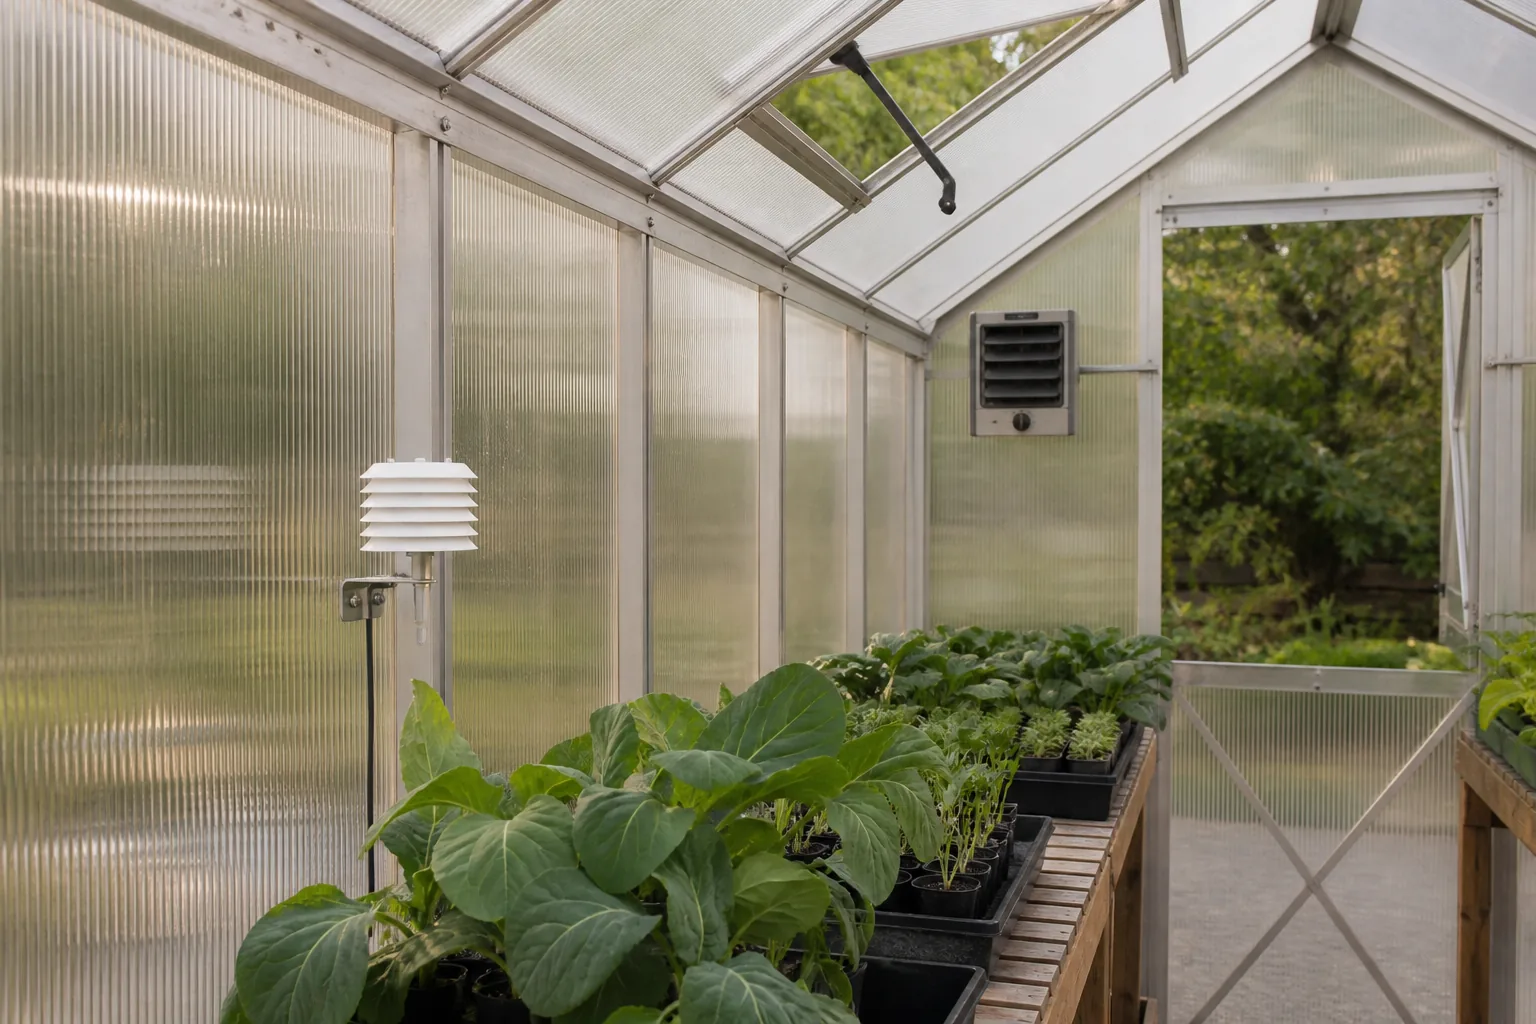
A thermostat controls the temperature at its sensor. Put it in sunlight and it may read warm while shaded plants remain cold. Mount it above a heater and the system may shut down before heat reaches the far end. Place it beside a leaky door and the greenhouse may overheat everywhere else.
The University of Alaska Fairbanks greenhouse environment guide recommends locating sensors at plant-canopy height, away from direct effects of heaters, vents, fans, drafts, and sunlight. That advice is more useful than a fixed mounting height because benches and crops change.
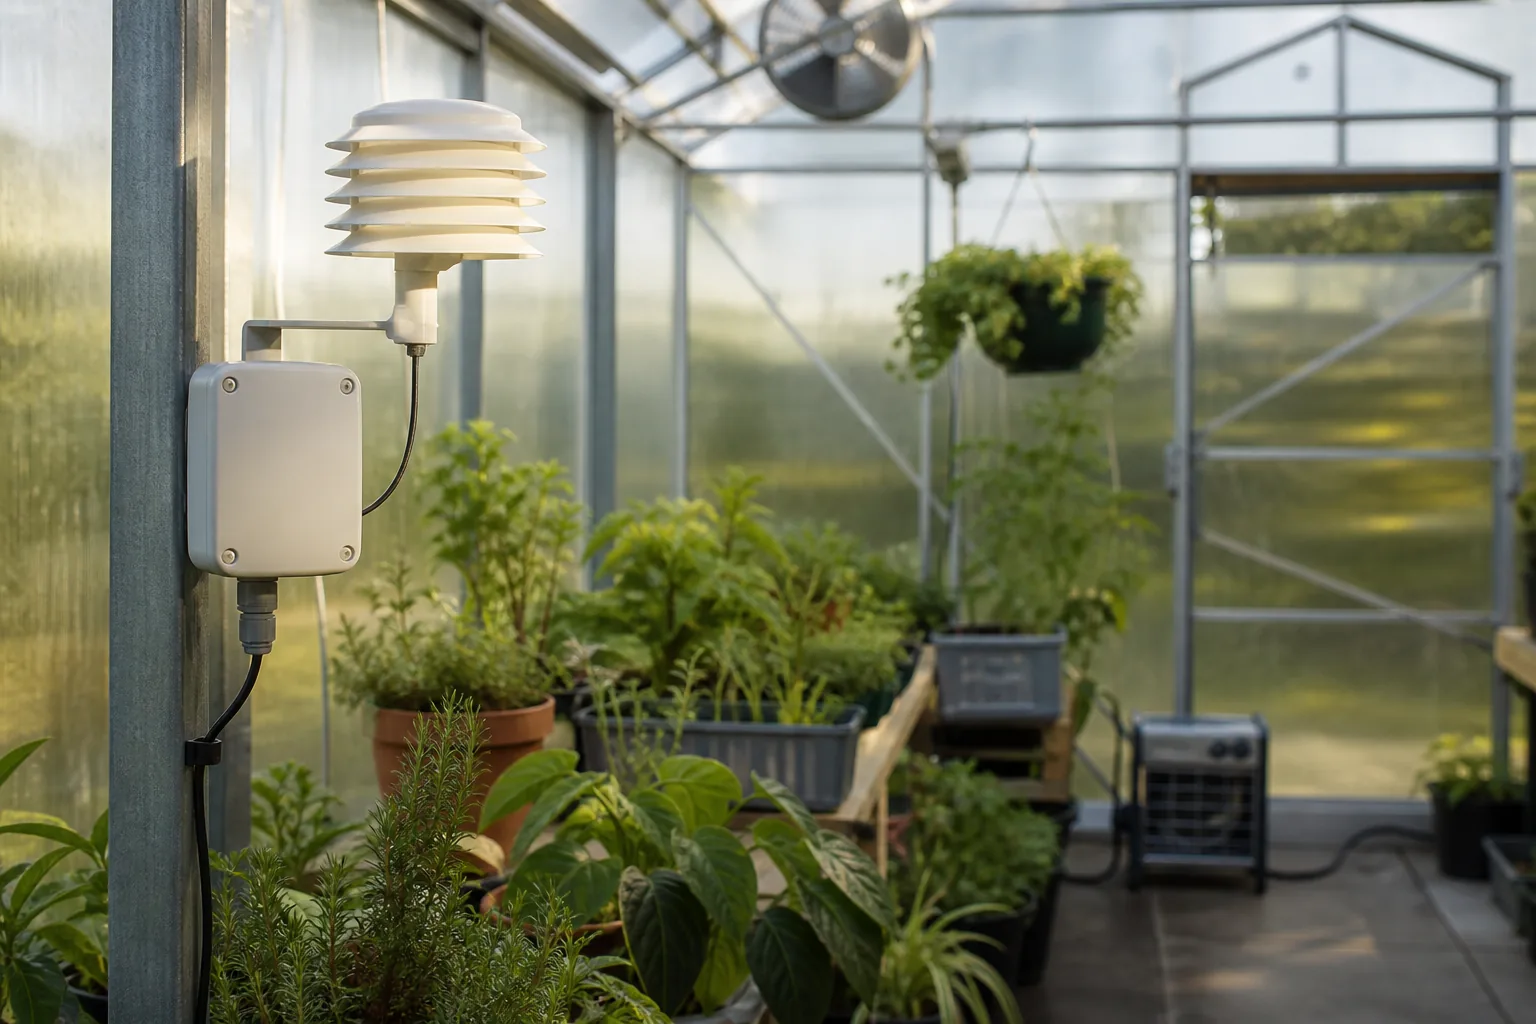
- Use a shaded, ventilated sensor shield rather than a sealed decorative box.
- Keep the sensing element in representative greenhouse air.
- Route remote-sensor cable according to the controller manual and away from damage.
- Place an independent maximum-minimum thermometer nearby for comparison.
- Recheck the position when crops, benches, circulation fans, or heaters move.
In a long greenhouse, one sensor may hide cold pockets. Air circulation comes before adding several conflicting thermostats. Review the greenhouse ventilation guide and make sure warm air reaches the growing zone without blowing directly on tender plants.
Keep heating and cooling from fighting
Separate heating and cooling setpoints. If a heater starts at 60°F and a fan starts at 61°F, normal sensor error or retained heat can run both systems close together. That wastes energy and wears equipment.
The University of Florida’s greenhouse heating checklist calls for correct stage differential, calibrated thermostats, and no overlap between heating and cooling cycles. An integrated controller can enforce that deadband. Separate thermostats can work too, provided they sense the same representative area and their settings leave enough space between modes.
Humidity does not disappear when the thermostat is satisfied. A tightly closed winter greenhouse can still need short ventilation cycles and gentle air movement. If wet glazing and dripping surfaces persist, use the diagnosis in our greenhouse condensation guide instead of raising the thermostat blindly.
Features worth paying for
- A clearly stated voltage, load type, and switching capacity
- A moisture-resistant enclosure suitable for the intended location
- A remote, replaceable, or well-protected sensor
- Adjustable differential or documented switching logic
- Heating and cooling modes that cannot overlap accidentally
- Minimum and maximum temperature history
- High and low alarms with useful offline behavior
- Manual override that works without an internet service
An app is convenient, but it should not be the only way to turn heat on after a router failure. Find out what happens after a power interruption. Some controllers resume the saved setpoint; others return to a default. Ask whether alarms depend on Wi-Fi, a cloud subscription, or a cellular gateway.
Dual-outlet controllers need extra scrutiny. Confirm whether each outlet can be assigned independently to heating and cooling. Check the combined current limit and whether both sockets are weather protected in the mounting orientation you plan to use.
Compare greenhouse thermostat controllers on Amazon (paid link). Match any candidate to the heater manual and electrical load before ordering.
Commission the thermostat on a mild day
- Confirm the heater, controller, circuit, and enclosure installation against their manuals.
- Put an independent thermometer beside the sensor and allow both readings to settle.
- Set a conservative temperature and observe one complete on and off cycle.
- Check plugs, receptacles, terminals, and cords for unexpected warmth without touching exposed wiring.
- Watch the far end and corners for a colder reading than the control point.
- Test the restart behavior after a normal power-off procedure.
- Verify alarm delivery, then make sure the heater can still be controlled locally.
Track energy use only after the system holds a stable temperature. The Greenhouse Heating Cost Calculator can compare operating assumptions, but a thermostat does not reduce the heat loss of the shell. Air sealing and appropriate greenhouse insulation may save more than a premium display.
Frequently asked questions
Can I use a home thermostat in a greenhouse?
Only when its voltage, control circuit, temperature range, enclosure, and environmental rating fit the heater and location. Many home thermostats were not designed for greenhouse moisture, dust, or direct load switching.
Do I need a thermostat if the heater has one built in?
The built-in control may be enough for a small, evenly mixed space. Its sensor often sits close to the heater, though, so it may not represent plant temperature. Use a remote controller only if the heater manual permits external switching.
Where should a greenhouse thermostat be mounted?
Put the sensor near plant-canopy height in representative moving air, shaded from sun and away from heaters, vents, doors, and drafts. Compare it with an independent thermometer after installation.
Buy the simplest controller that safely matches the heater and gives you a trustworthy reading where the plants are. Electrical compatibility, a sensible differential, and dependable local control are worth more than a long feature list.