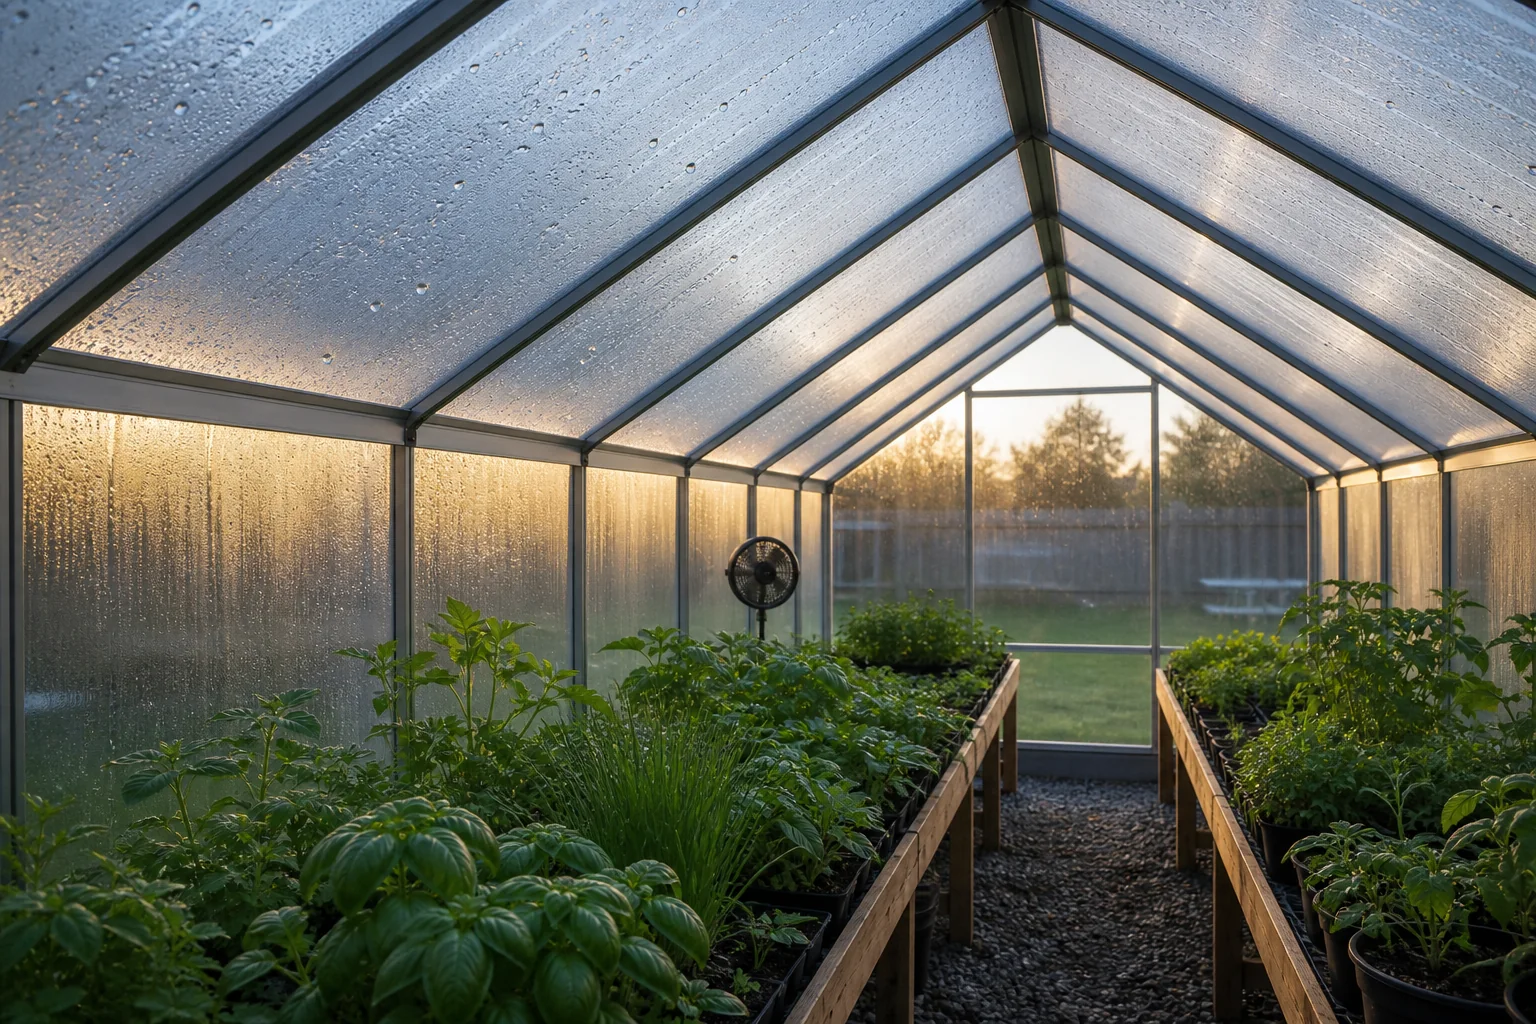
Greenhouse condensation forms when humid air touches glazing, leaves, or metal that is colder than the air’s dew point. Prevention means reducing excess moisture before night, moving air through the plant canopy, and exchanging a small amount of humid inside air for drier outside air. In a heated greenhouse, brief ventilation usually works best when paired with enough heat to warm the replacement air.
A few droplets on cold glazing do not always signal failure. Persistent dripping on foliage, water running from fasteners, fog at night, algae, and wet framing point to a moisture problem worth correcting. Start with the moisture source and airflow path before buying another appliance.
Why greenhouse condensation appears at night
Warm air can carry more water vapor than cool air. Plants transpire, wet growing media evaporates, and puddles add more moisture throughout the day. After sunset, the glazing and leaves cool. When a surface reaches the dew point, water vapor condenses on it.
Relative humidity alone does not tell the whole story because it changes with temperature. The UF/IFAS greenhouse ventilation guide gives a useful example: air at 70 degrees F and 70% relative humidity will condense on a surface at 60 degrees F or colder. The earlier humidity reading may not look extreme, but surface temperature decides when water appears.
Cold bridges are usually first to show water. Aluminum glazing bars, door hardware, single layer panels, north facing corners, and leaves close to the roof may fall below the dew point before the center of the greenhouse air does. That is why one thermometer by the door can miss the real problem.
Greenhouse condensation is a symptom, not the root cause
The visible water results from some combination of high moisture and cold surfaces. A useful diagnosis asks three questions:
- Where is the water forming: glazing, metal frame, leaves, or floor?
- When does it begin: after watering, at sunset, before dawn, or during a cold snap?
- What changed: plant density, heater use, sealed vents, irrigation timing, or outside weather?
Condensation only on glazing during a sharp overnight temperature drop points toward surface temperature and insulation. Wet leaves inside a crowded canopy point toward poor local air movement. Fog and dripping throughout the structure usually mean the air itself holds too much moisture for the nighttime temperature.
Reduce the moisture load first
Every gallon left on the floor, bench, or leaf surface can return to the air. Fix leaky hose fittings, empty standing water from trays, clear drains, and avoid spraying walkways as evening approaches. Water the root zone rather than the entire house when the crop allows it.
Morning irrigation gives foliage, benches, and floor surfaces time to dry before the temperature falls. The University of Alaska Fairbanks recommends morning watering, adequate plant spacing, and well drained floors in its greenhouse humidity guidance. Those simple changes often cost less than running more ventilation and heat every night.
Do not respond by withholding water from plants that genuinely need it. Check the root zone, emitter output, and crop demand. The goal is to deliver the required irrigation without leaving unnecessary free water across the greenhouse.
Use air circulation without confusing it with ventilation
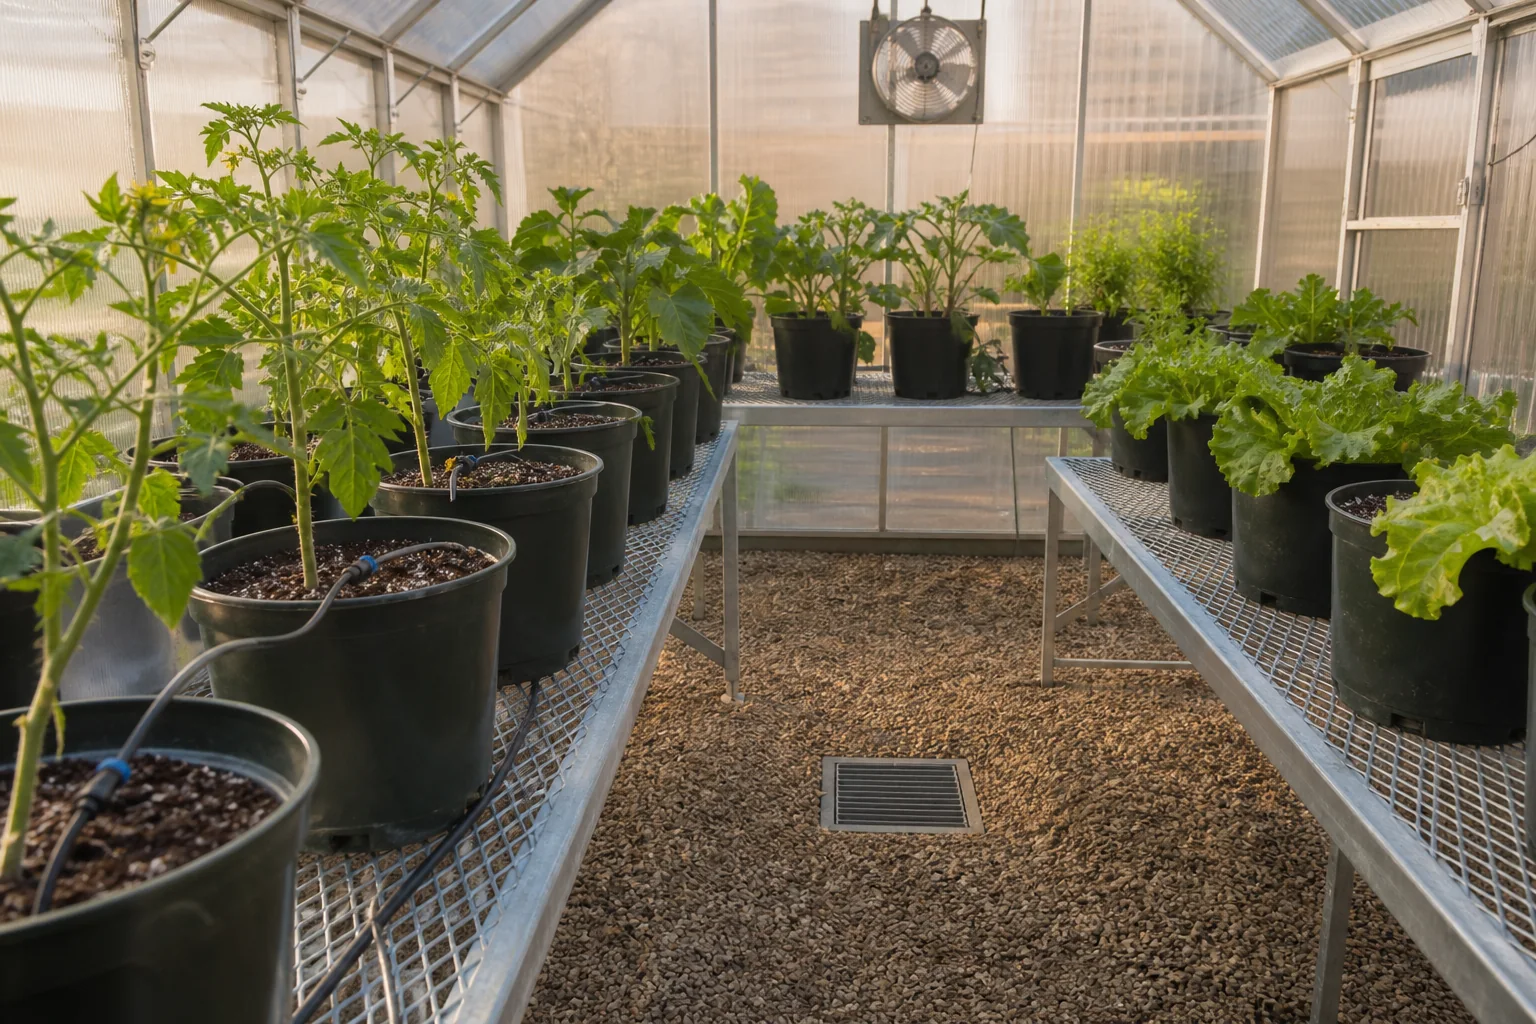
A circulation fan mixes air already inside the greenhouse. It helps reduce cold, stagnant pockets and moves humid air away from leaf surfaces. It does not remove water vapor from the building. An exhaust fan or open vent exchanges inside air with outside air.
Both jobs matter. Position circulation fans so air travels around the house and through the canopy at a gentle rate. A hard stream aimed at one bench can dry or chill those plants while leaving the far corner untouched. Shelves, tall crops, hanging baskets, and stored supplies should not block the loop.
The University of Alaska Fairbanks also separates slow circulation fans from the higher capacity airflow used to exhaust heat. Its greenhouse guide explains that circulation helps manage relative humidity around leaves while ventilation replaces indoor air. One fan cannot perform both jobs well simply because its blades are moving.
Vent moist air, then warm the replacement air
Cold outside air can have high relative humidity and still contain less total moisture than warm greenhouse air. Once brought inside and heated, that air can absorb moisture. A controlled vent and heat cycle uses this difference: release warm humid air, admit a limited amount of outside air, then restore the crop temperature.
UF/IFAS explains that winter ventilation is still needed while heating because otherwise moisture accumulates and condenses. The same guide discusses two to three air changes per hour as a general winter design range, with at least two in the conditions analyzed. That engineering guidance is not a command to run every hobby greenhouse fan continuously. Actual operation depends on structure, leakage, crop, climate, and heating capacity.
For a small greenhouse with natural vents, crack a high vent briefly while allowing low replacement air to enter without blowing directly across plants. In a mechanical setup, use controls that coordinate exhaust, intake shutters, and heat. Do not create negative pressure around a combustion appliance or defeat its safety system. Fuel burning heaters require the clearances, ventilation, and flue arrangement in their manuals.
If a planned exhaust fan is undersized, it may run for a long time without clearing moisture. If it is oversized and poorly controlled, it can dump heat quickly. Use the Greenhouse Fan CFM Calculator as a planning aid, then check the fan’s rated airflow at the resistance created by shutters and screens.
Heating alone is not a moisture removal system
Heating lowers relative humidity while the air warms, but it does not remove the water vapor already inside. If that air cools again with no exchange, relative humidity rises and condensation returns. Ventilation alone can also cause trouble if it chills leaves below their safe temperature.
The practical sequence combines both. Warm the air enough to carry moisture, vent a measured portion, and bring the replacement air back to the crop setpoint. In an unheated greenhouse, use the warmest part of the morning to open vents and purge moisture rather than throwing the doors open at the coldest point before dawn.
A heater that barely maintains temperature may not have spare output for deliberate winter air exchange. Estimate the heat loss with the Greenhouse Heater Size Calculator. The companion Greenhouse Heating Cost Calculator can show the operating tradeoff before a higher vent rate is adopted.
Keep leaves and glazing above the dew point
Better insulation raises interior surface temperature, which gives moisture less opportunity to condense. Twin wall glazing, a well fitted second film layer, sealed gaps, and insulated lower walls can help. Any retrofit must preserve intentional ventilation and safe heater clearances.
Single glazing tends to cool faster than insulated glazing. The crop may also radiate heat toward a clear night sky and become cooler than the surrounding air. Gentle circulation reduces these temperature differences, while root zone or under bench heat can warm the lower canopy where damp air tends to linger.
Do not seal every crack in pursuit of a dry greenhouse. A tighter shell reduces uncontrolled leakage, but it makes planned ventilation more important. The frame, glazing, vent count, and drainage details in our polycarbonate greenhouse kit guide are worth reviewing before a major retrofit.
Stop roof condensate from dripping on plants
Even good humidity control may leave some water on cold glazing. Roof pitch, gutters, and anti drip surfaces determine whether it runs to an edge or falls onto the crop. The University of Connecticut’s guide to greenhouse plastic film explains that condensate control additives reduce surface tension so water flows instead of forming large droplets. A compatible retrofit treatment may also be available for some coverings.
Check compatibility before applying any coating. A product intended for polyethylene may not suit polycarbonate or acrylic, and overspray can reach plants. Keep drainage channels open and route condensate away from foundations, electrical equipment, and walkways.
Drip control protects foliage, but it does not lower the amount of moisture in the air. Pair it with source reduction, circulation, and air exchange. Otherwise the greenhouse may look drier at bench level while framing, fasteners, and hidden corners remain wet.
Measure conditions at the right places
Use at least one temperature and humidity logger near the crop canopy, shaded from direct sun and away from the heater outlet. A second sensor near the coldest recurring condensation area can reveal a large local difference. Record overnight minimum temperature, maximum relative humidity, and the time that water first appears.
Cheap sensors can disagree, especially near saturation. Compare them side by side for a day before treating one reading as exact. Trends are often more useful than a single number. If humidity climbs rapidly after sunset each night, adjust irrigation timing and begin the venting cycle earlier.
Also inspect what the sensor cannot show. Touch the soil, look under benches, examine leaf undersides, and check whether a circulation fan’s path stops at a curtain of tall plants.
A practical seven step correction plan
- Log one typical night. Record inside temperature, relative humidity, outside conditions, and when condensation appears.
- Remove free water. Fix leaks, drain puddles, and shift routine irrigation to morning.
- Open the canopy. Space plants, remove weeds, and clear stored items from airflow paths.
- Run gentle circulation. Mix warm and cool zones without blasting foliage.
- Add controlled air exchange. Vent before humidity peaks, then heat replacement air when the greenhouse is heated.
- Improve cold surfaces. Repair glazing gaps and consider an appropriate second layer or insulated lower wall.
- Manage unavoidable runoff. Clear gutters and use compatible anti drip material where needed.
Change one or two variables at a time and compare the next similar night. That keeps a ventilation improvement from being confused with warmer outdoor weather.
Common fixes that disappoint
Turning up the heater with every vent closed
The relative humidity falls temporarily, but the moisture stays in the greenhouse. It returns as condensation when the air cools.
Running one small fan in a blocked corner
The nearby leaves may move while the canopy and roof peak remain stagnant. Air needs a continuous path, and humidity still requires an outlet.
Opening every door before dawn
A sudden cold draft can chill plants and surfaces. Controlled exchange with heat, or a purge after morning warmup in an unheated house, is gentler.
Using a household dehumidifier as the first response
Some units are not designed for wet, dirty greenhouse conditions or low temperatures. They also use electricity and release heat. Correct water management and ventilation first. If dehumidification is still justified, choose equipment rated for the environment and provide safe drainage and electrical protection.
When the greenhouse is dry enough
The goal is not desert air. Plants still transpire and many crops prefer moderate humidity. A successful correction keeps leaves dry during the vulnerable overnight period, prevents persistent dripping, and avoids large cold pockets without wasting heat.
Watch the pattern for a week after changes. If condensation remains limited to a small cold bridge while foliage and framing stay dry, targeted insulation or drainage may be enough. If fog and wet leaves return across the whole house, increase planned moisture removal rather than adding another surface treatment.