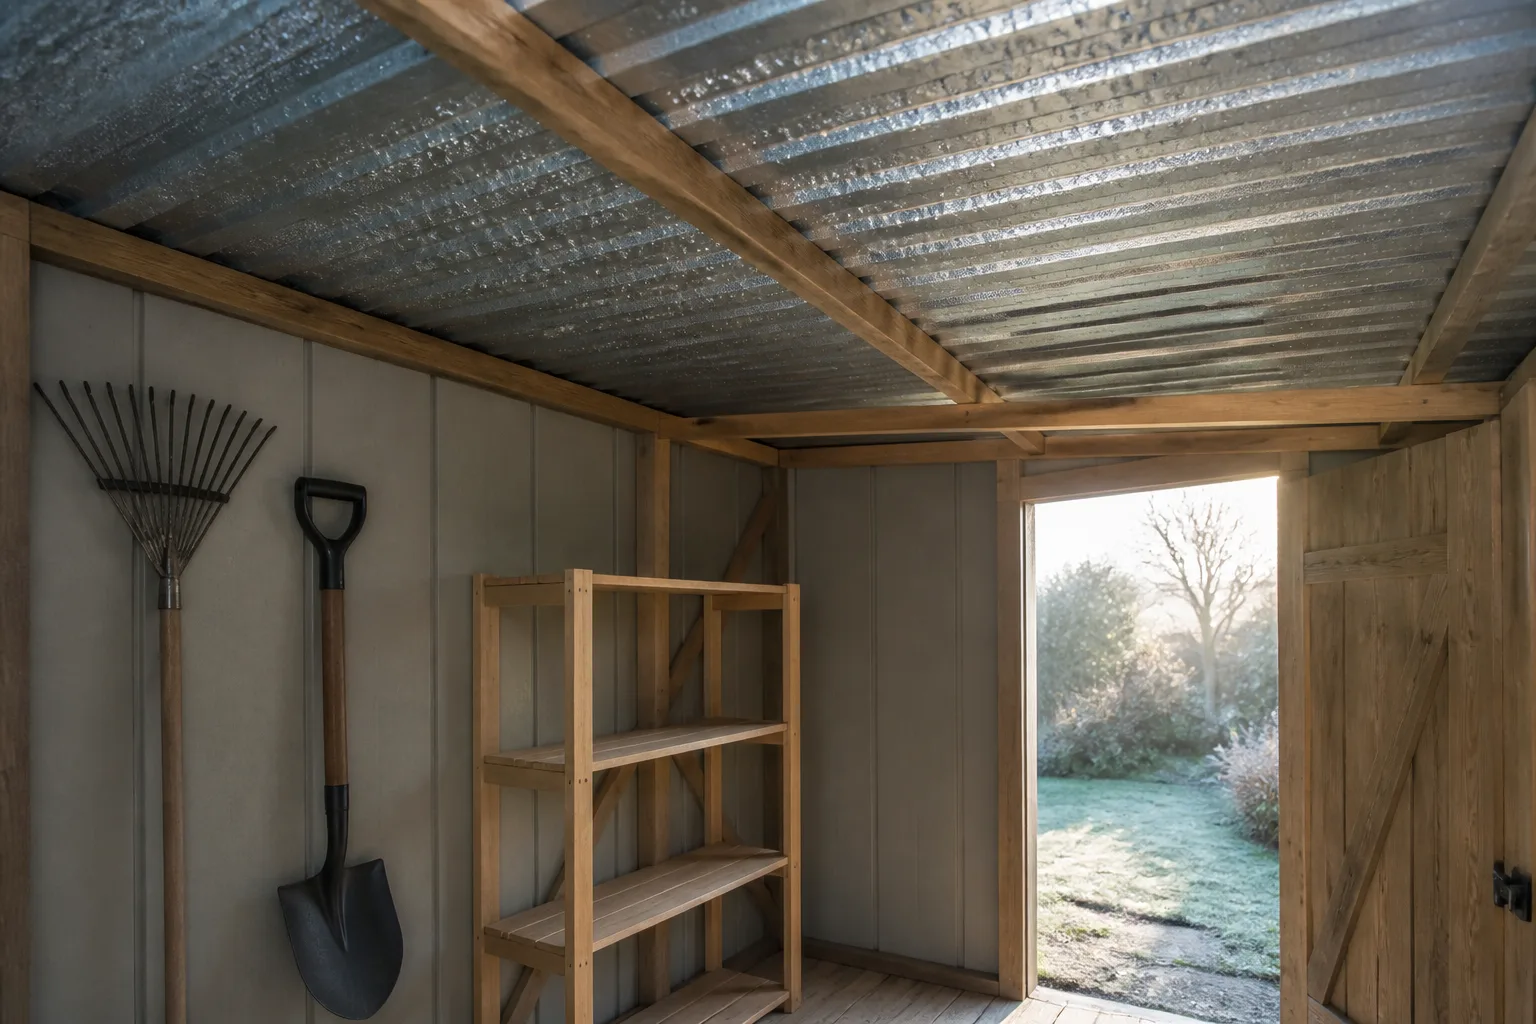
To learn how to stop condensation in a shed, start by finding where the moisture enters. Fix rain and ground water first, dry wet equipment before storage, keep low and high vents clear, and address cold roof surfaces only with an insulation system suited to the shed. A fan or dehumidifier can help in some buildings, but neither will cure a leak or a saturated foundation.
This guide covers unconditioned garden storage sheds. A shed converted to an office, gym, or heated workshop needs a climate specific wall and roof design, electrical planning, and local code review.
Confirm that the water is condensation
Condensation is often blamed for every damp patch, yet a roof leak, wind driven rain, or water rising through the floor needs a different repair. Check the shed during and after several weather conditions instead of diagnosing it from one wet morning.
| What you see | Likely direction to investigate |
|---|---|
| Droplets spread across the underside of a cold metal roof | Condensation from humid interior air meeting the cold panel |
| A narrow wet trail below a seam or fastener after rain | Roof or wall leak |
| Dampness at the bottom edge of several walls | Splashback, standing water, or capillary moisture at the base |
| Wet floor near the door after storms | Threshold, door alignment, or site drainage problem |
| Rust and musty cardboard with no obvious liquid water | High humidity, poor air exchange, or wet items stored inside |
Dry the suspect area, then use removable paper tape or a pencil to mark the boundary. Recheck after rain, a cold clear night, and a warm humid day. This simple record usually tells more than sealing every joint at once.
Why shed condensation forms
Air contains water vapor. When that air touches a surface colder than its dew point, some vapor becomes liquid. The underside of a thin steel roof can cool rapidly overnight, so it may collect droplets even though no rain crossed the roof.
Relative humidity alone does not tell the whole story because it changes with air temperature. The US Environmental Protection Agency’s moisture control guidance explains that dew point and surface temperature determine whether condensation occurs. The same guidance notes that outdoor air removes indoor moisture only when its dew point is lower than the indoor dew point.
That last point matters in summer. Opening every vent or door during hot, humid weather may bring in more water vapor. When that air reaches cool tools, a concrete slab, or a shaded metal wall, condensation can increase.
How to stop condensation in a shed step by step
1. Stop liquid water before changing ventilation
Inspect roof laps, ridge pieces, fasteners, windows, door seals, and wall joints using the shed manual as the reference. Replace missing or damaged manufacturer parts. Do not smear sealant over drainage channels or vents without knowing where water is meant to leave.
Outside, make sure the roof sheds water away from the walls. Clear leaves from the perimeter. Correct soil that slopes toward the building and extend roof runoff where gutters are fitted. Keep mulch and soil below the siding edge so splashback does not stay against the wall.
A low or uneven base can open seams and distort doors. If the foundation has settled, estimate repair quantities with the shed foundation material calculator, then check the shed manufacturer’s limits before lifting or releveling the building.
2. Remove the moisture sources inside
A wet mower deck, damp garden hose, snow covered shovel, fresh firewood, and soaked fabric all release water inside a closed shed. Let equipment drain and dry outdoors when conditions allow. Brush off snow before storage. Empty standing water from carts, trays, and folded tarps.
Cardboard absorbs humidity and holds it against metal tools. Use washable bins raised slightly from the floor, but do not pack them tightly against walls or cover vents. Leave space for air to move around stored items.
New concrete is another possible source. It can release construction moisture while curing. Do not rush to seal a damp slab or enclose wet framing. The EPA recommends controlling the source and drying wet materials promptly rather than trapping water inside an assembly.
3. Restore the designed air path
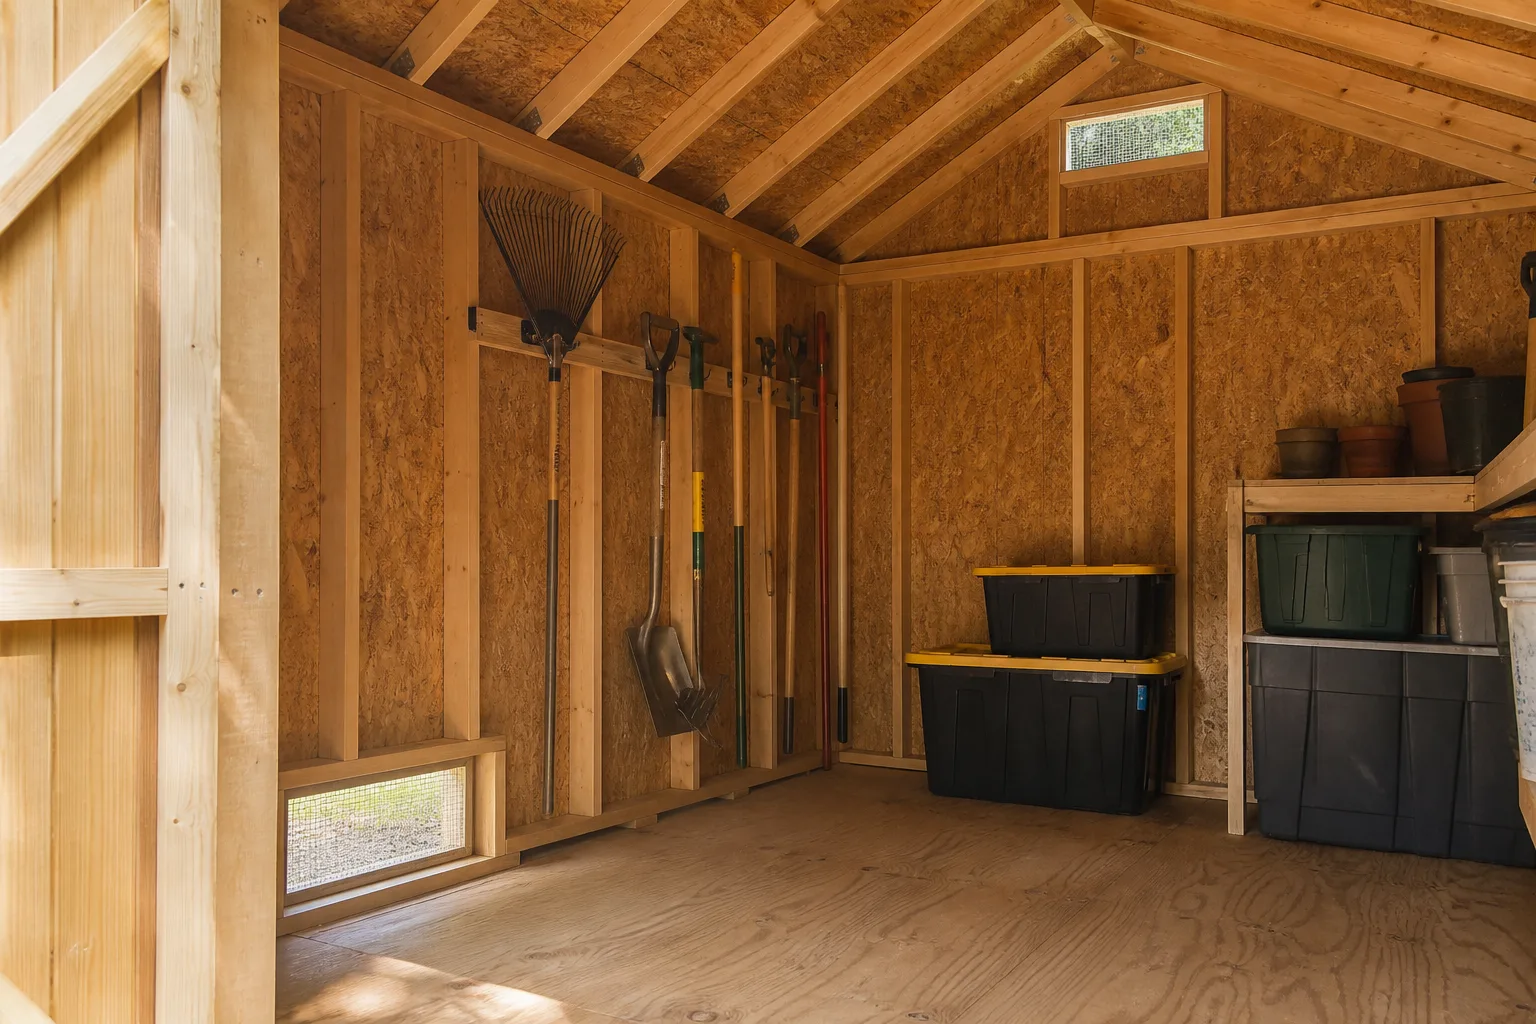
Many storage sheds rely on passive ventilation. Cooler air enters low, while warmer air leaves through a higher vent. Wind also moves air between openings on different sides. One open vent behind a tower of bins does little because air exchange and distribution both matter.
Find every factory vent and clear dust, nests, plastic wrap, and stored objects from both sides. Repair damaged insect screen with a material that does not reduce the free opening more than the manufacturer allows. Keep a gap between shelves and the roof line.
Some resin sheds already include screened vents. Lifetime, for example, lists integrated screened vents on a current 8 by 10 foot storage shed. That does not establish the right vent area for another model. Use approved accessories or written manufacturer guidance before cutting a resin wall, metal panel, or structural frame.
4. Vent at the right time
Natural ventilation works best when outside air is drier than the air in the shed. A small temperature and humidity meter inside, paired with local outdoor conditions, helps you spot the pattern. A device that displays dew point is easier to interpret than relative humidity alone.
On a dry, breezy day, opening doors and windows on opposite sides can purge humid air. Close them before wind driven rain. During very humid weather, uncontrolled ventilation may not dry the building, especially when the floor or tools remain cool.
A circulation fan moves air across surfaces but does not remove water vapor from the shed. An exhaust fan exchanges air. Those are different jobs. If you add powered ventilation, size and place the inlet and outlet as a system, and use electrical equipment approved for the location. Permanent outdoor wiring belongs with a qualified electrician and local code requirements.
5. Control moisture at the floor
A gravel pad should drain freely and keep the shed above surrounding grade. A wood platform needs airflow and separation from wet soil. A slab needs intact perimeter drainage and compatible joints at the walls. The right detail depends on the shed and climate.
Do not place an interior plastic sheet over a floor just because it feels damp. Plastic may hide water, create a slip hazard, or direct moisture into the wall edge. A ground vapor retarder is most effective when designed as part of the foundation before the shed is installed. For an existing building, identify the moisture path before choosing a coating or membrane.
6. Treat the cold roof as part of an assembly
Insulation can raise the temperature of the interior facing surface, which reduces the chance that it falls below the dew point. Done badly, it can conceal condensation and hold water against steel. Loose fiber pressed against a metal roof is not a complete moisture plan.
A suitable approach may use a manufacturer approved condensation layer, sealed rigid insulation, or a framed roof assembly with a defined air and vapor control strategy. Climate changes which side needs to dry and where vapor control belongs. Ask the shed maker what can be attached without affecting roof movement, drainage, corrosion protection, or warranty.
If the shed will be heated even occasionally, get local building advice before insulating. Warm indoor air leaking behind insulation can reach a colder surface and condense out of sight. A conditioned workshop should be designed more like a small building than a storage box.
7. Use a dehumidifier only where it can work
A dehumidifier can remove moisture from a reasonably enclosed, powered shed. It is less useful when large vents and gaps replace the dried air with humid outdoor air all day. It also needs a safe drain plan, freeze protection within its operating limits, routine cleaning, and enough capacity for the actual moisture load.
Desiccant tubs absorb a limited amount of water. They may help inside a sealed cabinet, but they are rarely a full building solution. If one fills quickly, treat that as evidence of a continuing moisture source rather than proof that the tub fixed it.
A seasonal troubleshooting plan
Cold clear nights
Roof panels can radiate heat to the night sky and become colder than the air. If droplets cover the underside by morning, reduce indoor moisture, keep the designed low and high vents open, and investigate a compatible roof condensation layer. Move absorbent storage away from drip lines while the repair is planned.
Warm humid spells
Tools and slabs may stay cooler than incoming air. Avoid leaving doors wide open solely to dry the shed when the outdoor dew point is high. Dry wet equipment before it enters, limit humid air exchange when practical, and consider controlled dehumidification in a suitable powered building.
After heavy rain
Water that appears only after rain points first to drainage or leakage. Check the roof and walls from the top down, then inspect the base. Dry visible water before it spreads into cardboard, wood handles, or fabric.
Protect the stored tools while you fix the building
- Raise steel tools and cardboard off a damp floor.
- Leave air space between storage and exterior walls.
- Dry mower decks, hoses, tarps, and hand tools before closing the door.
- Use breathable covers where a cover is needed, not sealed plastic over a damp item.
- Inspect hidden corners, shelf undersides, and roof fasteners monthly during the problem season.
- Clean and dry small surface rust promptly using the tool maker’s instructions.
If porous material stays wet or mold appears, deal with the moisture first. The EPA advises drying wet materials within roughly 24 to 48 hours when possible in its guidance on biological contaminants. Extensive mold, contaminated water, or hidden damage can call for professional assessment.
What to do this weekend
- Photograph and mark every wet area before it dries.
- Check the roof, doors, wall joints, grade, and foundation.
- Remove wet items and unblock all factory vents.
- Record indoor temperature, humidity, and dew point for several days.
- Match the pattern to rain, cold nights, or humid outdoor air.
- Choose one repair aimed at the source, then monitor before adding another.
For related planning tools, use the Yard Foundry tools and calculators hub. A dry shed starts with drainage and moisture control, then uses ventilation and insulation for the conditions they can actually solve.