Disclosure: This page contains affiliate links. As an Amazon Associate, Yard Foundry earns from qualifying purchases.
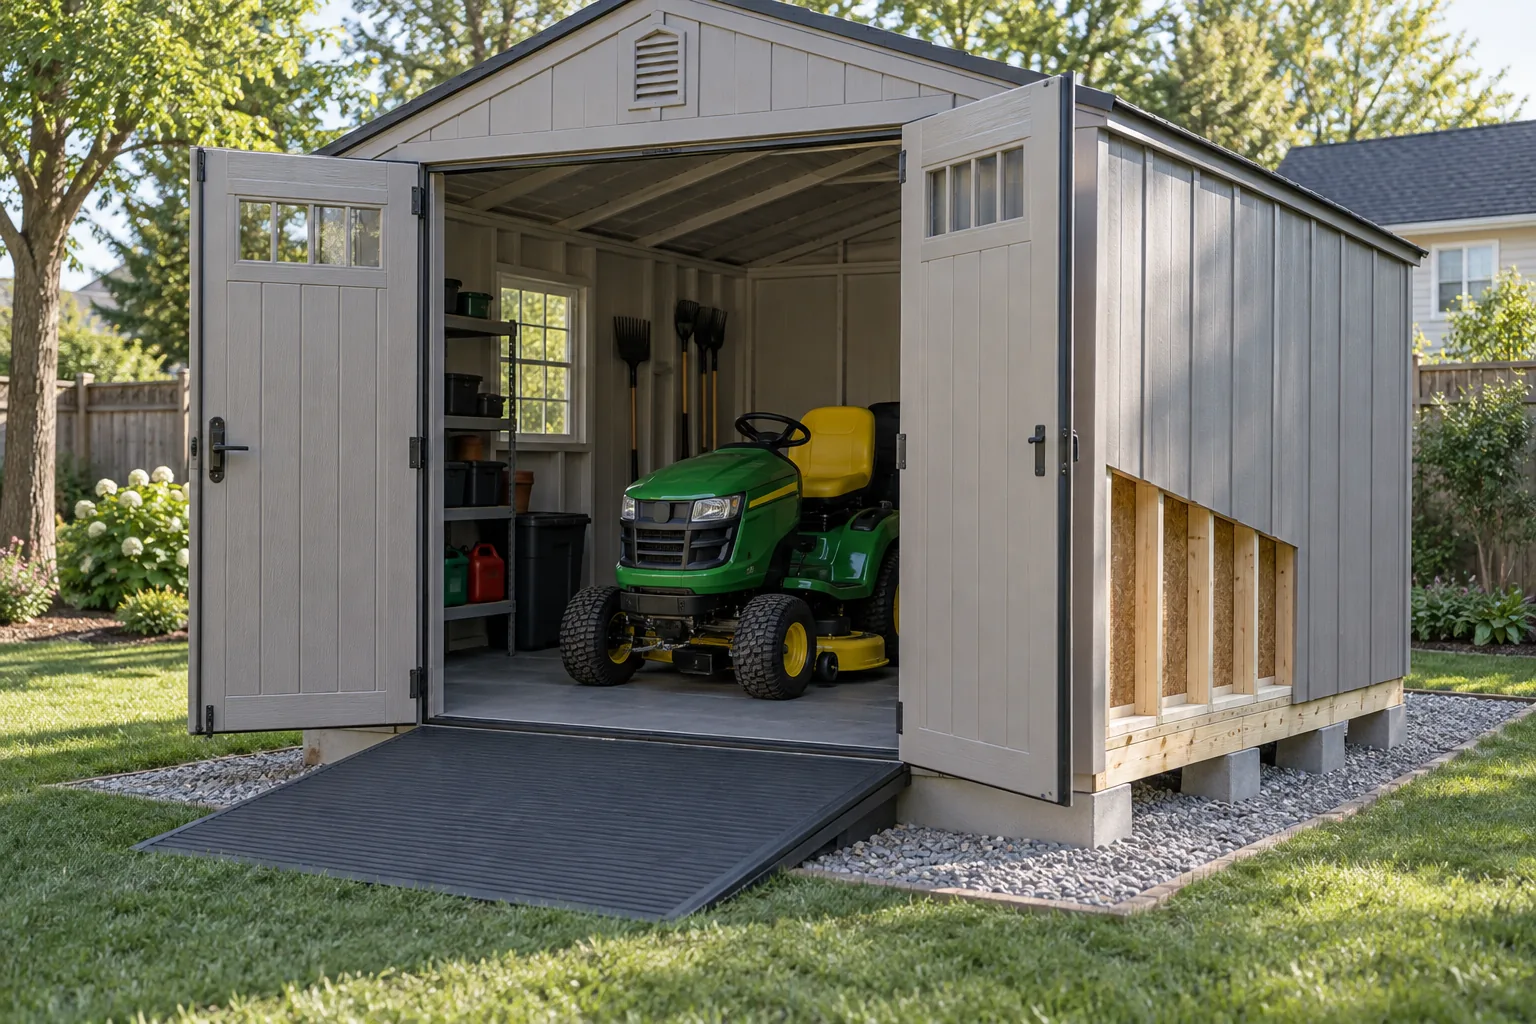
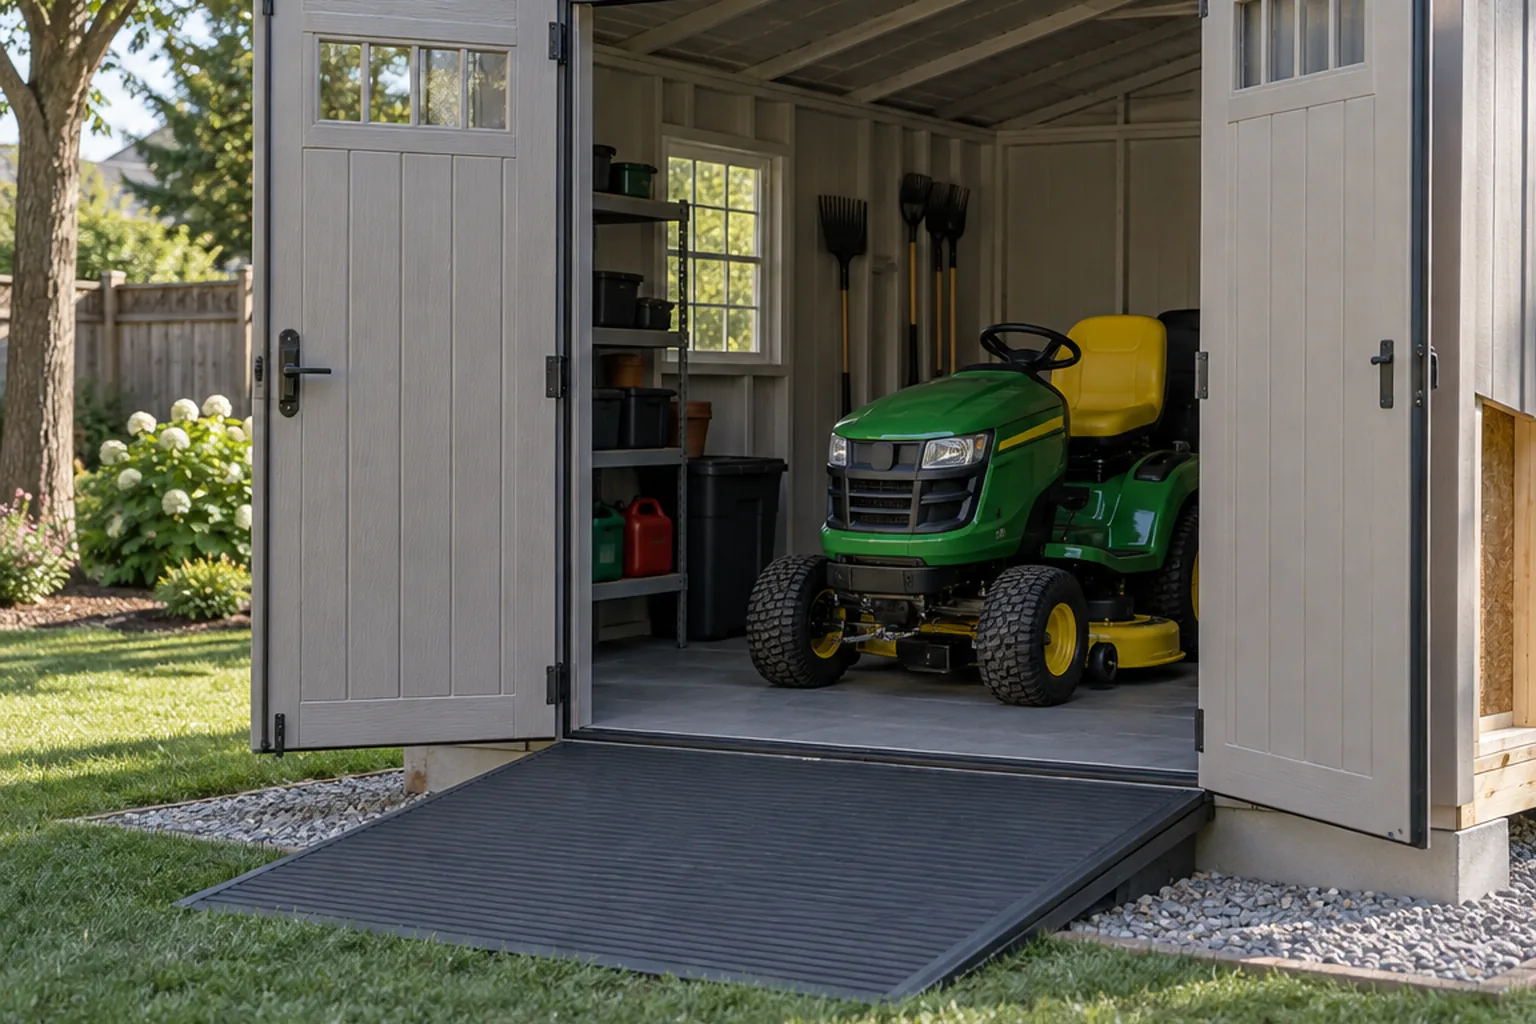
Shed floor weight capacity matters when a riding mower concentrates several hundred pounds through four small tire patches. A floor that feels solid under a person can still sag at panel seams, between joists, or where a ramp meets the threshold. Use published limits and a verified support layout.
Shed floor weight capacity for a riding mower: the practical answer
A shed can hold a riding mower when the manufacturer permits that use and the floor, joists, foundation, ramp, and threshold are rated for the mower’s operating weight. Include fuel, attachments, ballast, and anything else stored on the machine.
The useful answer depends on the site, the current product manual, and the rest of the system. The broader shed size guide explains the surrounding decision. This page stays with one narrower job: storage-floor suitability rather than structural certification.
Start with the real job and site
Write down the dimensions, obstacles, operating conditions, and result the equipment must deliver. A product name or headline specification cannot replace that site record.
Separate normal work from rare edge cases. Buying around the hardest imaginable day can add cost and complexity, while buying for an ideal day can leave no useful margin.
A useful official reference is Lifetime outdoor shed assembly manual. It shows the planning principle, while the exact product manual remains controlling.
The specifications that change the decision
| Decision point | What to check | Why it matters |
|---|---|---|
| Mower weight | Operating configuration with attachments | Sets total moving load |
| Tire loads | Contact points and turning path | Creates concentrated loading |
| Floor panels | Seams and published limit | Transfers load to framing |
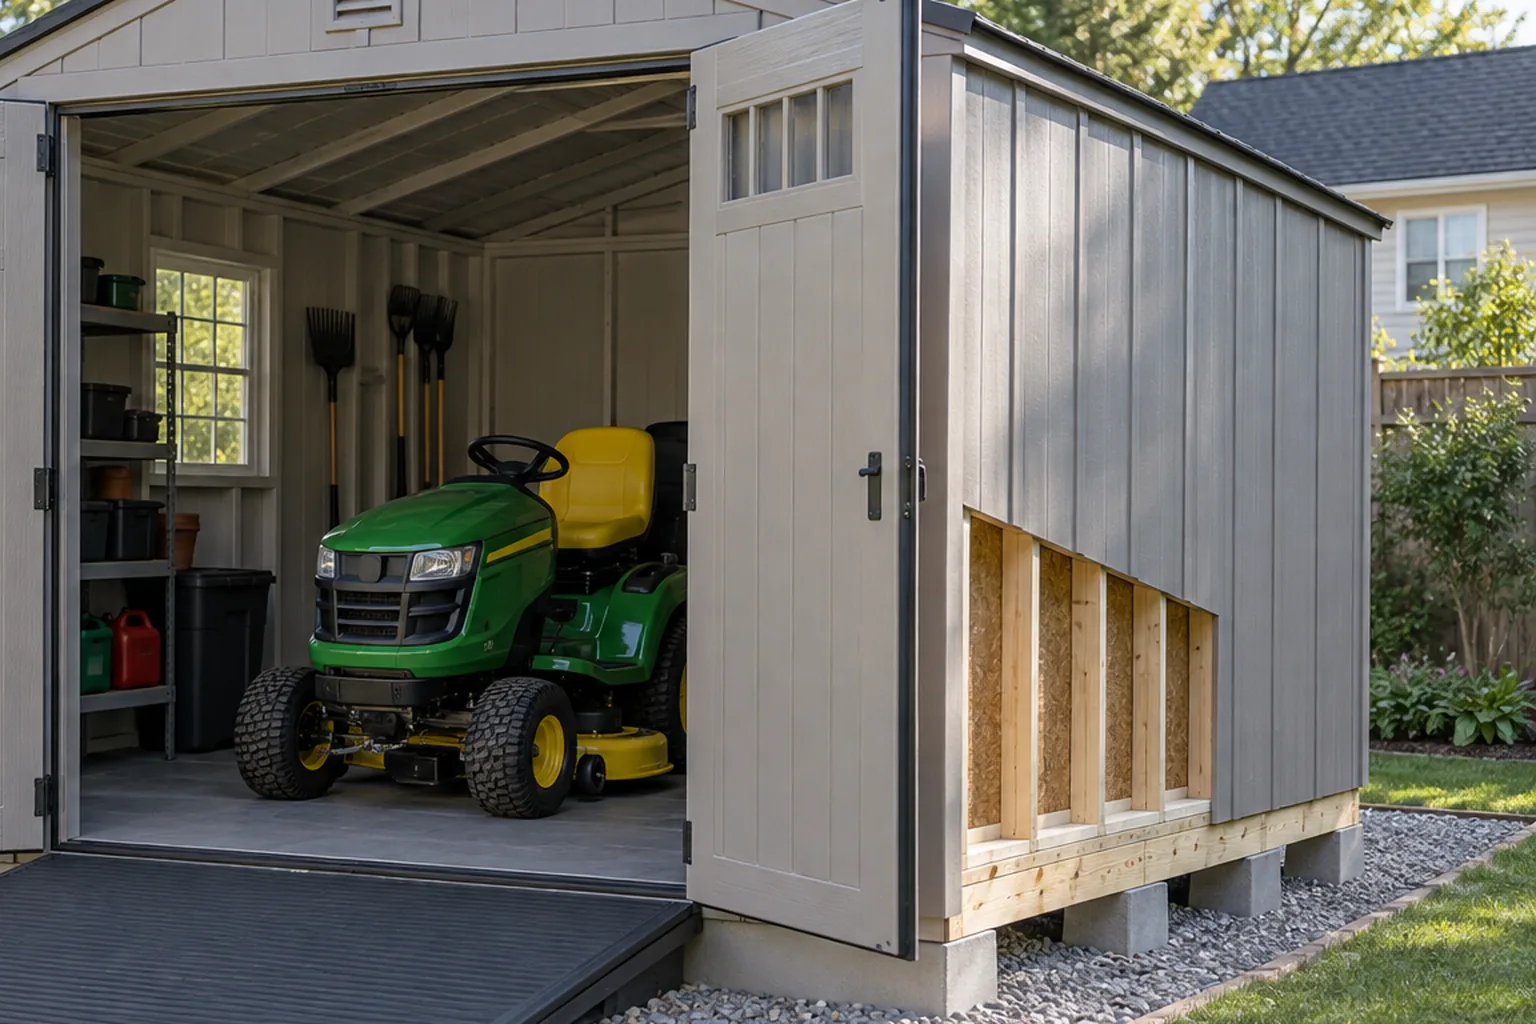
| Joists and supports | Span, spacing, and bearing | Carries load to foundation |
| Foundation | Level, stable, drained, anchored | Prevents twist and settlement |
Read these points together. A strong number in one row cannot cancel a poor fit elsewhere in the system.
Mower weight
Start with operating configuration with attachments. Sets total moving load. A specification may describe a ceiling rather than a comfortable working point, so read the footnotes before relying on it. Write the confirmed figure beside the measurement from your yard.
Tire loads
Contact points and turning path. Creates concentrated loading. Give this item its own line on the comparison sheet. If the product page and current manual disagree, use the manual or ask the manufacturer to explain the difference.
Floor panels
Then look at seams and published limit. Transfers load to framing. Note the conditions attached to the number, including the selected accessory, surface, weather, load, or operating mode. Those details often explain why two similar listings behave differently.
Joists and supports
Span, spacing, and bearing. is easy to skim past. Carries load to foundation. Confirm whether the figure applies to the standard setup or an optional configuration, then compare it with the tightest condition on your site.
Foundation
Finish with level, stable, drained, anchored. Prevents twist and settlement. A blank or vague answer is a reason to pause, especially when it affects safety, fit, or a costly accessory. Get the answer in writing before ordering.
Plan for upkeep before buying
Ownership starts with the accessories and site work the listing barely mentions. Price the connections, mounting materials, delivery route, routine service, wear items, and off season storage. For shed floor weight capacity, these details can erase a tempting difference in purchase price.
Open the warranty and search for installation, weather, maintenance, registration, and replacement part rules. A long warranty is less useful when common failures sit outside its terms. Keep dated copies of the documents you used to choose.
Check whether the manufacturer sells the likely wear parts separately and whether you can reach them without dismantling the whole setup. That repair path is boring to research, but it often decides which product still feels like a good buy later.
Measure before selecting equipment
Record the smallest clearance, longest run, greatest slope, and highest expected load rather than relying on nominal yard dimensions.
Compare measurements in one unit and keep them beside the product manual. Confirm whether published dimensions describe the machine, the work area, or the required clearance.
Leave practical margin for setup error, growth, wear, and seasonal change. Do not exceed a manufacturer limit to avoid moving to the next product class. If the numbers lead to a larger system than expected, revisit the assumptions before downsizing the equipment. Our shed ramp guide can help with that adjacent calculation.
Plan setup, service, and failure recovery
Locate controls, fasteners, filters, blades, cables, and wear parts before installation. Routine service should not require dismantling unrelated parts of the yard.
Follow the current manual for assembly, protective equipment, electrical work, guarding, and operating clearances. Stop when the site conflicts with those instructions.
Test the easiest low-risk condition first, then the most difficult normal condition. Record what changes rather than relying on memory. This is also where the resin shed foundation guide becomes useful.
Common mistakes that make a good product disappoint
- Choosing from one headline specification
- Ignoring the most restrictive clearance or operating condition
- Assuming accessories from another model are compatible
- Installing before reading the complete manual
- Using a safety limit as a normal operating target
A short site audit is cheaper than returning a large product or rebuilding the surrounding layout.
Use a pass, question, fail list
Keep the final check simple. A measurement either fits, needs confirmation, or fails the documented limit. Do not quietly turn a question into a pass because one product looks appealing. Send the manufacturer the model number and the exact condition you need it to handle.
A practical sequence from shortlist to setup
- Define the normal job and difficult condition
- Measure the site and access route
- Read the exact product manual
- Compare the full operating range
- Confirm setup and service clearances
- Verify replacement parts and warranty conditions
- Test conservatively before full operation
Compare shed floor weight capacity options on Amazon (paid link). Use the results to build a shortlist, then leave Amazon and verify the current manual, dimensions, warranty conditions, and replacement-part path on the manufacturer’s site.
Use marketplace results only to build a shortlist, then confirm dimensions, limits, and service parts with the manufacturer.
Questions homeowners ask before committing
Can one specification decide the purchase?
No. Capacity, clearance, controls, site conditions, and service requirements work together.
Should I buy extra capacity?
Some margin is useful, but oversizing can add weight, cost, and control problems. Stay within the documented operating range.
What if the manual does not answer a compatibility question?
Ask the manufacturer or a qualified local professional before buying or modifying the installation.
The Yard Foundry take
Choose the option that fits the measured site, documented limits, and maintenance routine with a sensible margin. Before placing an order, compare that plan with the resin garden shed buying guide so the new purchase fits the rest of the yard rather than solving one problem and creating another.