Disclosure: This page contains affiliate links. As an Amazon Associate, Yard Foundry earns from qualifying purchases.
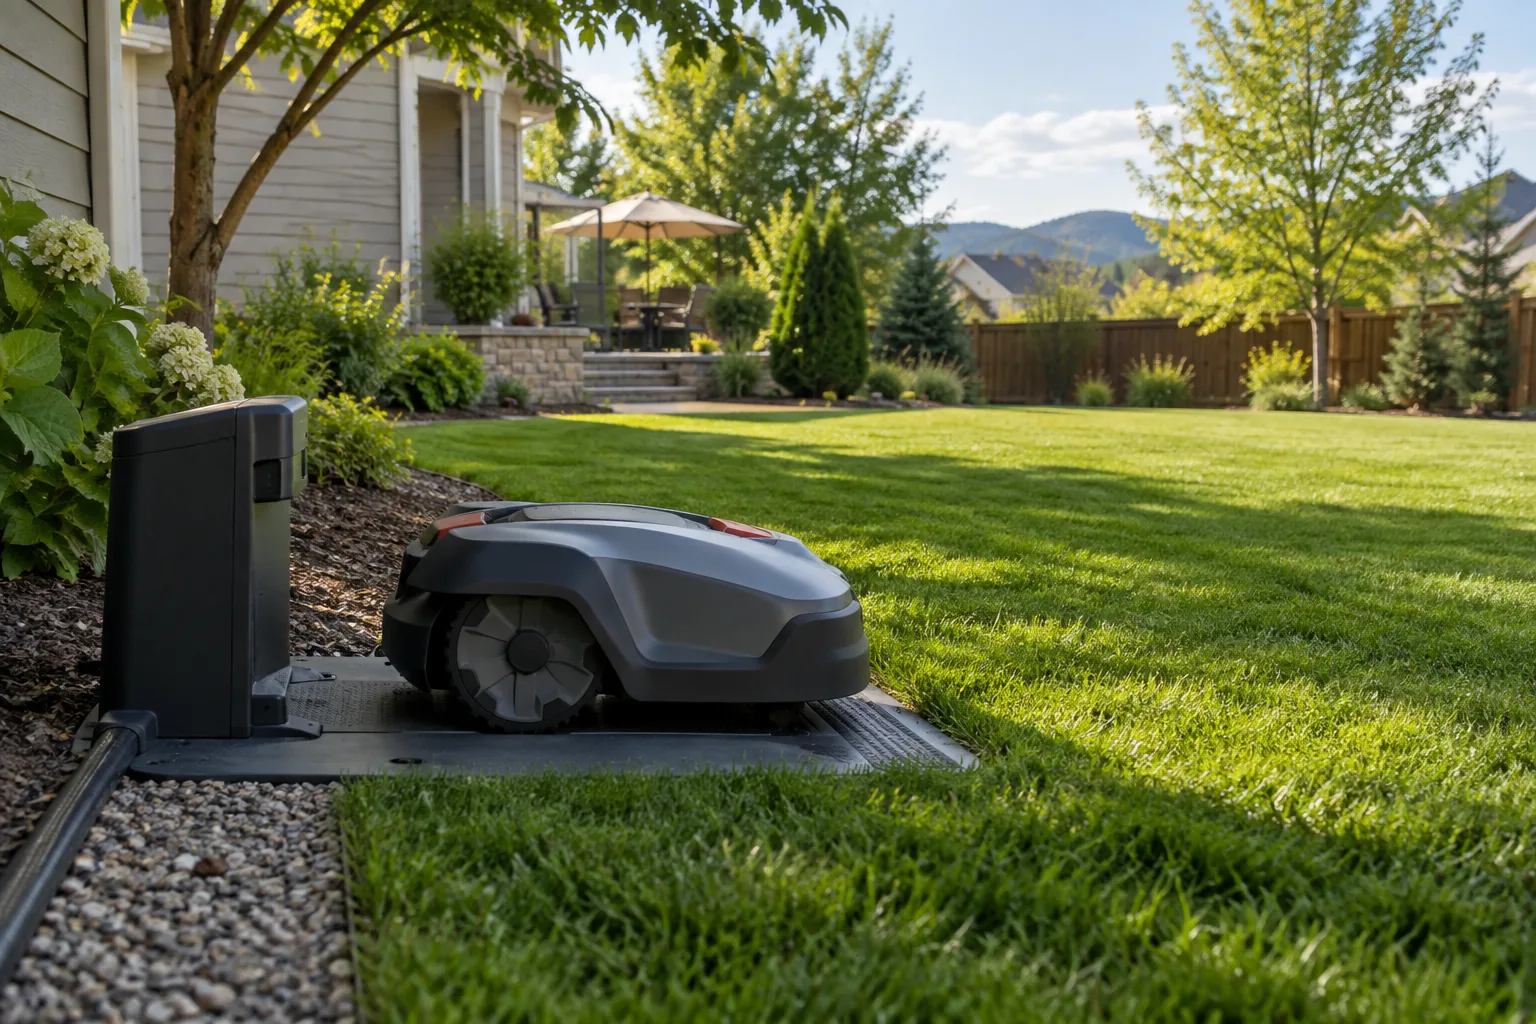
Robot mower charging station placement affects every mowing cycle. The dock needs level support, a clear approach, safe power, drainage, and the navigation conditions required by the exact model. A hidden corner may look tidy but create unreliable docking or poor satellite view.
Robot mower charging station placement: the practical answer
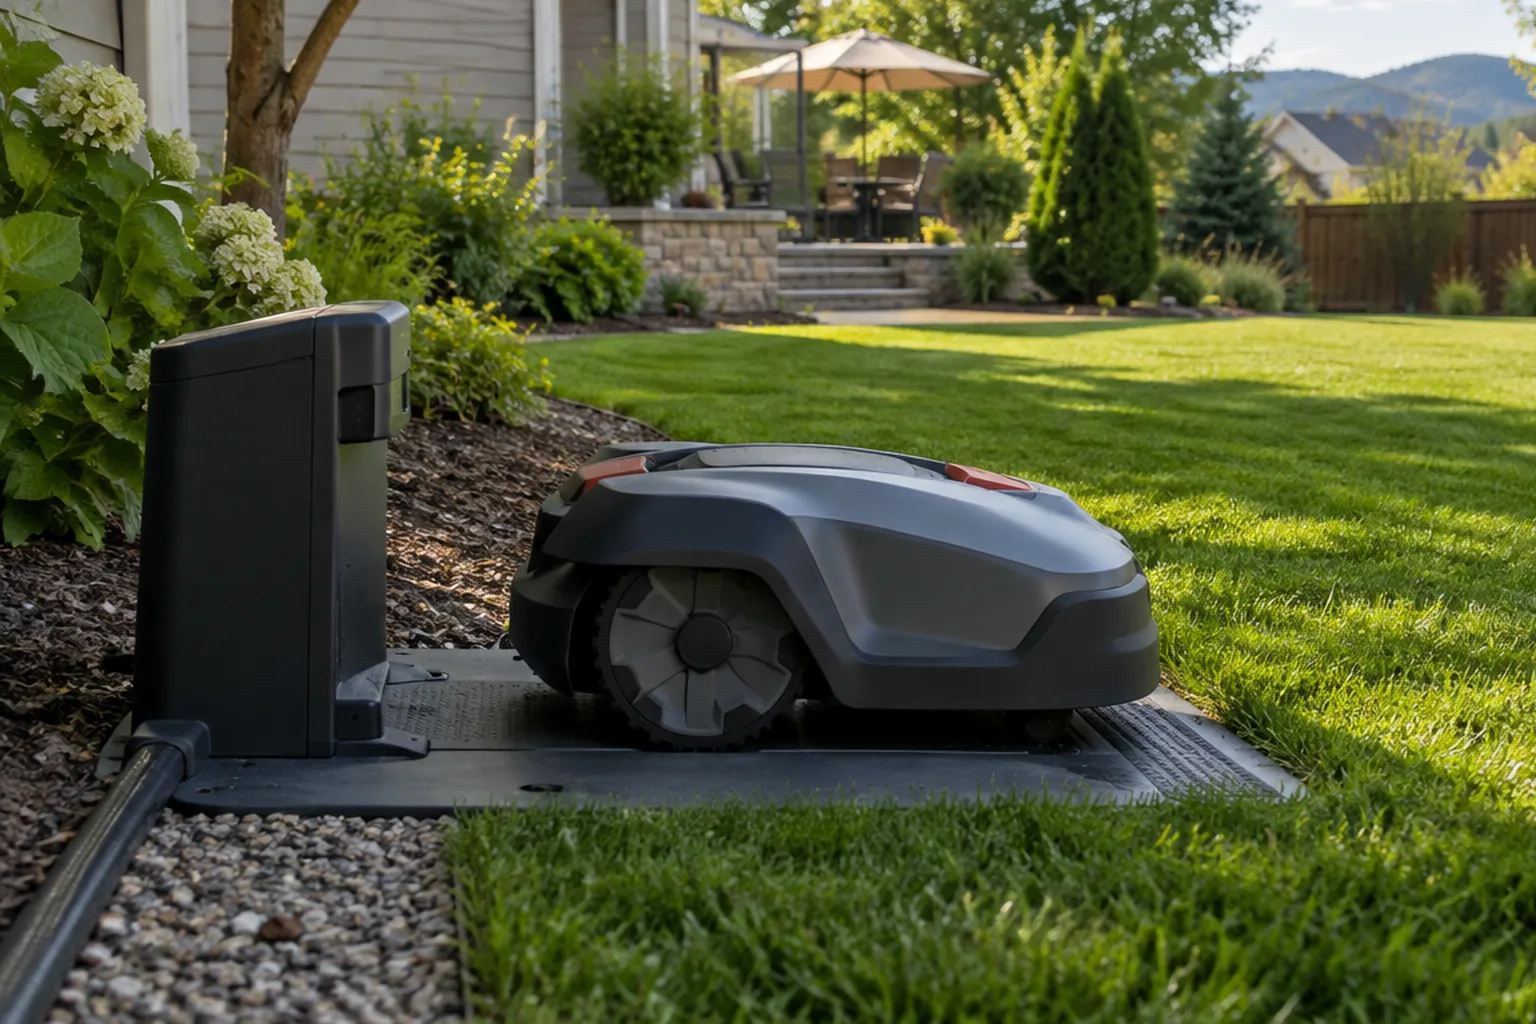
Choose firm, level ground with the manual’s required open space in front, a protected power route, and no standing water. Keep the dock accessible for cleaning and winter removal. For satellite systems, confirm sky view at the station and docking point.
The useful answer depends on the site, the current product manual, and the rest of the system. The broader robot mower installation guide explains the surrounding decision. This page stays with one narrower job: dock location and approach rather than complete mower installation.
Start with the real job and site
Write down the dimensions, obstacles, operating conditions, and result the equipment must deliver. A product name or headline specification cannot replace that site record.
Separate normal work from rare edge cases. Buying around the hardest imaginable day can add cost and complexity, while buying for an ideal day can leave no useful margin.
A useful official reference is Husqvarna Automower pre-installation checklist. It shows the planning principle, while the exact product manual remains controlling.
The specifications that change the decision
| Decision point | What to check | Why it matters |
|---|---|---|
| Surface | Firm, flat, and stable | Prevents a twisted baseplate |
| Approach | Required clear length and turn | Supports repeatable alignment |
| Power | Approved outlet and cable route | Avoids trip and damage hazards |
| Drainage | No ponding or roof discharge | Protects contacts and base |
| Navigation | Sky, radio, guide, or boundary conditions | Determines reliable return |
Read these points together. A strong number in one row cannot cancel a poor fit elsewhere in the system.
Surface
Start with firm, flat, and stable. Prevents a twisted baseplate. A specification may describe a ceiling rather than a comfortable working point, so read the footnotes before relying on it. Write the confirmed figure beside the measurement from your yard.
Approach
Required clear length and turn. Supports repeatable alignment. Give this item its own line on the comparison sheet. If the product page and current manual disagree, use the manual or ask the manufacturer to explain the difference.
Power
Then look at approved outlet and cable route. Avoids trip and damage hazards. Note the conditions attached to the number, including the selected accessory, surface, weather, load, or operating mode. Those details often explain why two similar listings behave differently.
Drainage
No ponding or roof discharge. is easy to skim past. Protects contacts and base. Confirm whether the figure applies to the standard setup or an optional configuration, then compare it with the tightest condition on your site.
Navigation
Finish with sky, radio, guide, or boundary conditions. Determines reliable return. A blank or vague answer is a reason to pause, especially when it affects safety, fit, or a costly accessory. Get the answer in writing before ordering.
Look past the purchase price
Make a second budget for everything that arrives after the main product: fittings, anchors, electrical or water work, delivery, consumables, replacement parts, and sheltered storage. That list keeps robot mower charging station placement from looking cheaper on paper than it will be in the yard.
Warranty length can be misleading. Check what happens after weather damage, an installation change, skipped maintenance, or use of a third party part. Download the current paperwork and keep it with the receipt.
Now find the parts diagram. If a small damaged piece requires a complete assembly, include that risk in the comparison. Easy access for cleaning and adjustment matters too; neglected service points turn small chores into repairs.
Measure before selecting equipment
Record the smallest clearance, longest run, greatest slope, and highest expected load rather than relying on nominal yard dimensions.
Compare measurements in one unit and keep them beside the product manual. Confirm whether published dimensions describe the machine, the work area, or the required clearance.
Leave practical margin for setup error, growth, wear, and seasonal change. Do not exceed a manufacturer limit to avoid moving to the next product class. If the numbers lead to a larger system than expected, revisit the assumptions before downsizing the equipment. Our boundary wire vs wire-free guide can help with that adjacent calculation.
Plan setup, service, and failure recovery
Locate controls, fasteners, filters, blades, cables, and wear parts before installation. Routine service should not require dismantling unrelated parts of the yard.
Follow the current manual for assembly, protective equipment, electrical work, guarding, and operating clearances. Stop when the site conflicts with those instructions.
Test the easiest low-risk condition first, then the most difficult normal condition. Record what changes rather than relying on memory. This is also where the robot mower maintenance guide becomes useful.
Common mistakes that make a good product disappoint
- Choosing from one headline specification
- Ignoring the most restrictive clearance or operating condition
- Assuming accessories from another model are compatible
- Installing before reading the complete manual
- Using a safety limit as a normal operating target
A short site audit is cheaper than returning a large product or rebuilding the surrounding layout.
Put the decision on one sheet
A short comparison sheet prevents details from getting lost between browser tabs. List the yard condition, the manual limit, and where you found the answer. Circle any gap involving structure, electricity, water, moving parts, slopes, or clearances and resolve it before checkout.
The order that keeps rework down
- Define the normal job and difficult condition
- Measure the site and access route
- Read the exact product manual
- Compare the full operating range
- Confirm setup and service clearances
- Verify replacement parts and warranty conditions
- Test conservatively before full operation
A five minute check now can prevent a return, a damaged accessory, or an afternoon spent rebuilding the setup around the wrong assumption.
Compare robot mower charging station placement options on Amazon (paid link). Use the results to build a shortlist, then leave Amazon and verify the current manual, dimensions, warranty conditions, and replacement-part path on the manufacturer’s site.
Use marketplace results only to build a shortlist, then confirm dimensions, limits, and service parts with the manufacturer.
Questions homeowners ask before committing
Can one specification decide the purchase?
No. Capacity, clearance, controls, site conditions, and service requirements work together.
Should I buy extra capacity?
Some margin is useful, but oversizing can add weight, cost, and control problems. Stay within the documented operating range.
What if the manual does not answer a compatibility question?
Ask the manufacturer or a qualified local professional before buying or modifying the installation.
The Yard Foundry take
Choose the option that fits the measured site, documented limits, and maintenance routine with a sensible margin. Before placing an order, compare that plan with the robotic lawn mower buying guide so the new purchase fits the rest of the yard rather than solving one problem and creating another.